Free Shipping on Domestic Orders $75+

Samsung Star Touch Screen Replacement

Views: 4.7K

View statistics:

Past 24 Hours:
4
Past 7 Days:
27
Past 30 Days:
136
All Time:
4,739
Comments: 0

No one has left comments on this guide. Will you be first?

Go to guide comments
Completed: 10

10 people have marked this guide "completed." Will you be next?

Favorites: 1

1 person has favorited (and subscribed to) this guide. Will you be next?

Time Required: No estimate
Difficulty: Easy
Community-Contributed Guide

An awesome member of our community made this guide. It was not created by iFixit staff.

Samsung Star Touch Screen Replacement

Introduction

Go to step 1 ↓

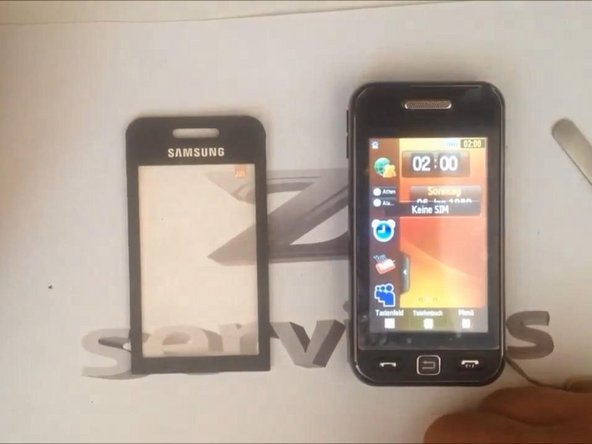
Samsung S5230 Star.

How to dis-assembly and change the Touch Screen. Full video you ca see here:

What you need

Tools

Video Overview

    1. Samsung Star Touch Screen Replacement, Touch Screen: step 1, image 1 of 3 Samsung Star Touch Screen Replacement, Touch Screen: step 1, image 2 of 3 Samsung Star Touch Screen Replacement, Touch Screen: step 1, image 3 of 3
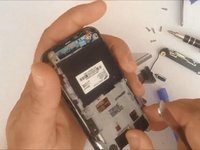
      • Remove the battery, the SIM card and the memory card. Then you must unscrew 6 phillips screws.

      Ask FixBot

      Add Comment

    2. Samsung Star Touch Screen Replacement: step 2, image 1 of 3 Samsung Star Touch Screen Replacement: step 2, image 2 of 3 Samsung Star Touch Screen Replacement: step 2, image 3 of 3
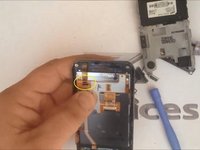
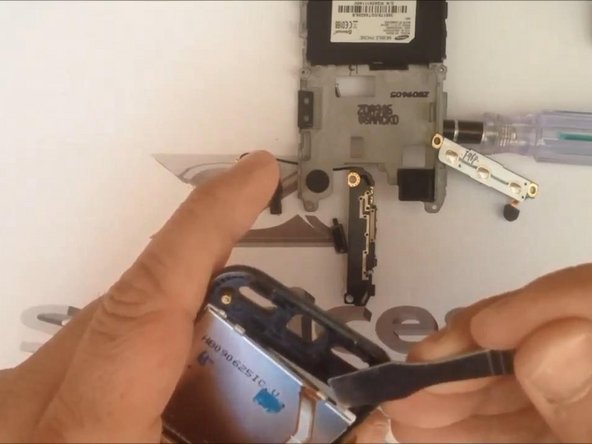
      • After removing the back housing you must disconnect the antenna cable, the LCD connector and unstuck Vol(+,-) keys. There is another one screw. Now you can remove the main-board.

      Ask FixBot

      Add Comment

    3. Samsung Star Touch Screen Replacement: step 3, image 1 of 3 Samsung Star Touch Screen Replacement: step 3, image 2 of 3 Samsung Star Touch Screen Replacement: step 3, image 3 of 3
      • Unstuck camera keys and remove the middle bezel.

      Ask FixBot

      Add Comment

    4. Samsung Star Touch Screen Replacement: step 4, image 1 of 2 Samsung Star Touch Screen Replacement: step 4, image 2 of 2
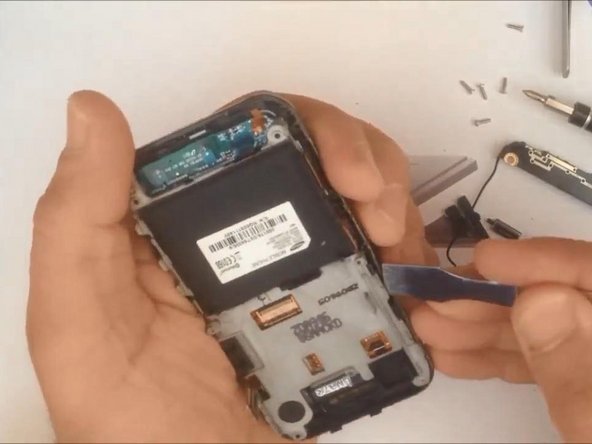
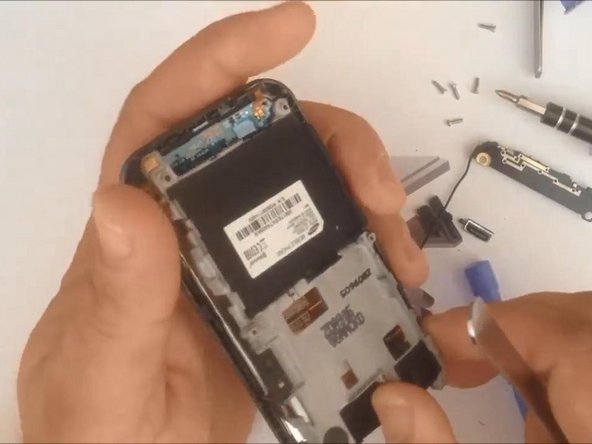
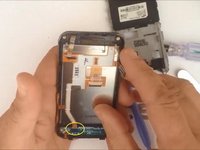
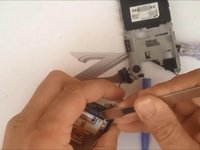
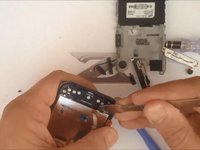
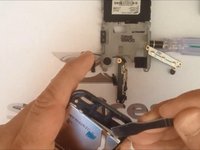
      • Disconnect the flex-cable from touch screen and the flex-cable from the small keyboard down.

      Ask FixBot

      Add Comment

    5. Samsung Star Touch Screen Replacement: step 5, image 1 of 3 Samsung Star Touch Screen Replacement: step 5, image 2 of 3 Samsung Star Touch Screen Replacement: step 5, image 3 of 3
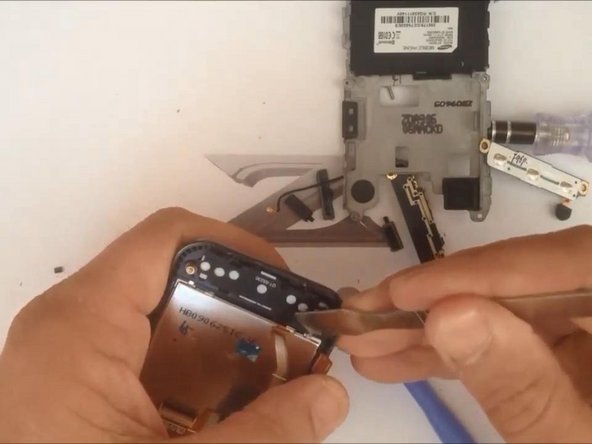
      • On the corners of the LCD screen there are small metal plates. Use them while you removing the screen. For best results, you can reheat with hairdryer. Be careful with this operation.

      Ask FixBot

      Add Comment

    6. Samsung Star Touch Screen Replacement: step 6, image 1 of 2 Samsung Star Touch Screen Replacement: step 6, image 2 of 2
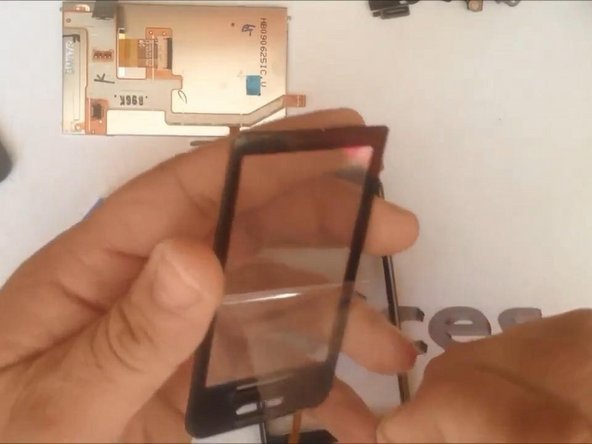
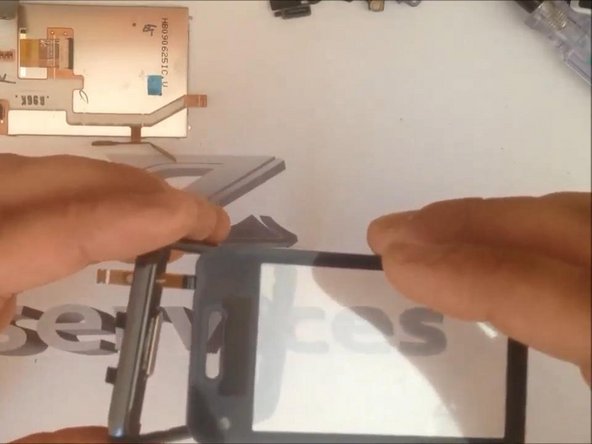
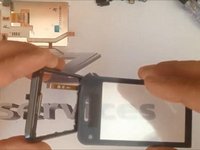
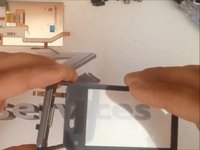
      • Now is easy to remove the touch screen.

      Ask FixBot

      Add Comment

    7. Samsung Star Touch Screen Replacement: step 7, image 1 of 3 Samsung Star Touch Screen Replacement: step 7, image 2 of 3 Samsung Star Touch Screen Replacement: step 7, image 3 of 3
      • Install new touch screen and assembly the phone.

      Ask FixBot

      Add Comment

Conclusion

To reassemble your device, follow these instructions in reverse order.

Cancel: I did not complete this guide.

10 other people completed this guide.

ZFix

Member since: 12/09/13

197,729 Reputation

330 Guides authored

Team

Master Techs Member of Master Techs

Community

336 Members

8,282 Guides authored

0 Guide Comments

Add Comment

View Statistics:

Past 24 Hours: 4

Past 7 Days: 27

Past 30 Days: 136

All Time: 4,739