
Samsung SPH-M360 Casing Replacement

Hunter Parker and one other contributor
Last updated on Jan 5, 2016
Views: 605
View statistics:
- Past 24 Hours:
- 2
- Past 7 Days:
- 9
- Past 30 Days:
- 80
- All Time:
- 605
Comments: 0
No one has left comments on this guide. Will you be first?
Go to guide commentsCompleted: 0 1
No one has marked this guide "completed." Will you be the first?
1 person has marked this guide "completed." It's you — great job!
Favorites: 0 1
No one has favorited (and subscribed to) this guide. Will you be the first?
1 person has favorited (and subscribed to) this guide — and that's you!
Needs Better Images
Better photos will improve this guide. Help out by taking, editing, or uploading new ones!
Markup Mishap
This guide needs better markups. Help out by correcting or making some markup annotations.
Introduction
Go to step 1 ↓This guide will require a screwdriver with a Phillips #0 head (labeled PH0 in iFixit 54 bit driver kit) and a plastic opening tool. Be careful not to lose the small screws involved with removing this part of the device.
What you need
Tools


-
-
-
Locate the arrow on the panel of the rear side of the phone.
-
Use one or two fingers to apply light pressure downwards on the rear panel and push or pull in the direction of the arrow.
 Ask FixBot
-
-
-
Place finger inside the small semi-spherical slot near the top of the battery.
-
Lightly pull the battery away from the phone. This should not require much effort.
-
-
-
-
-
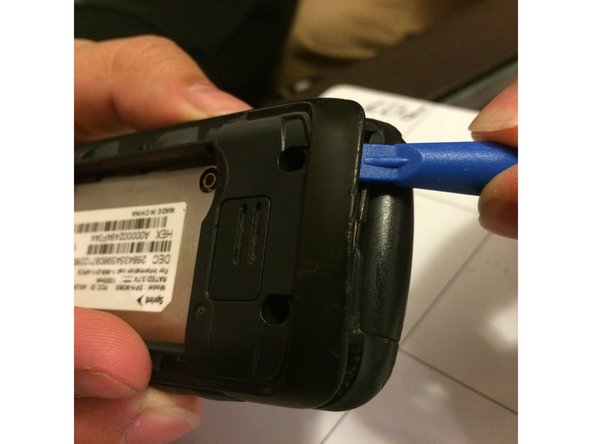
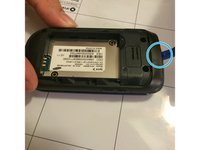
Starting near the top of the casing, use the plastic opening tool to gently pry the casing open.
-
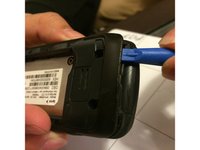
Slowly work the plastic opening tool around the edge of the casing, gently prying it around at all sides.
-
-
-
-
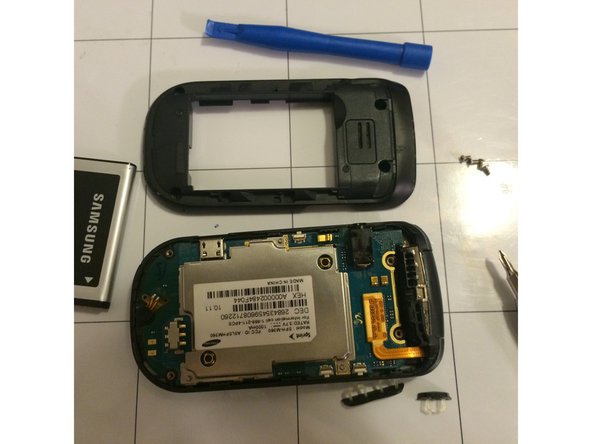
Once the casing has been fully pried off of the phone, it should be easily removed by hand.
-



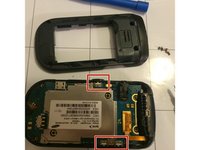
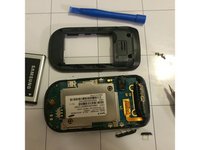
To reassemble your device, follow these instructions in reverse order. Be sure to secure the casing around the entire perimeter of the phone.

Team

University of Memphis, Team 3-5, Kim Fall 2015 Member of University of Memphis, Team 3-5, Kim Fall 2015
UM-KIM-F15S3G5
4 Members
60 Guides authored
