
Samsung SGH-A737 Camera Replacement

Tommy and 8 other contributors
Last updated on May 23, 2023
Views: 733
View statistics:
- Past 24 Hours:
- 3
- Past 7 Days:
- 17
- Past 30 Days:
- 101
- All Time:
- 733
Comments: 0
No one has left comments on this guide. Will you be first?
Go to guide commentsCompleted: 0 1
No one has marked this guide "completed." Will you be the first?
1 person has marked this guide "completed." It's you — great job!
Favorites: 0 1
No one has favorited (and subscribed to) this guide. Will you be the first?
1 person has favorited (and subscribed to) this guide — and that's you!
Action Shots
Be an action hero! This guide needs images that better demonstrate how to perform specific actions.
Slice and Dice
The steps in this guide should be split up and made into a series of prerequisite guides.
Introduction
Go to step 1 ↓If you're experiencing issues with your Samsung SGH-A737's camera, you may need to replace it. This guide will show you how to access and replace the circuit board in the phone's body, which contains the phone's camera. By following our step-by-step instructions, you'll be able to effectively replace the camera and restore the full functionality of your device. Let's get started!
What you need
Tools

-
-
-
Gather all the materials required prior to the teardown.
-
A Phillips PH000 screw head and screwdriver are the only required tools for this guide.
 Ask FixBot
-
-
-
Remove the battery from the back of the device.
-
Once the rear cover is removed, the battery should easily pop out of the phone.
-
-
-
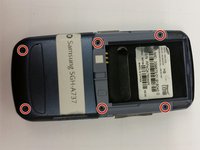
Using the screwdriver, unscrew the six visible screw drivers on the back of the phone.
-
-
-
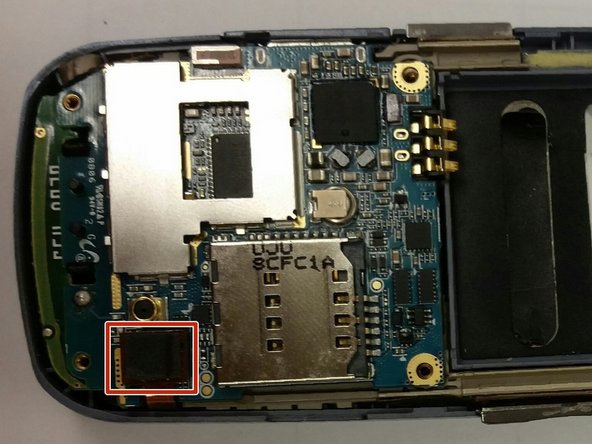
With care, lift up the connector located at the bottom left of the phone, as demonstrated in the accompanying image.
-
-
-
Flip the circuit board up to unveil an orange connector near bottom of it.
-
Gently unplug the connector by prying on the corner with a finger.
-
-
-
Lift up the tan circuit board holder to separate it from the device.
-
-
-
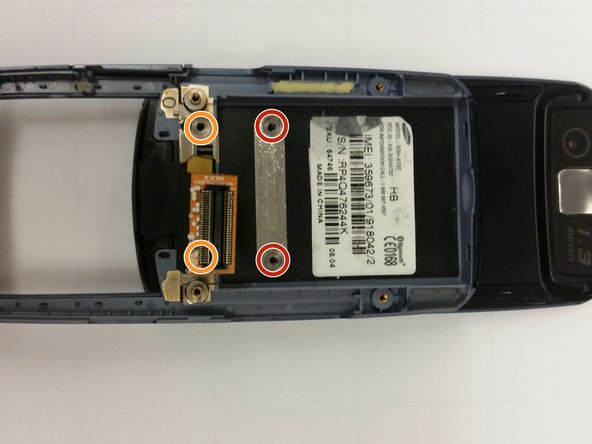
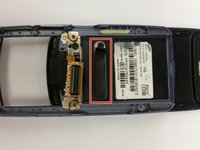
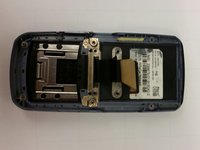
Peel off the black strip below the product sticker, unveiling two screws and unscrew them.
-
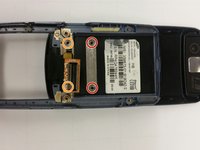
There are two more screws slightly below that need to be unscrewed as well.
-
-
-
-
Make sure the phone is closed. If not slide it closed now.
-
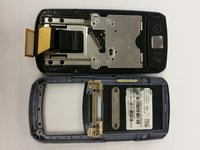
Next, carefully detach the blue plastic panel from the phone. It should already be slightly loose.
-
-
-
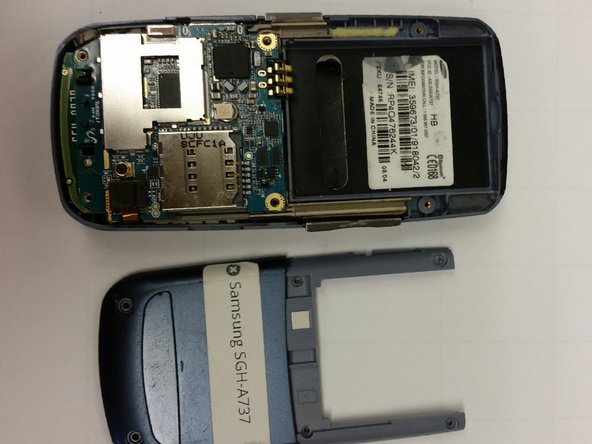
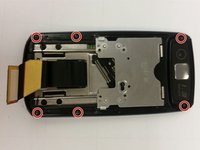
Begin by removing the six visible screws located on the outer edge of the device.
-
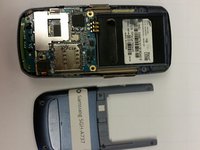
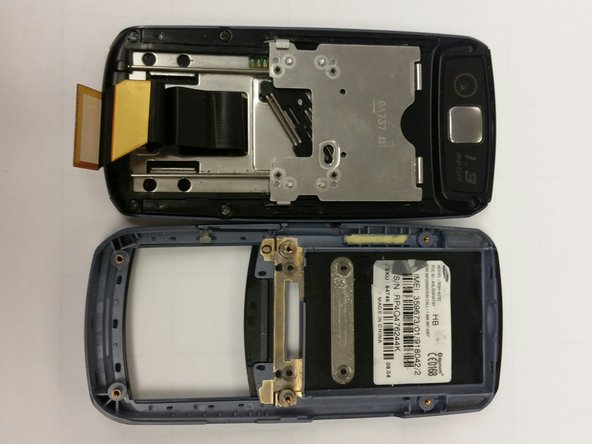
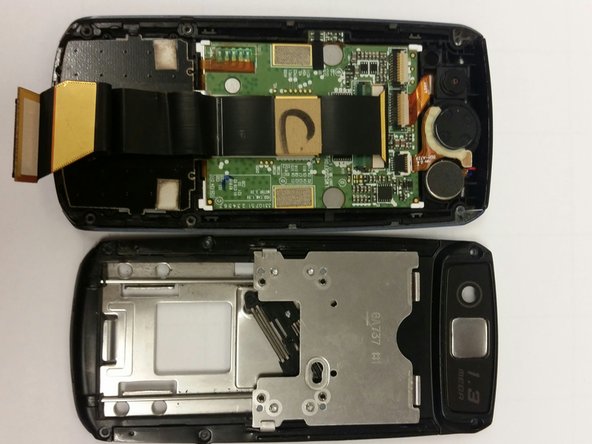
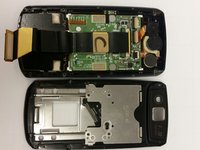
Once the screws are removed, gently separate the panel to unveil the circuits and camera.
-
-
-
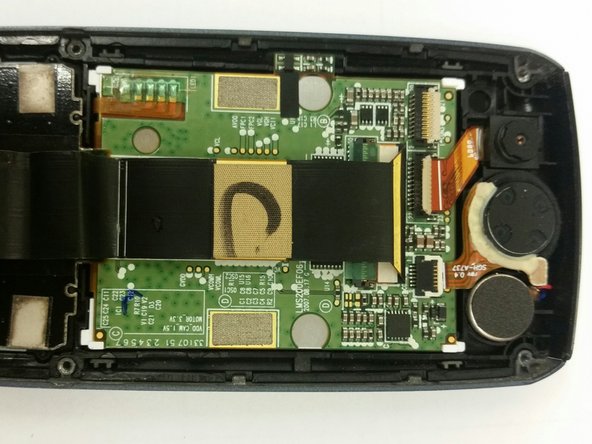
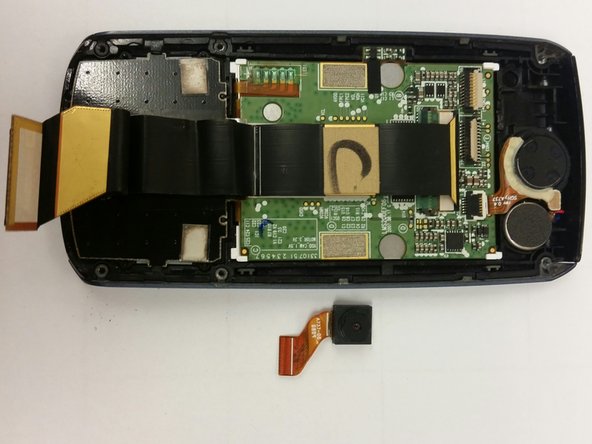
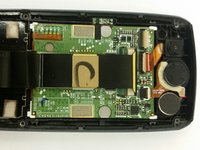
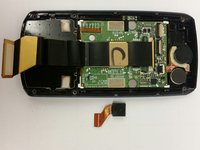
To disconnect the camera, gently lift the tan flap away from the camera where the orange connector is attached. This should loosen the wire.
-
Next, pry up on the camera to dislodge it. This may require some force.
-
-




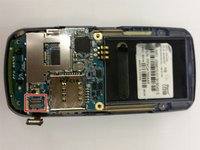
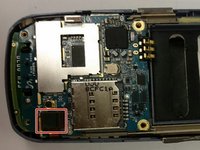

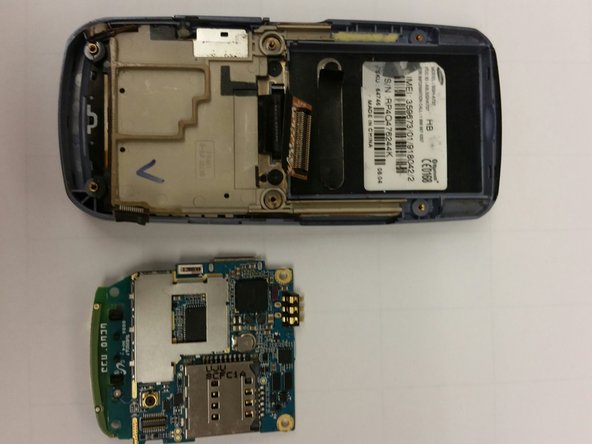
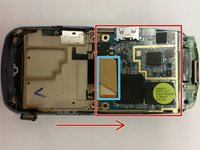
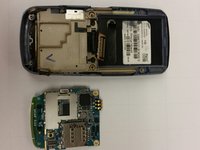

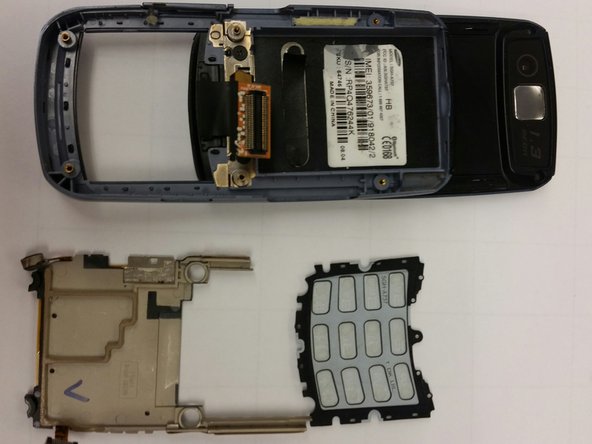
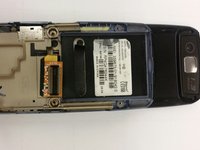
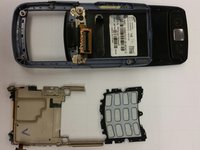




To reassemble your device, follow these instructions in reverse order.

Team

Ohio State, Team 1-3, Garvin Spring 2016 Member of Ohio State, Team 1-3, Garvin Spring 2016
OSU-GARVIN-S16S1G3
4 Members
24 Guides authored
