Free Shipping on Domestic Orders $75+

Samsung SCH-A310 Inside Screen Replacement

What you need

  1. Samsung SCH-A310 Inside Screen Replacement, Display Casing: step 1, image 1 of 3 Samsung SCH-A310 Inside Screen Replacement, Display Casing: step 1, image 2 of 3 Samsung SCH-A310 Inside Screen Replacement, Display Casing: step 1, image 3 of 3
    • With the phone upright and folded shut, locate the two silver tabs at the top of the screen.

    • Using one hand, pinch the two tabs inward, and use your other hand to slide the front cover of the screen off of the phone.

    • Note: Do not apply too much of force. If you find it difficult to remove the front cover, try pinching the tabs in harder, and make sure you are sliding the front cover directly downward.

    Ask FixBot

    Add Comment

  2. Samsung SCH-A310 Inside Screen Replacement: step 2, image 1 of 2 Samsung SCH-A310 Inside Screen Replacement: step 2, image 2 of 2
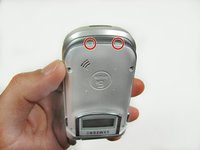
    • Using the T6 Torx screwdriver, remove each of the 4mm screws located in the corners of the phone.

    • Be sure to keep track of the little screws, since they can be lost easily.

    Ask FixBot

    Add Comment

  3. Samsung SCH-A310 Inside Screen Replacement: step 3, image 1 of 2 Samsung SCH-A310 Inside Screen Replacement: step 3, image 2 of 2
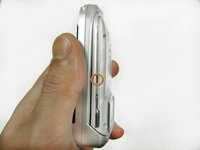
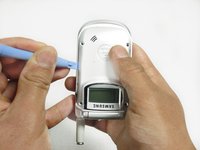
    • Locate the tabs on either side of the phone. Pull the outer case away from each tab with the plastic opening tool.

    Ask FixBot

    Add Comment

  4. Samsung SCH-A310 Inside Screen Replacement: step 4, image 1 of 3 Samsung SCH-A310 Inside Screen Replacement: step 4, image 2 of 3 Samsung SCH-A310 Inside Screen Replacement: step 4, image 3 of 3
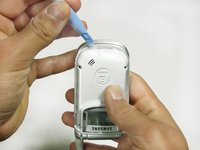
    • Hold the phone upside-down.

    • Two plastic tabs are located under the lip of your phone. Use a plastic opening tool to pop the outer case away from the tabs.

    • After the outside case is clear of the four tabs, removed it.

    Ask FixBot

    Add Comment

  5. Samsung SCH-A310 Inside Screen Replacement, Inside Screen: step 5, image 1 of 3 Samsung SCH-A310 Inside Screen Replacement, Inside Screen: step 5, image 2 of 3 Samsung SCH-A310 Inside Screen Replacement, Inside Screen: step 5, image 3 of 3
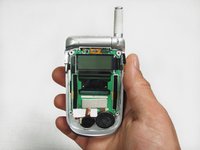
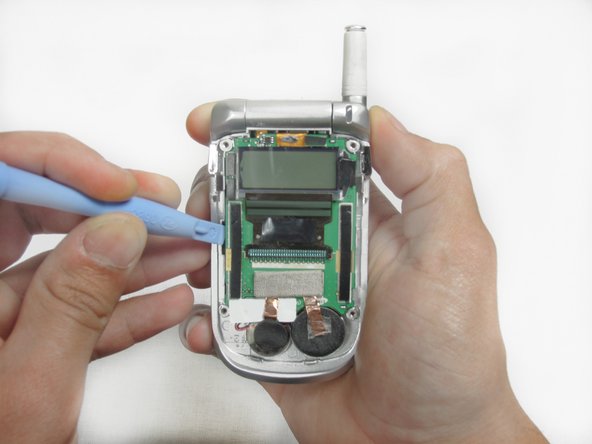
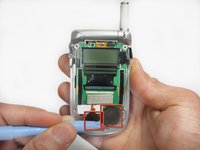
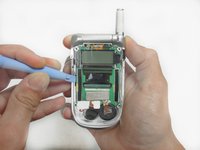
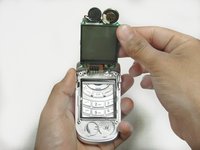
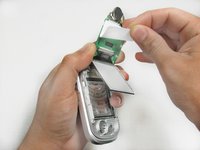
    • Pry the speakers from the casing, which are attached with only glue.

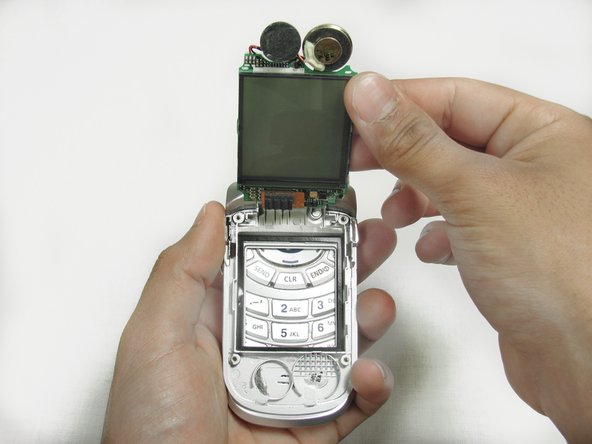
    • Pry the board (entire insides) from the casing using the pry tool.

    • The screen should be able to lift almost completely away as shown.

    Ask FixBot

    Add Comment

  6. Samsung SCH-A310 Inside Screen Replacement: step 6, image 1 of 3 Samsung SCH-A310 Inside Screen Replacement: step 6, image 2 of 3 Samsung SCH-A310 Inside Screen Replacement: step 6, image 3 of 3
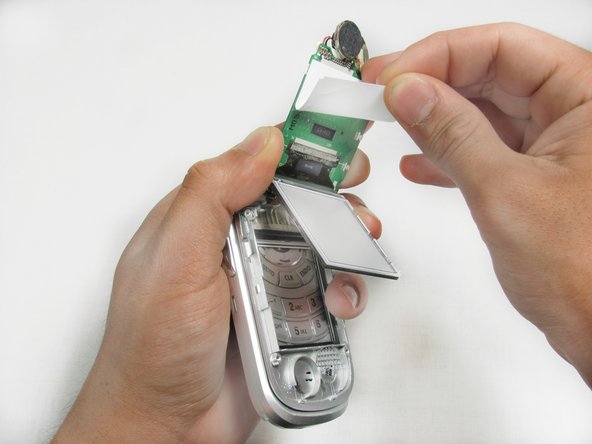
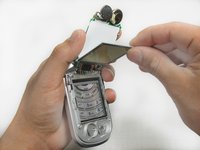
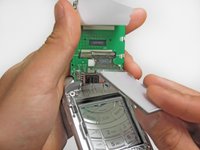
    • Peel the screen from the rest of the board using your fingers. Be careful not to break anything.

    • Lastly, peel the white paper up and away from the screen to reveal the screen's electrical connection.

    • Remove the screen's electrical tab, disconnecting the entire screen from the phone.

    Ask FixBot

    Add Comment

Conclusion

To reassemble your device, follow these instructions in reverse order.

Cancel: I did not complete this guide.

Alan Blevins

Member since: 01/20/12

1 Reputation

1 Guide authored

Team

Cal Poly, Team 11-23, Maness Winter 2012 Member of Cal Poly, Team 11-23, Maness Winter 2012

CPSU-MANESS-W12S11G23

4 Members

15 Guides authored

0 Guide Comments

Add Comment

View Statistics:

Past 24 Hours: 2

Past 7 Days: 8

Past 30 Days: 44

All Time: 1,764