Free Shipping on Domestic Orders $75+

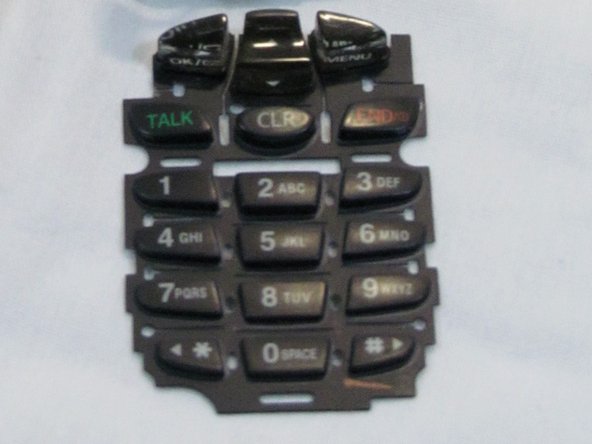
Samsung SCH-3500 Key Pad Replacement

What you need

  1. Samsung SCH-3500 Key Pad Replacement, Battery: step 1, image 1 of 2 Samsung SCH-3500 Key Pad Replacement, Battery: step 1, image 2 of 2
    • Place the phone so that the back is facing you. Depress the locking tab on the back of the phone with a finger or thumb.

    Ask FixBot

    Add Comment

  2. Samsung SCH-3500 Key Pad Replacement: step 2, image 1 of 1
    • Slide the battery toward bottom of the phone, about a quarter of an inch, to clear the hooks that keep it secured to the back of the phone.

    Ask FixBot

    Add Comment

  3. Samsung SCH-3500 Key Pad Replacement: step 3, image 1 of 1
    • Lift the battery away from the phone case.

    Ask FixBot

    Add Comment

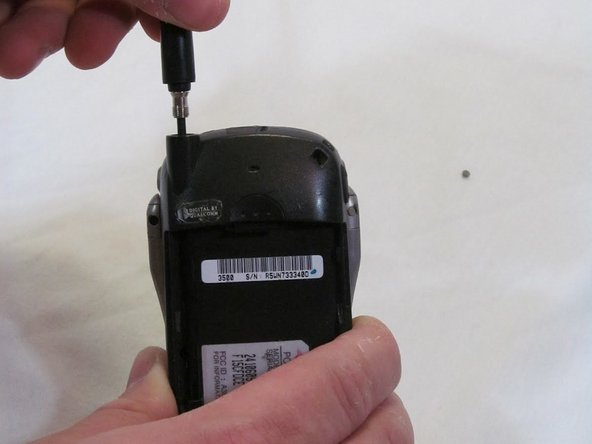
  4. Samsung SCH-3500 Key Pad Replacement, Antenna: step 4, image 1 of 2 Samsung SCH-3500 Key Pad Replacement, Antenna: step 4, image 2 of 2
    • Grasp the antenna firmly and rotate it counterclockwise to unscrew it from the phone.

    Ask FixBot

    Add Comment

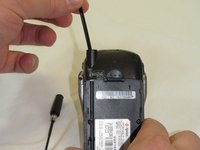
  5. Samsung SCH-3500 Key Pad Replacement: step 5, image 1 of 1
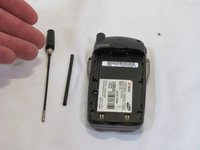
    • When unscrewed, pull the antenna straight up and out.

    Ask FixBot

    Add Comment

  6. Samsung SCH-3500 Key Pad Replacement: step 6, image 1 of 2 Samsung SCH-3500 Key Pad Replacement: step 6, image 2 of 2
    • Pull the guide tube free from its retaining ring and slide it out the top.

    Ask FixBot

    Add Comment

  7. Samsung SCH-3500 Key Pad Replacement, Back Cover: step 7, image 1 of 1
    • Remove the four screws using a T6 Torx screwdriver.

    Ask FixBot

    Add Comment

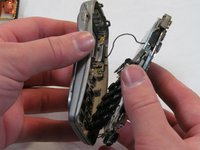
  8. Samsung SCH-3500 Key Pad Replacement: step 8, image 1 of 2 Samsung SCH-3500 Key Pad Replacement: step 8, image 2 of 2
    • Work from the bottom of the phone, separating the two halves of the case.

    • Note: Take care to keep the logic board with the front case half. Part of the logic board is exposed to the sticker under the battery on the rear case half.

    Ask FixBot

    Add Comment

  9. Samsung SCH-3500 Key Pad Replacement: step 9, image 1 of 1
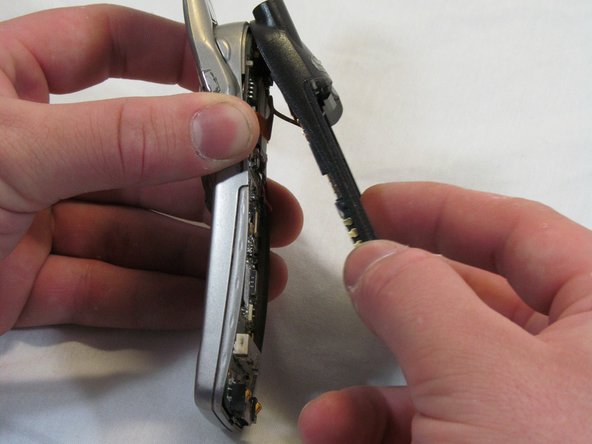
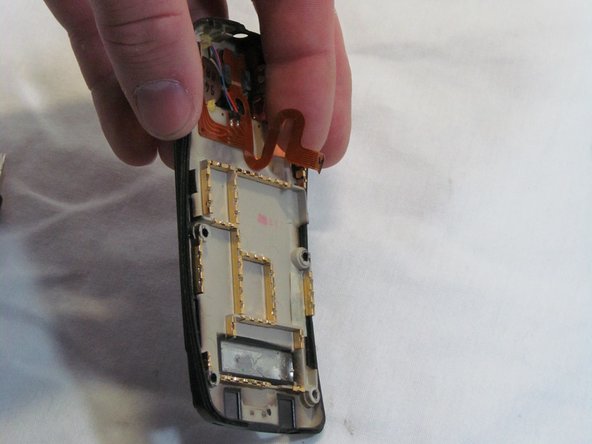
    • Angle the rear case half away from the top of the front case half, pivoting the hooks out of their clasps.

    • Caution: Do not fully separate the halves. There is an antenna ribbon connected to the logic board from the back cover.

    Ask FixBot

    Add Comment

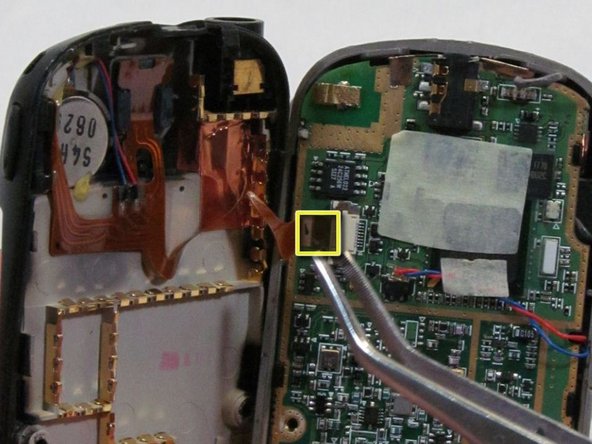
  10. Samsung SCH-3500 Key Pad Replacement: step 10, image 1 of 3 Samsung SCH-3500 Key Pad Replacement: step 10, image 2 of 3 Samsung SCH-3500 Key Pad Replacement: step 10, image 3 of 3
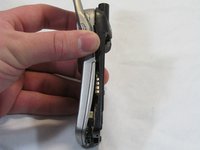
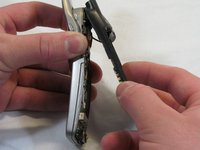
    • Disconnect the antenna ribbon cable from the logic board at the Zero Insertion Force (ZIF) connector. The brown portion of the connector lifts up to release the cable end.

    • The Back Cover is now removed. Congratulations.

    Ask FixBot

    Add Comment

  11. Samsung SCH-3500 Key Pad Replacement, Logic Board: step 11, image 1 of 1
    • Remove the connector for the earpiece speaker, located on the upper end of the logic board.

    Ask FixBot

    Add Comment

  12. Samsung SCH-3500 Key Pad Replacement: step 12, image 1 of 1
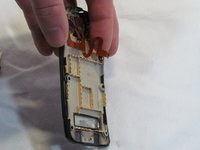
    • Turn the front cover over, gently prying the logic board away from the front cover. It will remain attached by two wires from the front of the board.

    Ask FixBot

    Add Comment

  13. Samsung SCH-3500 Key Pad Replacement: step 13, image 1 of 2 Samsung SCH-3500 Key Pad Replacement: step 13, image 2 of 2
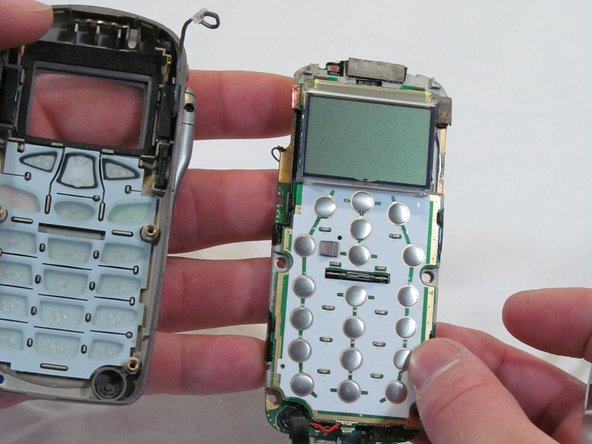
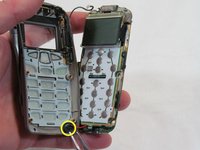
    • Work the microphone out of its socket on the front cover; it will remain attached to the logic board, its wires are soldered.

    • The logic board is now removed from the phone. Congratulations.

    Ask FixBot

    Add Comment

  14. Samsung SCH-3500 Key Pad Replacement, Key Pad: step 14, image 1 of 2 Samsung SCH-3500 Key Pad Replacement, Key Pad: step 14, image 2 of 2
    • Turn the front cover over and shake the keys out of it. They should come free in a single piece.

    • Note: The keypad may accidentally come free while removing rear cover or logic board. It is best to remove the logic board to reinstall the key mat.

    • The key pad is now removed from the phone. Congratulations.

    Ask FixBot

    Add Comment

Conclusion

To reassemble your device, follow these instructions in reverse order.

Cancel: I did not complete this guide.

Brett Tomashitis

Member since: 03/09/12

36 Reputation

5 Guides authored

Team

Clemson, Team 2-6, Benson Spring 2012 Member of Clemson, Team 2-6, Benson Spring 2012

CLEM-BENSON-S12S2G6

2 Members

15 Guides authored

0 Guide Comments

Add Comment

View Statistics:

Past 24 Hours: 0

Past 7 Days: 4

Past 30 Days: 28

All Time: 1,118