Free Shipping on Domestic Orders $75+

Samsung Refrigerator Icemaker Assembly Replacement

Views: 30K

View statistics:

Past 24 Hours:
24
Past 7 Days:
197
Past 30 Days:
864
All Time:
29,663
Comments: 5

5 comments on steps.

Completed: 4

4 people have marked this guide "completed." Will you be next?

Favorites: 0

No one has favorited (and subscribed to) this guide. Will you be the first?

Time Required: 20 - 45 minutes
Difficulty: Moderate
Featured Guide

This guide has been found to be exceptionally cool by the iFixit staff.

Samsung Refrigerator Icemaker Assembly Replacement

Introduction

Go to step 1 ↓

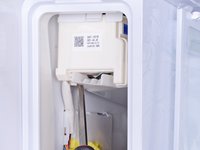
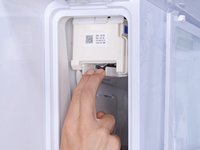
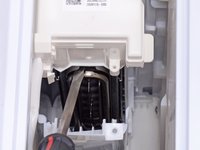
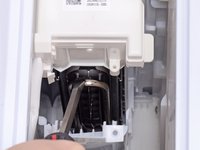
Follow this guide to remove and replace the icemaker assembly in your Samsung refrigerator.

This guide will work for most French-door Samsung refrigerators where the icemaker is in the refrigerator compartment. If your icemaker is in the freezer drawer, follow this guide instead.

The icemaker assembly is a combination of parts that creates ice. Because of its design, the assembly is prone to freezing over, seizing up the ice making mechanism. If you try to run the ice maker while it's seized up, you may break it.

If your ice maker is frozen, follow this guide to defrost it.

Note: Even if you've followed instructions to defrost your refrigerator, you may need a steamer to aid in removing any leftover ice build up. You should use the steamer whenever necessary throughout the repair to melt any iced over areas.

Note: In 2019, Samsung updated the control board to address the defrost and drain issues related to the ice maker. This update should help reduce the tendency for the icemaker assembly to freeze up and break. If you bought your refrigerator before 2019, you may need to purchase the ice maker service kit (which includes the control board) rather than just the ice maker assembly, or your replacement ice maker may continue to develop issues.

This guide is based on a model RF28R7201SG refrigerator. If you have a different model, you may encounter some minor disassembly differences, but the overall repair process will be the same.

What you need

    1. Samsung Refrigerator Icemaker Assembly Replacement, Unplug your refrigerator: step 1, image 1 of 1
      • Unplug your refrigerator before you begin your repair.

      • If you are testing or repairing the following items, you may also need to shut off and disconnect the water supply:

      • Condenser fan motor

      • Compressor motor and thermal overload device

      • Water supply valve assembly

      Ask FixBot

      Add Comment

    1. Samsung Refrigerator Icemaker Assembly Replacement, Open the refrigerator doors: step 2, image 1 of 2 Samsung Refrigerator Icemaker Assembly Replacement, Open the refrigerator doors: step 2, image 2 of 2
      • Open both French doors for the refrigerator compartment.

      Ask FixBot

      Add Comment

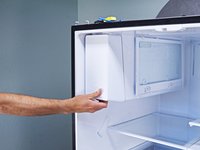
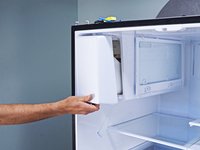
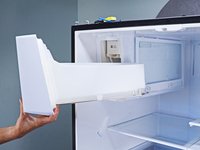
    1. Samsung Refrigerator Icemaker Assembly Replacement, Remove the ice bucket: step 3, image 1 of 1
      • The ice bucket should be located in the upper left side of your refrigerator. It may have "Ice Master" or "Ice Max" on the outside.

      Ask FixBot

      Add Comment

    2. Samsung Refrigerator Icemaker Assembly Replacement, Remove the ice bucket: step 4, image 1 of 3 Samsung Refrigerator Icemaker Assembly Replacement, Remove the ice bucket: step 4, image 2 of 3 Samsung Refrigerator Icemaker Assembly Replacement, Remove the ice bucket: step 4, image 3 of 3
      Ask FixBot

      Add Comment

    3. Samsung Refrigerator Icemaker Assembly Replacement, Check the ice bucket condition: step 5, image 1 of 1
      • Check for cracks or fractures in the ice bucket and auger assembly. Replace the bucket as needed.

      • Check the gasket around the edge of the bucket. If the gasket's ripped, cracked, rolled or has become too rigid, the bucket won't seal properly and cause condensation to seep in and freeze.

      Ask FixBot

      Add Comment

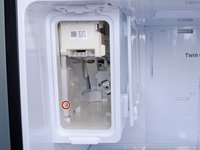
    1. Samsung Refrigerator Icemaker Assembly Replacement, Unfasten the cable cover panel: step 6, image 1 of 2 Samsung Refrigerator Icemaker Assembly Replacement, Unfasten the cable cover panel: step 6, image 2 of 2
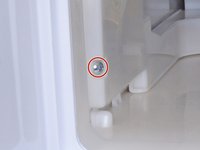
      • Remove the wire harness screw securing the cable cover panel.

      Ask FixBot

      Add Comment

    2. Samsung Refrigerator Icemaker Assembly Replacement, Remove the cable cover panel: step 7, image 1 of 3 Samsung Refrigerator Icemaker Assembly Replacement, Remove the cable cover panel: step 7, image 2 of 3 Samsung Refrigerator Icemaker Assembly Replacement, Remove the cable cover panel: step 7, image 3 of 3
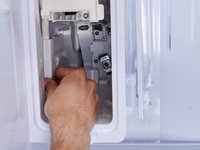
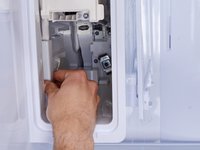
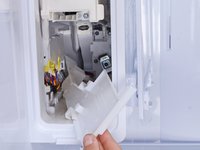
      • Use your fingers to slide the cable cover panel towards the front of the refrigerator to unlatch it.

      • Remove the cable cover panel.

      • During reassembly, make sure this panel clips fully in place, or the ice tray won't slide in properly.

      Ask FixBot

      Add Comment

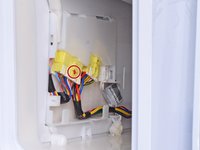
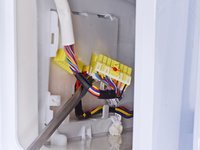
    3. Samsung Refrigerator Icemaker Assembly Replacement, Disconnect the icemaker harness: step 8, image 1 of 2 Samsung Refrigerator Icemaker Assembly Replacement, Disconnect the icemaker harness: step 8, image 2 of 2
      • The exact configuration of the connectors may vary on your refrigerator.

      • Disconnect the left-most yellow connector:

      • Squeeze the locking tab with your fingers.

      • Rock the connector gently side to side to disconnect it.

      • Use your fingers or a screwdriver to guide the wire harness out of the wall clips.

      Ask FixBot

      Add Comment

    4. Samsung Refrigerator Icemaker Assembly Replacement, Unfasten the air tunnel: step 9, image 1 of 1
      • Remove the ice maker screw securing the air tunnel flap.

      Ask FixBot

      Add Comment

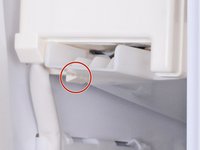
    5. Samsung Refrigerator Icemaker Assembly Replacement, Remove the icemaker assembly: step 10, image 1 of 3 Samsung Refrigerator Icemaker Assembly Replacement, Remove the icemaker assembly: step 10, image 2 of 3 Samsung Refrigerator Icemaker Assembly Replacement, Remove the icemaker assembly: step 10, image 3 of 3
      • A plastic clip holds the air tunnel flap in place.

      • Use a flathead screwdriver to pry and loosen the air tunnel flap from the plastic clip.

      Ask FixBot

      Add Comment

    6. Samsung Refrigerator Icemaker Assembly Replacement: step 11, image 1 of 2 Samsung Refrigerator Icemaker Assembly Replacement: step 11, image 2 of 2
      • Use your fingers to pull the air tunnel flap down enough to access the internals.

      Ask FixBot

      Add Comment

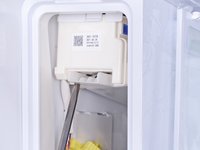
    7. Samsung Refrigerator Icemaker Assembly Replacement: step 12, image 1 of 2 Samsung Refrigerator Icemaker Assembly Replacement: step 12, image 2 of 2
      • Use a flathead screwdriver to gently pry the refrigerant loop down by 1–1.5 cm.

      • During reassembly, use your fingers to push the refrigerant loop back up.

      Ask FixBot

      Add Comment

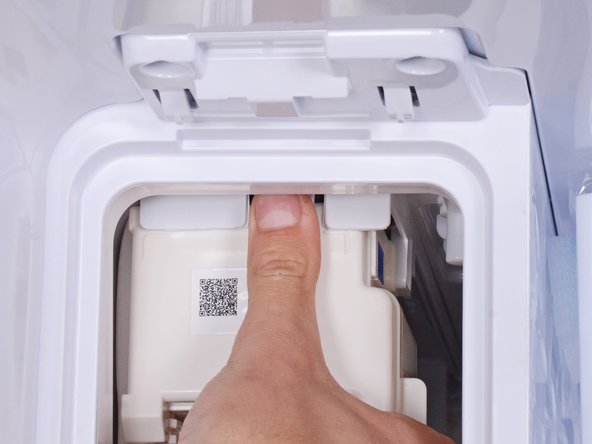
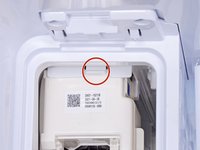
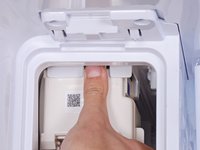
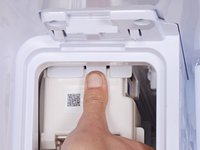
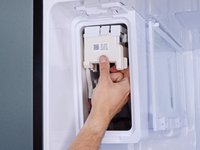
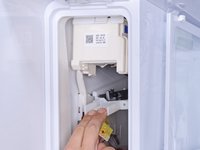
    8. Samsung Refrigerator Icemaker Assembly Replacement: step 13, image 1 of 3 Samsung Refrigerator Icemaker Assembly Replacement: step 13, image 2 of 3 Samsung Refrigerator Icemaker Assembly Replacement: step 13, image 3 of 3
      • A plastic clip holds the icemaker in place.

      • Use your fingers to press and release the plastic clip.

      • This clip is stiff and may require substantial force.

      Ask FixBot

      Add Comment

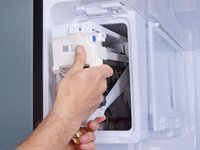
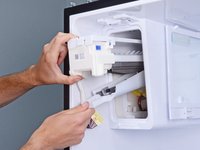
    9. Samsung Refrigerator Icemaker Assembly Replacement: step 14, image 1 of 2 Samsung Refrigerator Icemaker Assembly Replacement: step 14, image 2 of 2
      • Pull the front edge of the icemaker assembly down slightly to loosen it.

      • Be careful not to bend the refrigerant loop too much as you pull the front edge, or you'll damage the loop.

      • Carefully slide the icemaker assembly out of its housing.

      Ask FixBot

      Add Comment

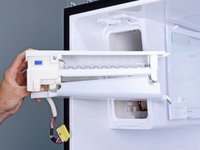
    10. Samsung Refrigerator Icemaker Assembly Replacement, Removing the Ice Maker: step 15, image 1 of 2 Samsung Refrigerator Icemaker Assembly Replacement, Removing the Ice Maker: step 15, image 2 of 2
      Ask FixBot

      Add Comment

Conclusion

To reassemble your device, follow these instructions in reverse order.

Be sure to dry any moisture that remains in the ice room before reassembly to prevent repair failure.

Take your e-waste to an R2 or e-Stewards certified recycler.

Repair didn’t go as planned? Ask our Answers Community for help.

Cancel: I did not complete this guide.

4 other people completed this guide.

nicO

Member since: 04/14/15

15,990 Reputation

88 Guides authored

Team

Team Vulcan Member of Team Vulcan

Staff

6 Members

1,884 Guides authored

0 Guide Comments

Add Comment

View Statistics:

Past 24 Hours: 24

Past 7 Days: 197

Past 30 Days: 864

All Time: 29,663