Free Shipping on Domestic Orders $75+

Samsung Refrigerator Icemaker Assembly Replacement (Freezer Icemaker)

Views: 2.7K

View statistics:

Past 24 Hours:
9
Past 7 Days:
67
Past 30 Days:
200
All Time:
2,669
Comments: 0

No one has left comments on this guide. Will you be first?

Go to guide comments
Completed: 2

2 people have marked this guide "completed." Will you be next?

Favorites: 0

No one has favorited (and subscribed to) this guide. Will you be the first?

Time Required: 20 - 45 minutes
Difficulty: Moderate
Featured Guide

This guide has been found to be exceptionally cool by the iFixit staff.

Samsung Refrigerator Icemaker Assembly Replacement (Freezer Icemaker)

Introduction

Go to step 1 ↓

This guide shows how to remove and replace a broken icemaker assembly in your Samsung refrigerator.

This guide will work for most French-door Samsung refrigerators where the icemaker is in the freezer compartment. If your icemaker is in the refrigerator compartment, follow this guide instead.

This guide is based on a model RF28T5001SR refrigerator. If you have a different model, you may encounter some minor disassembly differences, but the overall repair process will be the same.

This type of icemaker uses a twisting mechanism to loosen the ice cubes from the plastic ice tray. Oftentimes, the tray cracks from repeated operation and the mechanism won't release the ice cubes anymore.

What you need

Tools

    1. Samsung Refrigerator Icemaker Assembly Replacement (Freezer Icemaker), Unplug your refrigerator: step 1, image 1 of 1
      • Unplug your refrigerator before you begin your repair.

      Ask FixBot

      Add Comment

    2. Samsung Refrigerator Icemaker Assembly Replacement (Freezer Icemaker), Open the freezer drawer: step 2, image 1 of 2 Samsung Refrigerator Icemaker Assembly Replacement (Freezer Icemaker), Open the freezer drawer: step 2, image 2 of 2
      • Slide the freezer drawer fully open.

      Ask FixBot

      Add Comment

    3. Samsung Refrigerator Icemaker Assembly Replacement (Freezer Icemaker), Remove the freezer bins: step 3, image 1 of 3 Samsung Refrigerator Icemaker Assembly Replacement (Freezer Icemaker), Remove the freezer bins: step 3, image 2 of 3 Samsung Refrigerator Icemaker Assembly Replacement (Freezer Icemaker), Remove the freezer bins: step 3, image 3 of 3
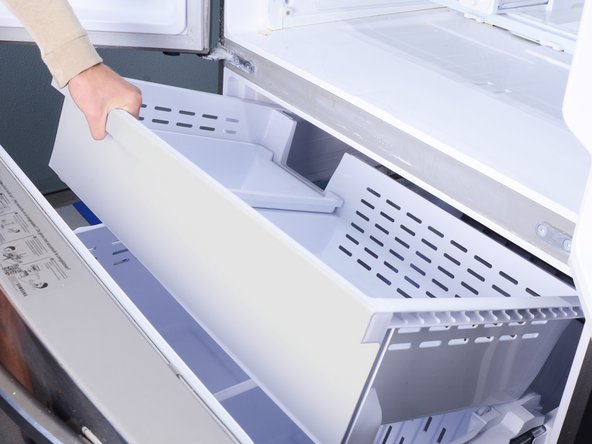
      • Lift and remove all the freezer bins from the drawer.

      • You may need to open the refrigerator doors in order to remove the large bin.

      Ask FixBot

      Add Comment

    4. Samsung Refrigerator Icemaker Assembly Replacement (Freezer Icemaker), Remove the freezer door: step 4, image 1 of 3 Samsung Refrigerator Icemaker Assembly Replacement (Freezer Icemaker), Remove the freezer door: step 4, image 2 of 3 Samsung Refrigerator Icemaker Assembly Replacement (Freezer Icemaker), Remove the freezer door: step 4, image 3 of 3
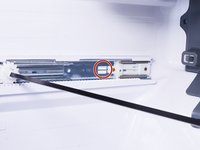
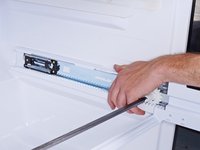
      • A plastic tab locks each drawer rail in place.

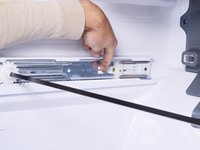
      • Use a flathead screwdriver or your fingers to press in the plastic tab near the inner end of the drawer rail.

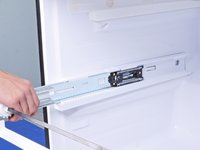
      • As you press the plastic tab, grasp the rail with your free hand and slide it towards you slightly to unlock the rail.

      Ask FixBot

      Add Comment

    5. Samsung Refrigerator Icemaker Assembly Replacement (Freezer Icemaker): step 5, image 1 of 2 Samsung Refrigerator Icemaker Assembly Replacement (Freezer Icemaker): step 5, image 2 of 2
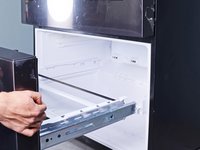
      • Repeat the rail unlock procedure on the other drawer rail.

      • Once both rails are unlocked, firmly pull both rails to slide them out of the refrigerator wall guides.

      • Remove the freezer drawer.

      • To install the freezer drawer:

      • Push the geared torsion bar until it rests at the very end of the rails.

      • Align the drawer rails to the refrigerator wall guides.

      • Close the freezer drawer until the rails lock back in place.

      • If you don't hear a click, visually check if the plastic tabs have locked in place. You may need to push the rails in a little further with your fingers to set the tabs.

      Ask FixBot

      Add Comment

    6. Samsung Refrigerator Icemaker Assembly Replacement (Freezer Icemaker), Unfasten the icemaker assembly: step 6, image 1 of 2 Samsung Refrigerator Icemaker Assembly Replacement (Freezer Icemaker), Unfasten the icemaker assembly: step 6, image 2 of 2
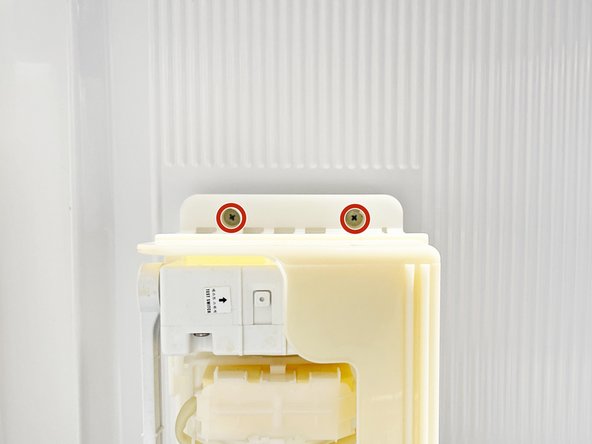
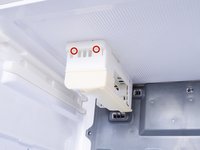
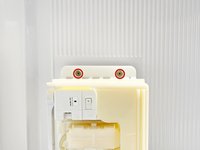
      • Use a Phillips screwdriver to remove the screws securing the icemaker assembly to the freezer ceiling.

      Ask FixBot

      Add Comment

    7. Samsung Refrigerator Icemaker Assembly Replacement (Freezer Icemaker), Disconnect the icemaker assembly: step 7, image 1 of 2 Samsung Refrigerator Icemaker Assembly Replacement (Freezer Icemaker), Disconnect the icemaker assembly: step 7, image 2 of 2
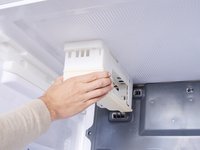
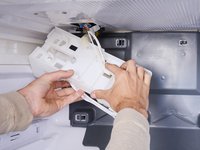
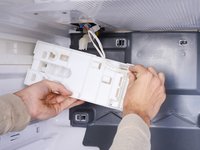
      • Grasp the front edge of the icemaker assembly and tilt it downwards.

      • Don't try to remove the icemaker yet, as it's still connected by a few wires.

      Ask FixBot

      Add Comment

    8. Samsung Refrigerator Icemaker Assembly Replacement (Freezer Icemaker): step 8, image 1 of 2 Samsung Refrigerator Icemaker Assembly Replacement (Freezer Icemaker): step 8, image 2 of 2
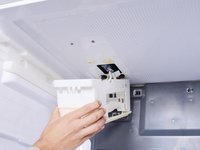
      • Use your fingers to guide the wire harness out of the icemaker assembly.

      Ask FixBot

      Add Comment

    9. Samsung Refrigerator Icemaker Assembly Replacement (Freezer Icemaker): step 9, image 1 of 3 Samsung Refrigerator Icemaker Assembly Replacement (Freezer Icemaker): step 9, image 2 of 3 Samsung Refrigerator Icemaker Assembly Replacement (Freezer Icemaker): step 9, image 3 of 3
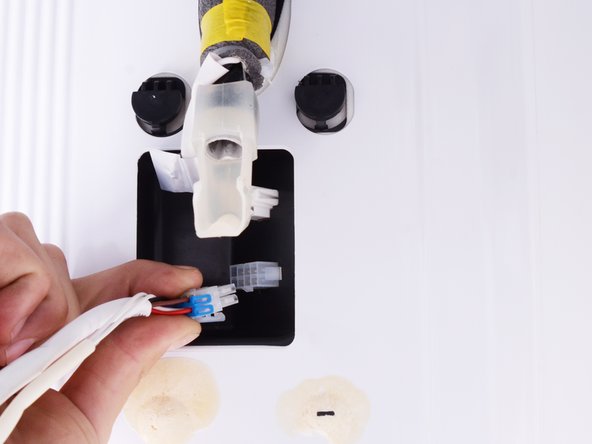
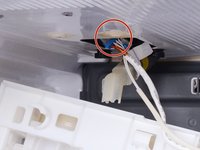
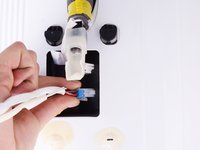
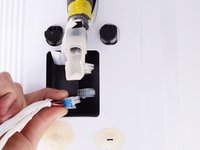
      • Squeeze the icemaker cable connector and pull to disconnect it.

      Ask FixBot

      Add Comment

    10. Samsung Refrigerator Icemaker Assembly Replacement (Freezer Icemaker): step 10, image 1 of 1
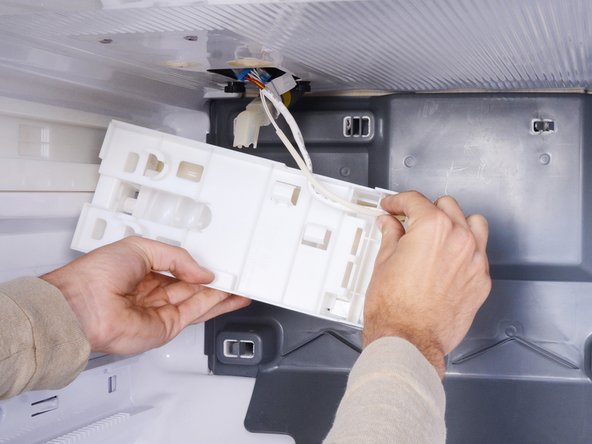
      • Remove the icemaker assembly.

      Ask FixBot

      Add Comment

Conclusion

To reassemble your device, follow these instructions in reverse order.

Take your e-waste to an R2 or e-Stewards certified recycler.

Repair didn’t go as planned? Ask our Answers community for help.

Cancel: I did not complete this guide.

2 other people completed this guide.

Arthur Shi

Member since: 01/03/18

351,273 Reputation

937 Guides authored

Team

iFixit Member of iFixit

Staff

121 Members

72,885 Guides authored

0 Guide Comments

Add Comment

View Statistics:

Past 24 Hours: 9

Past 7 Days: 67

Past 30 Days: 200

All Time: 2,669