
Samsung Refrigerator Freezer Evaporator Components Replacement

nicO and one other contributor
Last updated on Feb 21, 2024
Views: 4.9K
View statistics:
- Past 24 Hours:
- 15
- Past 7 Days:
- 104
- Past 30 Days:
- 366
- All Time:
- 4,926
Comments: 0
No one has left comments on this guide. Will you be first?
Go to guide commentsCompleted: 0 1
No one has marked this guide "completed." Will you be the first?
1 person has marked this guide "completed." It's you — great job!
Favorites: 0 1
No one has favorited (and subscribed to) this guide. Will you be the first?
1 person has favorited (and subscribed to) this guide — and that's you!
Introduction
Go to step 1 ↓Use this guide to access the freezer evaporator components for a Samsung refrigerator.
This guide will work for most Samsung Refrigerators. This guide is based on a model RF28R7201SG refrigerator. If you have a different model, you may encounter some minor disassembly differences, but the overall repair process will be the same.
While this guide shows how to disconnect the evaporator components, it doesn't cover how to diagnose or fully remove each individual component.
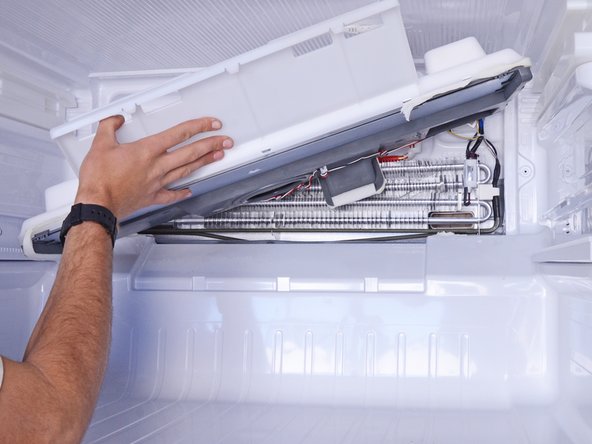
The freezer evaporator system consists of an evaporator coil, fan, defrost heater, and sensors. The evaporator coil is responsible for cooling the freezer compartment. The fan circulates the cold air within the compartment to ensure even cooling. The defrost heater and sensors prevent the evaporator coil from being covered with ice.
What you need
Tools


-
-
-
Unplug your refrigerator before you begin your repair.
-
Condenser fan motor
-
Compressor motor and thermal overload device
-
Water supply valve assembly
 Ask FixBot
-
-
-
-
-
Lift and remove all the freezer bins from the drawer.
-
-
-
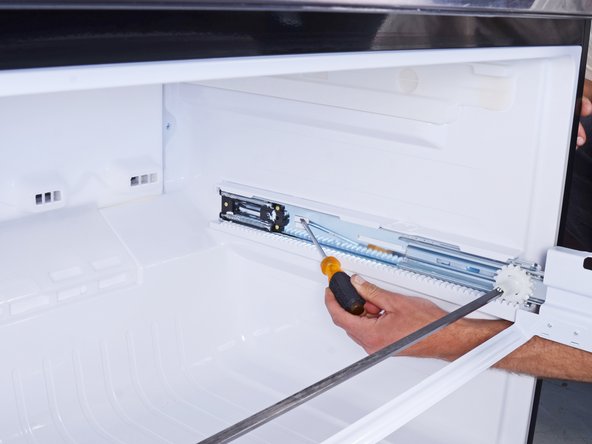
Use a flathead screwdriver to press in the plastic tab near the inner end of the drawer rail.
-
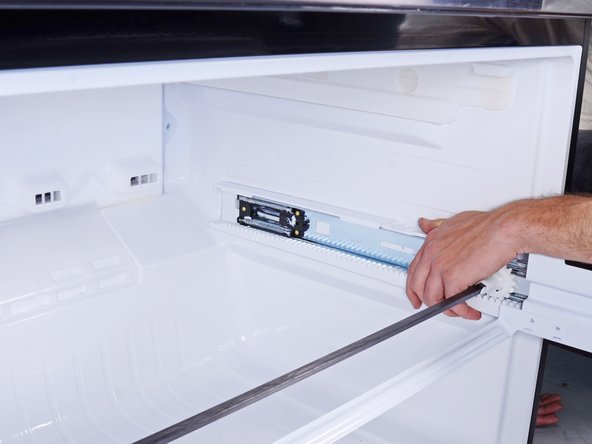
As you press the plastic tab, grasp the rail with your free hand and slide it towards you slightly to unlock the rail.
-
-
-
Repeat the rail unlock procedure on the other drawer rail.
-
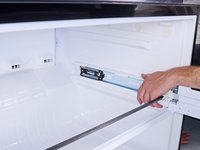
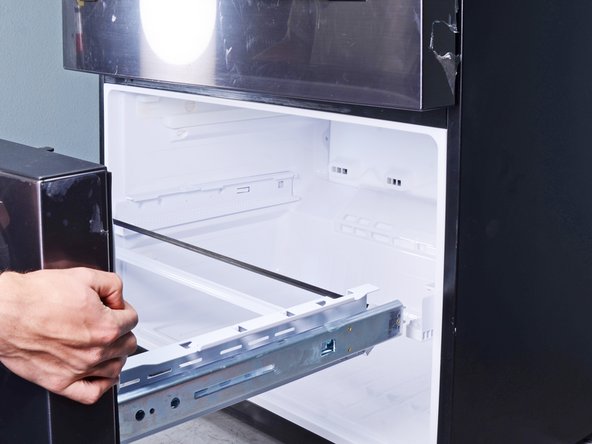
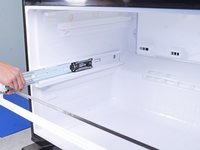
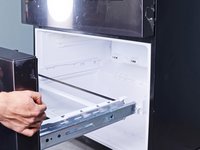
Once both rails are unlocked, firmly pull both rails to slide them out of the refrigerator wall guides.
-
Remove the freezer drawer.
-
Push the geared torsion bar until it rests at the very end of the rails.
-
Align the drawer rails to the refrigerator wall guides.
-
Close the freezer drawer until the rails lock back in place.
-
-
-
-
Remove the screws securing the freezer evaporator cover.
-
-
-
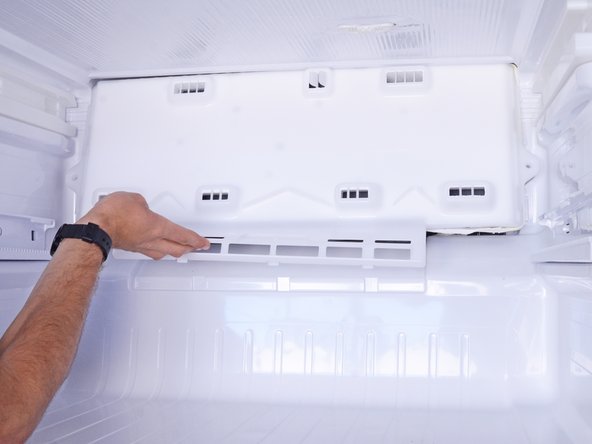
Use your hands to lift the bottom edge of the evaporator cover up to release the lower plastic tabs.
-
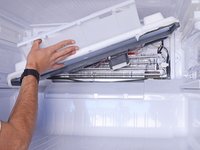
Swing the evaporator cover upwards to access the connected wires behind it.
-
-
-
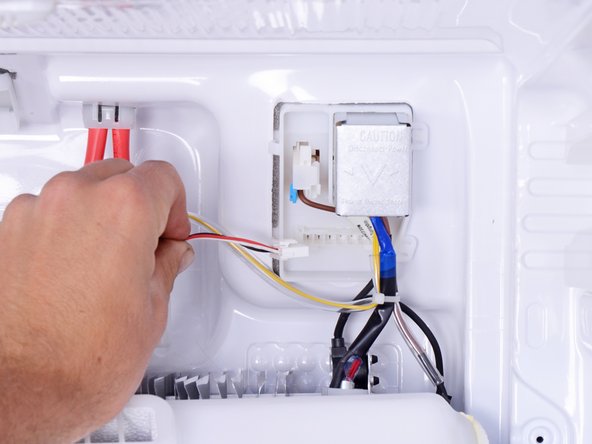
Use your fingers to squeeze and disconnect the fan cable connector from the back wall of the freezer.
-
-
-
-
-
Remove the metal connector cover from the top right corner of the freezer back wall.
-
-
-
-
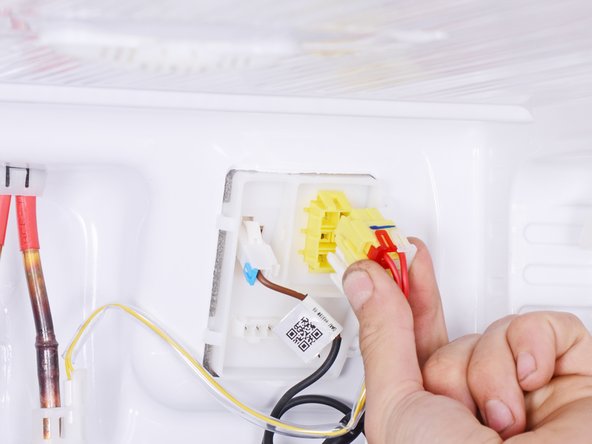
Use your fingers to squeeze and disconnect the harness connector from the refrigerator.
-
-
-
Use your fingers to pry and remove the red and white connector retaining clips from the harness connector. This will separate the connector into three individual connectors.
-
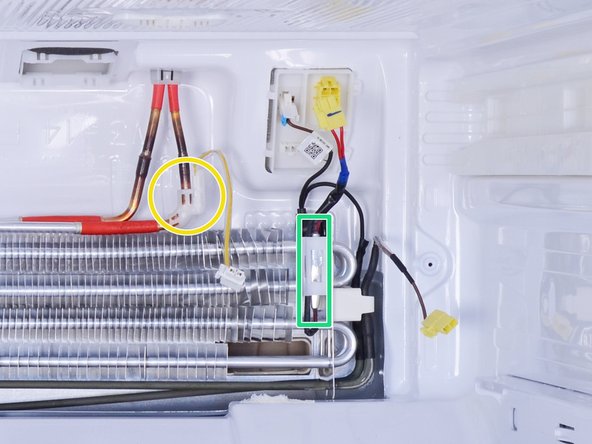
Defrost coil thermal fuse (yellow connector with two red wires)
-
One end of the defrost coil (yellow connector with brown wire in the left pin)
-
Evaporator coil thermistor (white connector with two yellow wires)
-
-
-
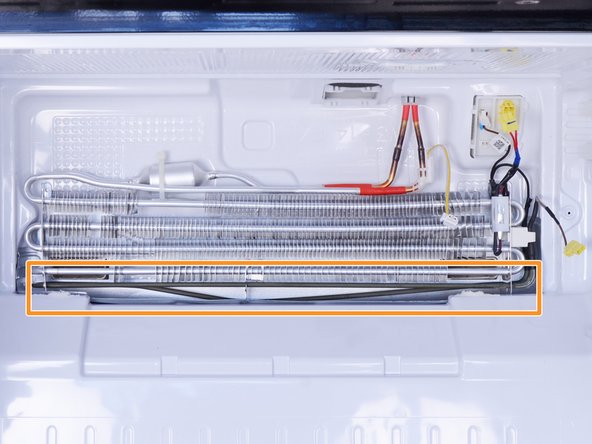
The freezer evaporator system includes these components:
-
Evaporator coil (filled with refrigerant and is non-removable)
-
Defrost heater
-
Evaporator coil thermister
-
Defrost coil thermal fuse
-
Depending on your repair, remove and replace the affected components.
-
-












To reassemble your device, follow these instructions in reverse order.
Take your e-waste to an R2 or e-Stewards certified recycler.
Repair didn’t go as planned? Ask our Answers Community for help.


