Free Shipping on Domestic Orders $75+

Samsung POWERbot VR9000 Vacuum Motor Replacement

What you need

  1. Samsung POWERbot VR9000 Vacuum Motor Replacement, Top Chassis: step 1, image 1 of 2 Samsung POWERbot VR9000 Vacuum Motor Replacement, Top Chassis: step 1, image 2 of 2
    • Turn off the emergency switch located at the bottom right of the POWERbot.

    Ask FixBot
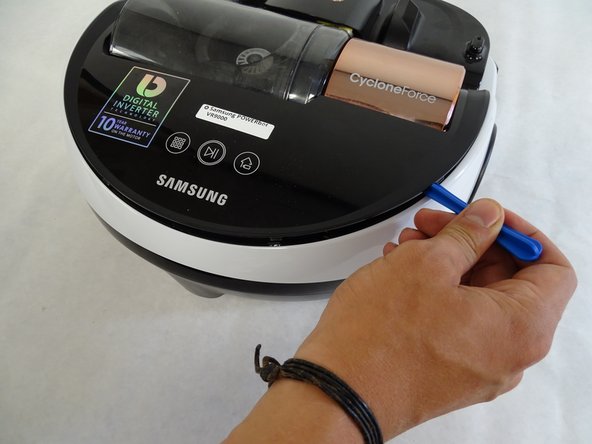
  2. Samsung POWERbot VR9000 Vacuum Motor Replacement: step 2, image 1 of 2 Samsung POWERbot VR9000 Vacuum Motor Replacement: step 2, image 2 of 2
    • Insert the plastic opening tool under the black cover, near the Samsung logo on the back of the device, and partially pry open.

    Ask FixBot
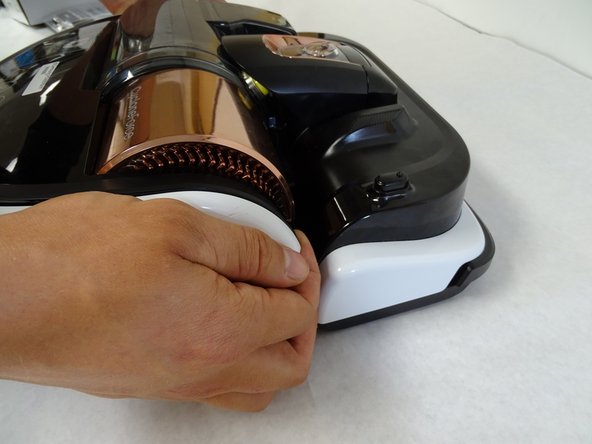
  3. Samsung POWERbot VR9000 Vacuum Motor Replacement: step 3, image 1 of 2 Samsung POWERbot VR9000 Vacuum Motor Replacement: step 3, image 2 of 2
    • Slide the plastic opening tool to the left, remaining under the black cover, until two left side pins have been detached. Then slide the plastic opening tool to the right until two right side pins have been detached.

    • Grab the two clips near the front of the black cover, on in front of each wheel. Pull the clips away from the wheels.

    Ask FixBot
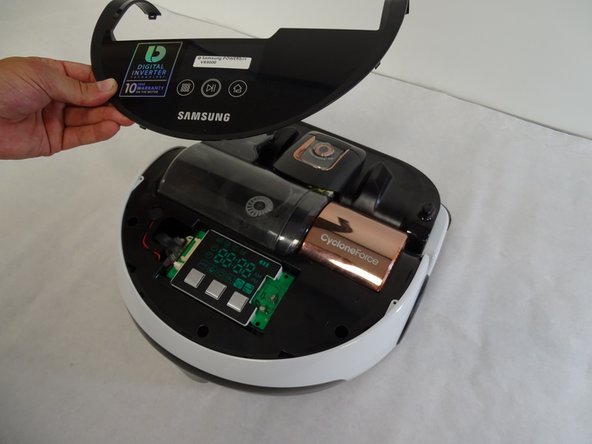
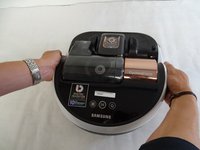
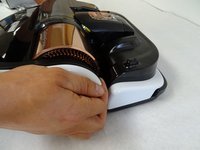
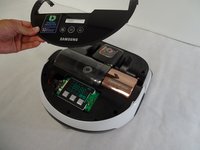
  4. Samsung POWERbot VR9000 Vacuum Motor Replacement: step 4, image 1 of 3 Samsung POWERbot VR9000 Vacuum Motor Replacement: step 4, image 2 of 3 Samsung POWERbot VR9000 Vacuum Motor Replacement: step 4, image 3 of 3
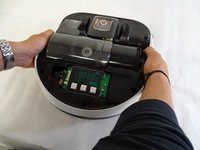
    • Remove the black cover.

    Ask FixBot
  5. Samsung POWERbot VR9000 Vacuum Motor Replacement: step 5, image 1 of 2 Samsung POWERbot VR9000 Vacuum Motor Replacement: step 5, image 2 of 2
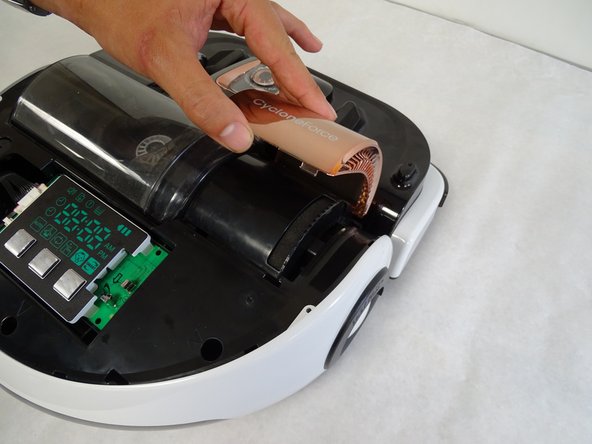
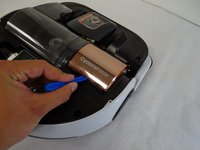
    • Insert the plastic opening tool under copper-colored cover, under the words "CycloneForce," and pry open, applying a small rotation, until the two pins are released .

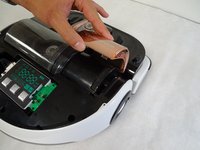
    • Grab the underside of the cover and lift upwards while pushing forward until the cover pops off.

    Ask FixBot
  6. Samsung POWERbot VR9000 Vacuum Motor Replacement: step 6, image 1 of 2 Samsung POWERbot VR9000 Vacuum Motor Replacement: step 6, image 2 of 2
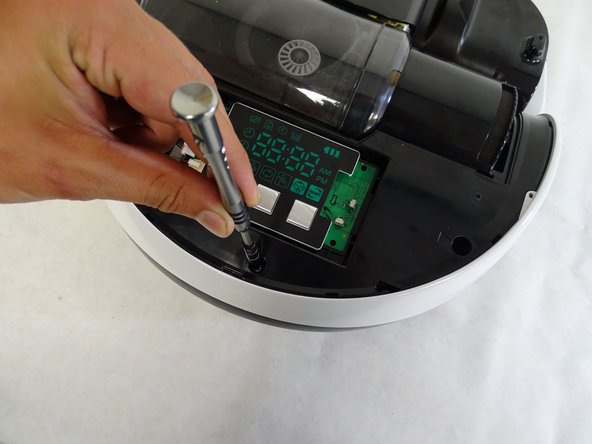
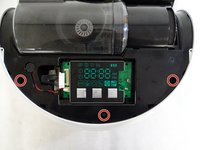
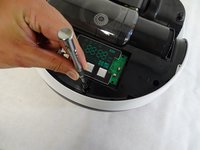
    • Remove the three 6mm Phillips #1 screws in the holes near the back of the device.

    Ask FixBot
  7. Samsung POWERbot VR9000 Vacuum Motor Replacement: step 7, image 1 of 2 Samsung POWERbot VR9000 Vacuum Motor Replacement: step 7, image 2 of 2
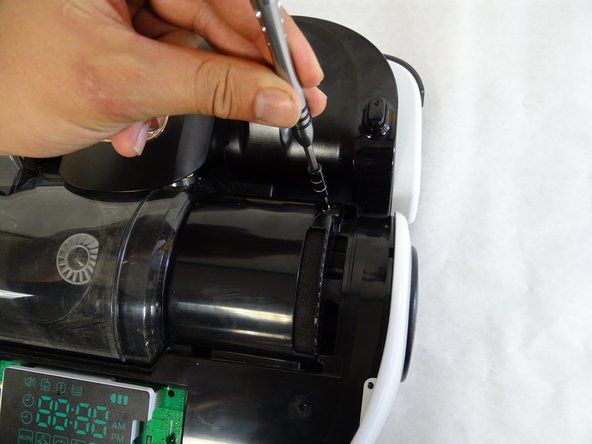
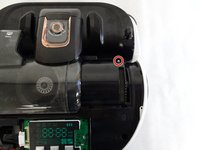
    • Remove the 6mm Phillips #1 screw in the hole that was under the copper-colored vacuum cover.

    Ask FixBot
  8. Samsung POWERbot VR9000 Vacuum Motor Replacement: step 8, image 1 of 2 Samsung POWERbot VR9000 Vacuum Motor Replacement: step 8, image 2 of 2
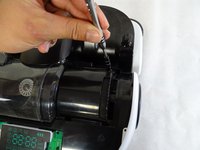
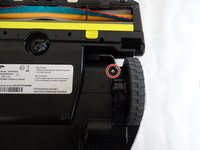
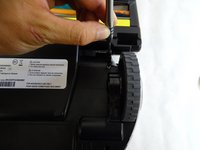
    • Flip the device over and remove the 6mm Phillips #1 screw in front of the left (from this perspective, right) wheel.

    Ask FixBot
  9. Samsung POWERbot VR9000 Vacuum Motor Replacement: step 9, image 1 of 2 Samsung POWERbot VR9000 Vacuum Motor Replacement: step 9, image 2 of 2
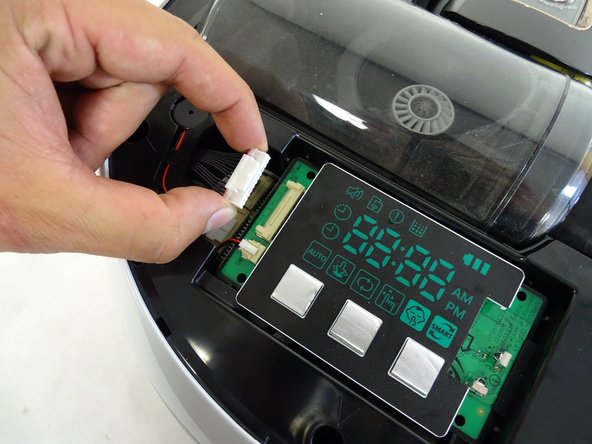
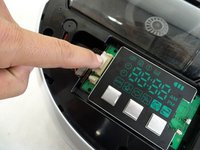
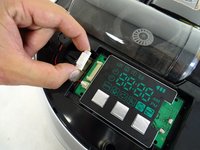
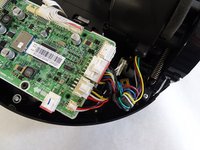
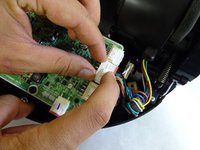
    • Detach the wider circuit connector by pressing down gently on the left end of the clip and pulling the connector out.

    • Pull the connector out by the top and bottom of the white piece and not by the wires.

    Ask FixBot
  10. Samsung POWERbot VR9000 Vacuum Motor Replacement: step 10, image 1 of 2 Samsung POWERbot VR9000 Vacuum Motor Replacement: step 10, image 2 of 2
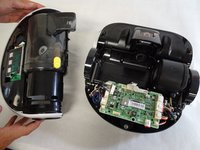
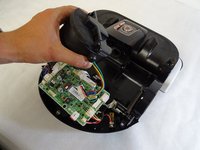
    • Remove the top chassis from the POWERbot by grabbing the wheel covers and lifting upwards.

    Ask FixBot
  11. Samsung POWERbot VR9000 Vacuum Motor Replacement, Vacuum Motor: step 11, image 1 of 2 Samsung POWERbot VR9000 Vacuum Motor Replacement, Vacuum Motor: step 11, image 2 of 2
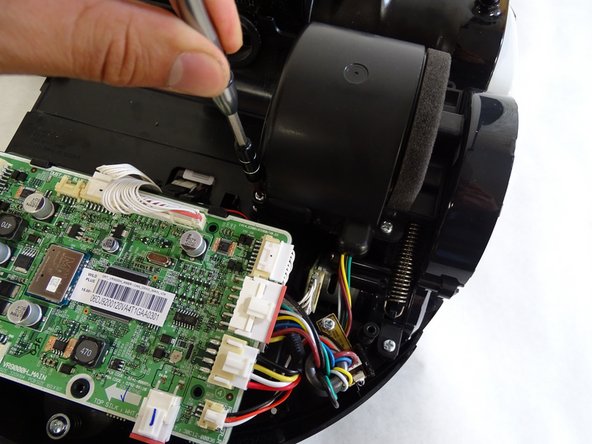
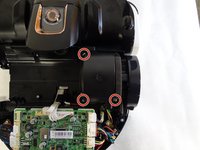
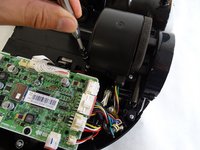
    • Remove the three 5mm Phillips #1 screws in the holes around the vacuum motor.

    Ask FixBot
  12. Samsung POWERbot VR9000 Vacuum Motor Replacement: step 12, image 1 of 2 Samsung POWERbot VR9000 Vacuum Motor Replacement: step 12, image 2 of 2
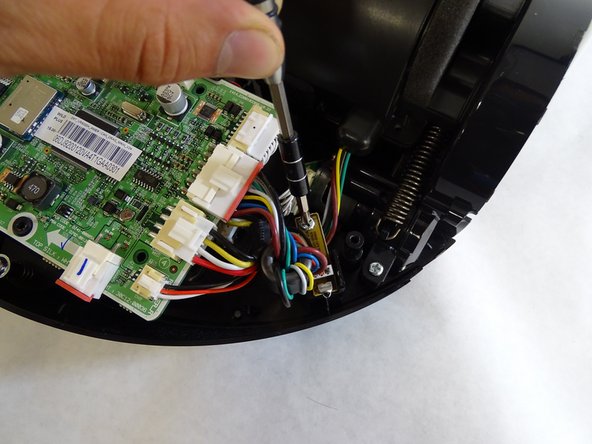
    • Remove the 5mm Phillips #1 screw on the peg to the right of the circuit board.

    Ask FixBot
  13. Samsung POWERbot VR9000 Vacuum Motor Replacement: step 13, image 1 of 3 Samsung POWERbot VR9000 Vacuum Motor Replacement: step 13, image 2 of 3 Samsung POWERbot VR9000 Vacuum Motor Replacement: step 13, image 3 of 3
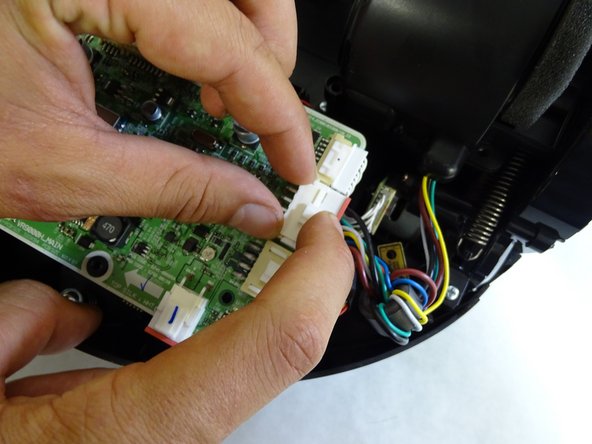
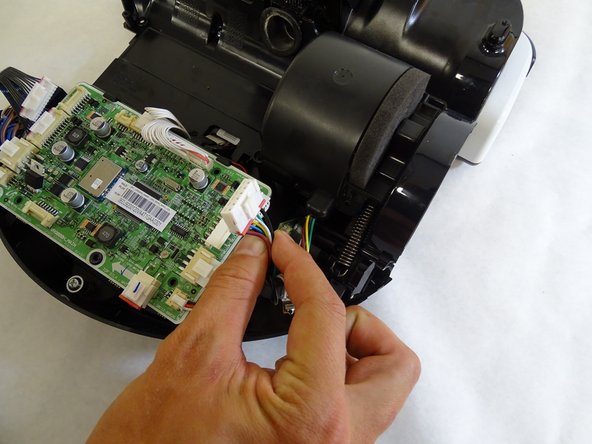
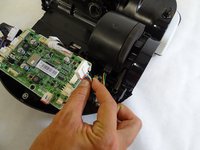
    • Detach the largest circuit connector on the right side by pressing down gently on the right end of the clip and pulling the connector out.

    • Pull the connector out by the top and bottom of the white piece and not by the wires.

    Ask FixBot
  14. Samsung POWERbot VR9000 Vacuum Motor Replacement: step 14, image 1 of 2 Samsung POWERbot VR9000 Vacuum Motor Replacement: step 14, image 2 of 2
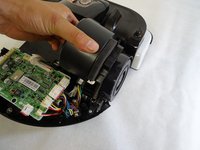
    • Remove the vacuum motor by grabbing the body of the motor and lifting upwards.

    Ask FixBot
Conclusion

To reassemble your device, follow these instructions in reverse order.

8 other people completed this guide.

Kyle Chin

Member since: 04/24/17

1,946 Reputation

4 Guides authored

Team

Cal Poly, Team S15-G3, Banghart Spring 2017 Member of Cal Poly, Team S15-G3, Banghart Spring 2017

CPSU-BANGHART-S17S15G3

4 Members

14 Guides authored

0 Guide Comments

Add Comment

View Statistics:

Past 24 Hours: 0

Past 7 Days: 6

Past 30 Days: 45

All Time: 4,856