Free Shipping on Domestic Orders $75+

This guide has more recent changes. Switch to the latest unverified version.

Samsung Notebook 5 NP530E5M Fan Assembly Replacement

Views: 669

View statistics:

Past 24 Hours:
3
Past 7 Days:
15
Past 30 Days:
63
All Time:
669
Comments: 0

No one has left comments on this guide. Will you be first?

Go to guide comments
Completed: 1

1 person has marked this guide "completed." Will you be next?

Favorites: 0

No one has favorited (and subscribed to) this guide. Will you be the first?

Time Required: 50 minutes
Difficulty: Moderate
Featured Student Guide

This guide has been the hard work of our awesome students and is found to be exceptionally cool by the iFixit staff.

Samsung Notebook 5 NP530E5M Fan Assembly Replacement

Introduction

Go to step 1 ↓

If there are issues with your device overheating and you have gone through the troubleshooting steps to make sure your fans should be working properly, you may want to replace the fan cooling system. After you have removed the back plate of the laptop and disconnected the battery for safety, you will be able to utilize this guide to remove and replace your computer's cooling system.

Keep in mind that that the fan assembly includes the fan and the heat sink that attaches to the CPU and GPU on the motherboard. Be careful when attaching and detaching from the motherboard, as over-tightening can lead to damage.

What you need

Parts

Tools

    1. Samsung Notebook 5 NP530E5M Fan Assembly Replacement, Bottom Case: step 1, image 1 of 1
      • Flip the laptop over to access the bottom case.

      • Using a Phillips #000 screwdriver, remove the ten 6mm screws that secure the bottom case.

      Ask FixBot

      Add Comment

    2. Samsung Notebook 5 NP530E5M Fan Assembly Replacement: step 2, image 1 of 2 Samsung Notebook 5 NP530E5M Fan Assembly Replacement: step 2, image 2 of 2
      • Pry along the seam using an iFixit opening tool.

      • Lift off the bottom case.

      Ask FixBot

      Add Comment

    1. Samsung Notebook 5 NP530E5M Fan Assembly Replacement, Battery: step 3, image 1 of 1
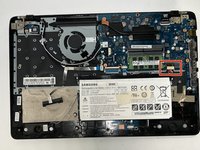
      • Locate the battery towards the bottom left corner of the laptop.

      Ask FixBot

      Add Comment

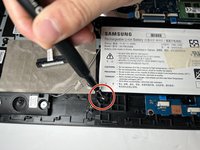
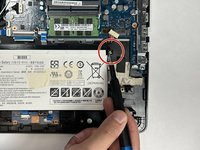
    2. Samsung Notebook 5 NP530E5M Fan Assembly Replacement: step 4, image 1 of 3 Samsung Notebook 5 NP530E5M Fan Assembly Replacement: step 4, image 2 of 3 Samsung Notebook 5 NP530E5M Fan Assembly Replacement: step 4, image 3 of 3
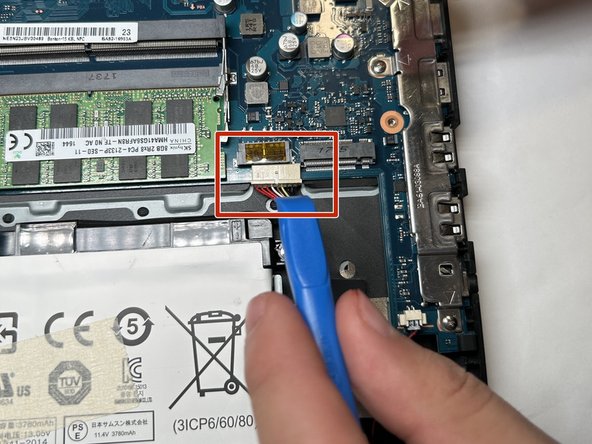
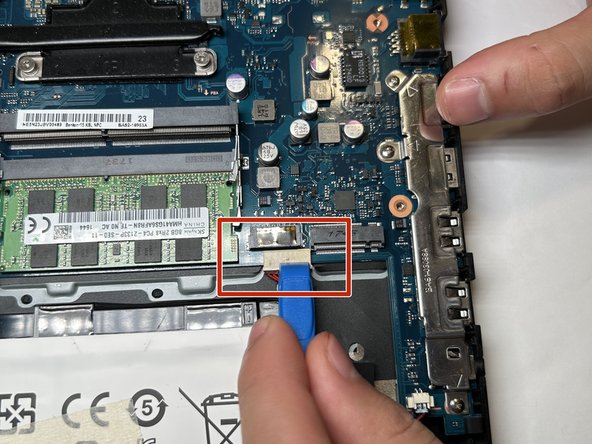
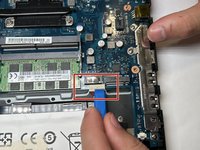
      • Using a spudger or iFixit opening tool, loosen the bundled power cable from its connector on the motherboard.

      • Disconnect the bundled cable connector.

      Ask FixBot

      Add Comment

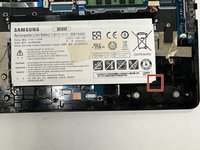
    3. Samsung Notebook 5 NP530E5M Fan Assembly Replacement: step 5, image 1 of 3 Samsung Notebook 5 NP530E5M Fan Assembly Replacement: step 5, image 2 of 3 Samsung Notebook 5 NP530E5M Fan Assembly Replacement: step 5, image 3 of 3
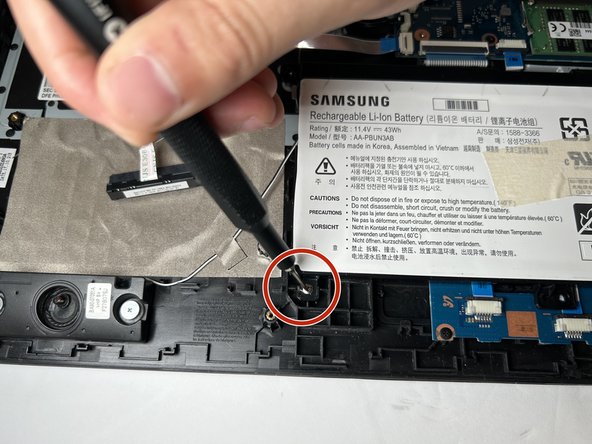
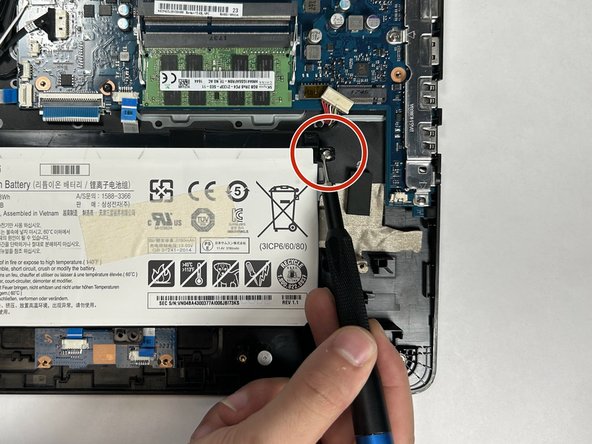
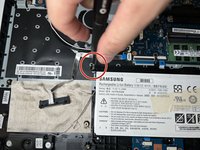
      • Using the Phillips #000 screwdriver, remove the three 5 mm screws holding the battery in place.

      • The screws are towards three corners of the battery, although there is an extra screw mount on the battery that is not used in this model of laptop.

      Ask FixBot

      Add Comment

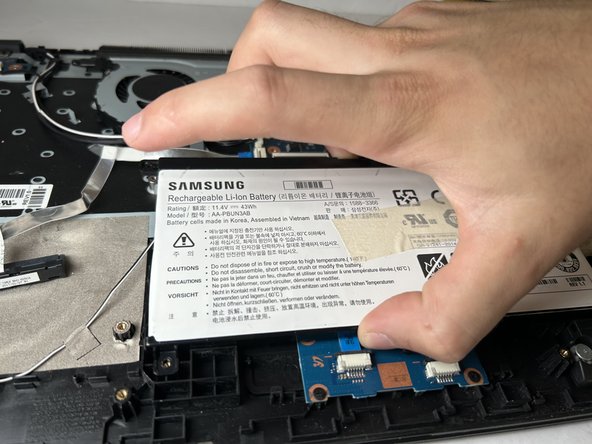
    4. Samsung Notebook 5 NP530E5M Fan Assembly Replacement: step 6, image 1 of 2 Samsung Notebook 5 NP530E5M Fan Assembly Replacement: step 6, image 2 of 2
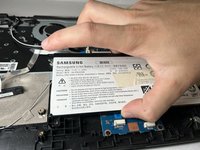
      • There is a "lip" in the bottom right corner of the battery mount.

      • Gently grip the battery from the sides, lift up and and to the left to remove the battery from its place.

      Ask FixBot

      Add Comment

    1. Samsung Notebook 5 NP530E5M Fan Assembly Replacement, Fan Assembly: step 7, image 1 of 1
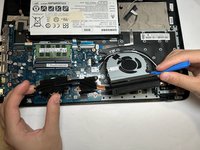
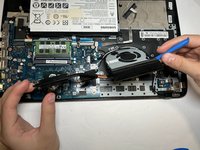
      • Locate the fan assembly towards the top of the laptop.

      • The assembly includes the fan and the heat sink that is attached to the motherboard.

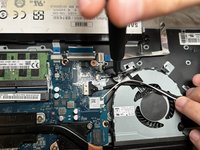
      • Using a spudger or iFixit opening tool, gently remove the cable from the motherboard.

      Ask FixBot

      Add Comment

    2. Samsung Notebook 5 NP530E5M Fan Assembly Replacement: step 8, image 1 of 3 Samsung Notebook 5 NP530E5M Fan Assembly Replacement: step 8, image 2 of 3 Samsung Notebook 5 NP530E5M Fan Assembly Replacement: step 8, image 3 of 3
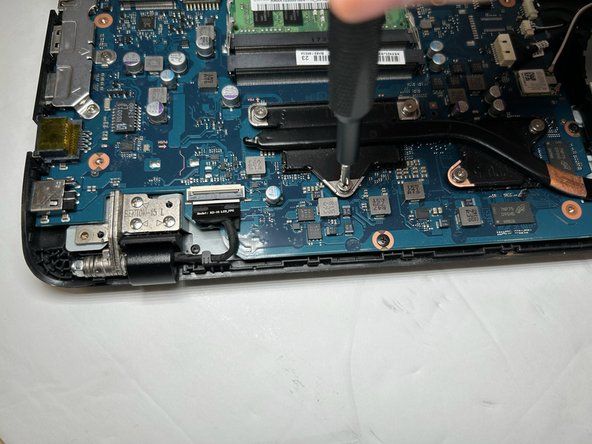
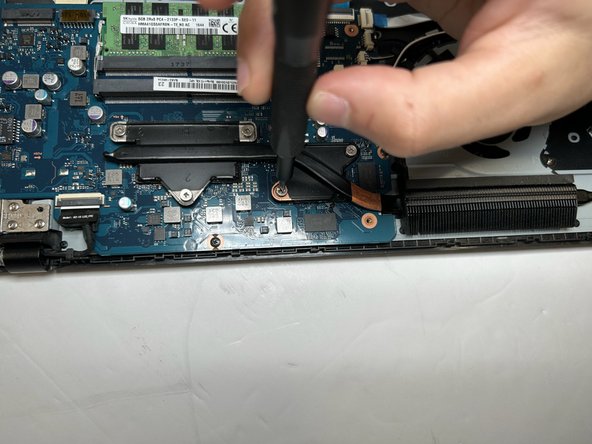
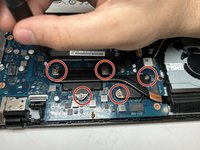
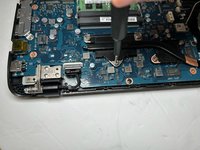
      • Using your Phillips #000 screwdriver, unscrew the five screws mounting the heat sink to the motherboard.

      • These captive screws are attached to the heat sink itself, so they will not come out completely.

      Ask FixBot

      Add Comment

    3. Samsung Notebook 5 NP530E5M Fan Assembly Replacement: step 9, image 1 of 2 Samsung Notebook 5 NP530E5M Fan Assembly Replacement: step 9, image 2 of 2
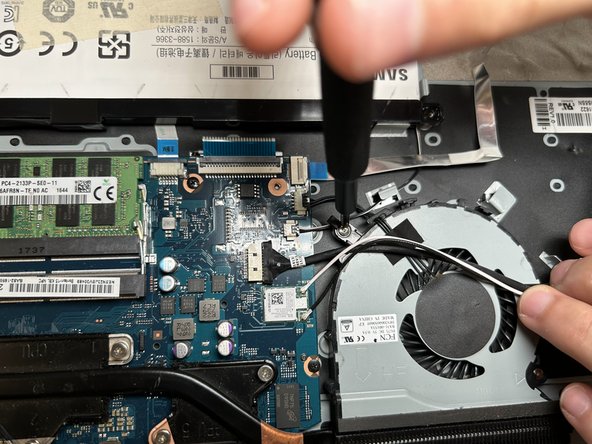
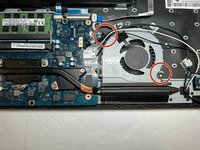
      • Using the Phillips #000 screwdriver, remove the two 4.5 mm screws holding the fan housing to the laptop case.

      Ask FixBot

      Add Comment

    4. Samsung Notebook 5 NP530E5M Fan Assembly Replacement: step 10, image 1 of 3 Samsung Notebook 5 NP530E5M Fan Assembly Replacement: step 10, image 2 of 3 Samsung Notebook 5 NP530E5M Fan Assembly Replacement: step 10, image 3 of 3
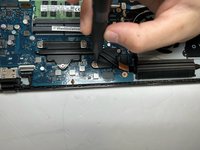
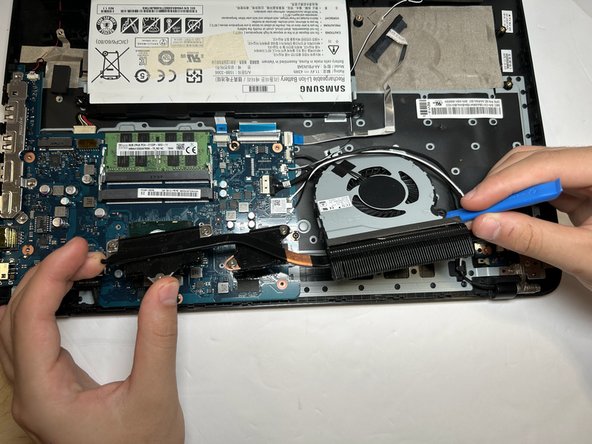
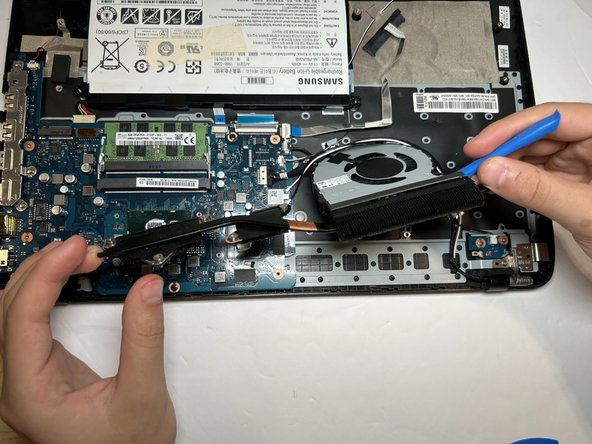
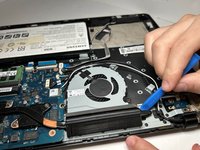
      • Carefully unseat the fan assembly from the case, using the pry tool.

      • The heat sink portion should detach easily from the board.

      Ask FixBot

      Add Comment

    5. Samsung Notebook 5 NP530E5M Fan Assembly Replacement: step 11, image 1 of 1
      • The CPU and GPU are now exposed on the motherboard. Avoid unnecessary contact to prevent potential static.

      • Using alcohol or thermal paste cleaner and a clean microfiber cloth, carefully remove the thermal paste left behind.

      • Re-apply a small dab of thermal paste to the now clean CPU and GPU before replacing the fan assembly.

      • Be careful applying thermal paste. You only want just enough to cover the contacts between the processors and heat sink.

      Ask FixBot

      Add Comment

Conclusion

To reassemble your device, follow these instructions in reverse order.

Cancel: I did not complete this guide.

One other person completed this guide.

Lucas Gil

Member since: 09/07/23

705 Reputation

5 Guides authored

Team

Gateway, Team 1-1, Gonzalez Fall 2023 Member of Gateway, Team 1-1, Gonzalez Fall 2023

GCC-GONZALEZ-F23S1G1

4 Members

72 Guides authored

0 Guide Comments

Add Comment

View Statistics:

Past 24 Hours: 3

Past 7 Days: 15

Past 30 Days: 63

All Time: 669