Free Shipping on Domestic Orders $75+

Samsung NX3000 LCD Replacement

What you need

  1. Samsung NX3000 LCD Replacement, Battery: step 1, image 1 of 3 Samsung NX3000 LCD Replacement, Battery: step 1, image 2 of 3 Samsung NX3000 LCD Replacement, Battery: step 1, image 3 of 3
    • Turn the camera upside down. Only remove the lens if you have to in order to access the battery compartment, as dust particles could easily enter the main body and fall onto the delicate sensor.

    • Slide the button to the left to open the battery compartment.

    • Push the blue button up to release the battery.

    • The battery is not shown in these photos.

    Ask FixBot

    Add Comment

  2. Samsung NX3000 LCD Replacement, Lens Assembly: step 2, image 1 of 2 Samsung NX3000 LCD Replacement, Lens Assembly: step 2, image 2 of 2
    Tool used on this step:
    Tweezers
    $4.99
    Buy
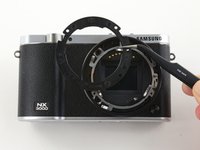
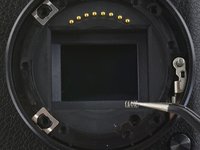
    • Remove the four 7.3 mm Phillips screws from the front of the lens assembly.

    • Remove the silver ring with tweezers.

    Ask FixBot

    Add Comment

  3. Samsung NX3000 LCD Replacement: step 3, image 1 of 2 Samsung NX3000 LCD Replacement: step 3, image 2 of 2
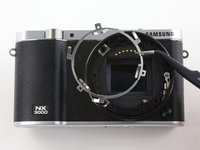
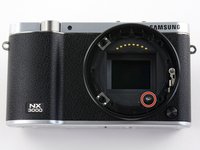
    • Use tweezers to remove the black plastic ring and small metal ring inside the lens assembly.

    Ask FixBot

    Add Comment

  4. Samsung NX3000 LCD Replacement: step 4, image 1 of 3 Samsung NX3000 LCD Replacement: step 4, image 2 of 3 Samsung NX3000 LCD Replacement: step 4, image 3 of 3
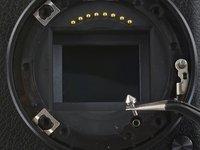
    • Use tweezers to lift the pyramid screw and spring from the lens assembly.

    Ask FixBot

    Add Comment

  5. Samsung NX3000 LCD Replacement, Back Case: step 5, image 1 of 2 Samsung NX3000 LCD Replacement, Back Case: step 5, image 2 of 2
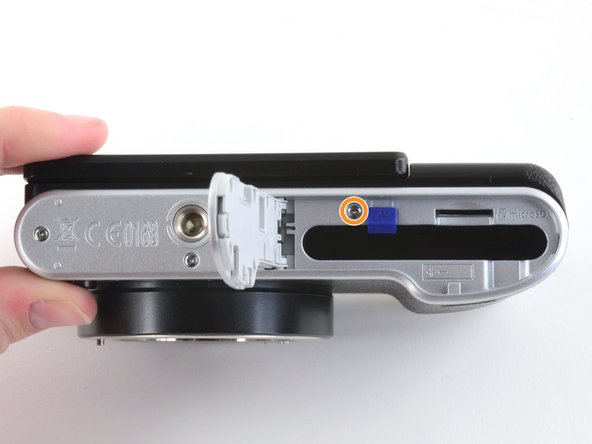
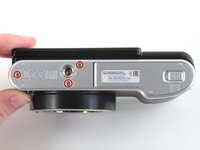
    • Remove the three 4.3 mm Phillips screws from the bottom of the camera.

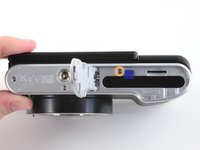
    • Remove the 4.3 mm Phillips screw hiding inside the battery compartment.

    Ask FixBot

    Add Comment

  6. Samsung NX3000 LCD Replacement: step 6, image 1 of 2 Samsung NX3000 LCD Replacement: step 6, image 2 of 2
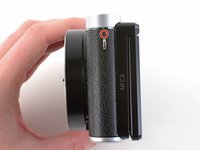
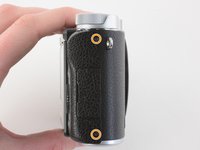
    • Remove the 4.2 mm Phillips screw from the left handgrip.

    • Remove the two 4.2 mm Phillips screws from the right handgrip.

    Ask FixBot

    Add Comment

  7. Samsung NX3000 LCD Replacement: step 7, image 1 of 2 Samsung NX3000 LCD Replacement: step 7, image 2 of 2
    Tool used on this step:
    Tweezers
    $4.99
    Buy
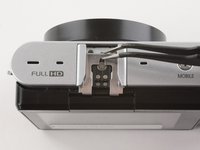
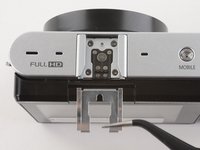
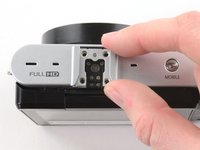
    • Use tweezers to remove the metal shield from the external flash mount.

    Ask FixBot

    Add Comment

  8. Samsung NX3000 LCD Replacement: step 8, image 1 of 1
    • Remove the four 5 mm Phillips screws from the external flash mount .

    Ask FixBot

    Add Comment

  9. Samsung NX3000 LCD Replacement: step 9, image 1 of 2 Samsung NX3000 LCD Replacement: step 9, image 2 of 2
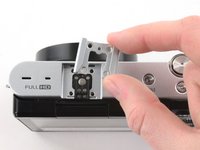
    • Remove the external flash mount.

    Ask FixBot

    Add Comment

  10. Samsung NX3000 LCD Replacement: step 10, image 1 of 2 Samsung NX3000 LCD Replacement: step 10, image 2 of 2
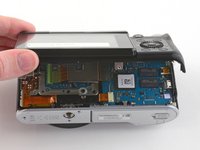
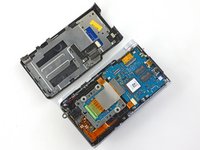
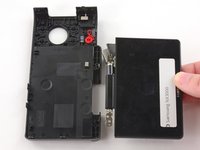
    • Slowly pull the bottom of the back case away from the camera.

    • Do not attempt to remove the back case as it is attached to the motherboard by a ribbon cable.

    Ask FixBot

    Add Comment

  11. Samsung NX3000 LCD Replacement: step 11, image 1 of 3 Samsung NX3000 LCD Replacement: step 11, image 2 of 3 Samsung NX3000 LCD Replacement: step 11, image 3 of 3
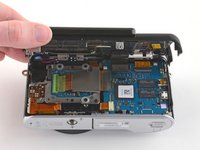
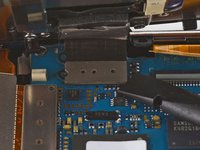
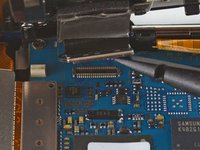
    • Use the flat end of a spudger to pry the flat topped connector straight up from the motherboard.

    • Remove the back case.

    Ask FixBot

    Add Comment

  12. Samsung NX3000 LCD Replacement, LCD: step 12, image 1 of 3 Samsung NX3000 LCD Replacement, LCD: step 12, image 2 of 3 Samsung NX3000 LCD Replacement, LCD: step 12, image 3 of 3
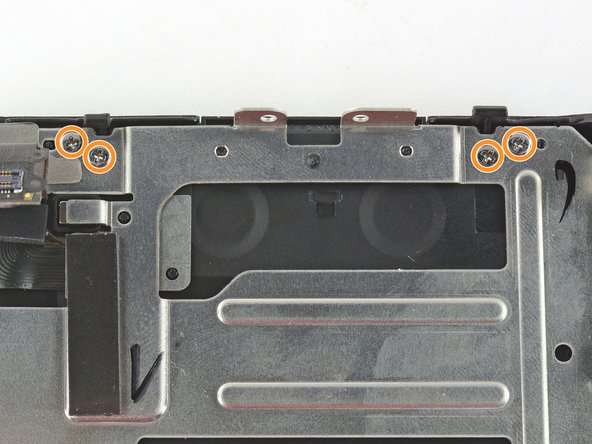
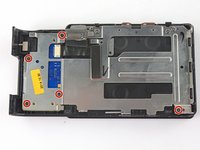
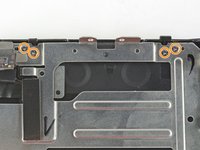
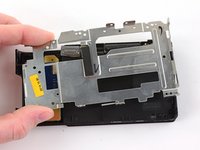
    • To remove the metal shield on the back case, remove the following screws:

    • Five black 4.2 mm Phillips screws .

    • Four silver 5.3 mm Phillips screws.

    Ask FixBot

    Add Comment

  13. Samsung NX3000 LCD Replacement: step 13, image 1 of 3 Samsung NX3000 LCD Replacement: step 13, image 2 of 3 Samsung NX3000 LCD Replacement: step 13, image 3 of 3
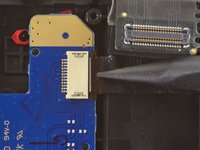
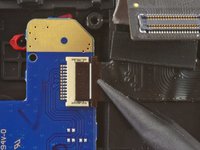
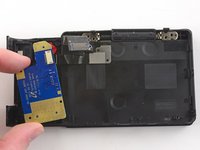
    • Insert the pointed end of a spudger into the whole on the ribbon cable holding the button panel to the back case.

    • Remove the button panel.

    Ask FixBot

    Add Comment

  14. Samsung NX3000 LCD Replacement: step 14, image 1 of 2 Samsung NX3000 LCD Replacement: step 14, image 2 of 2
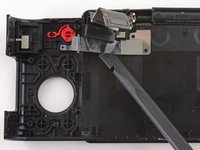
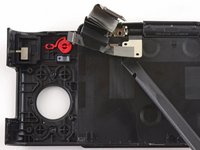
    • Use a spudger to peel back the LCD ribbon from the back case.

    • The ribbon is held in place by adhesive.

    Ask FixBot

    Add Comment

  15. Samsung NX3000 LCD Replacement: step 15, image 1 of 2 Samsung NX3000 LCD Replacement: step 15, image 2 of 2
    Tool used on this step:
    Tweezers
    $4.99
    Buy
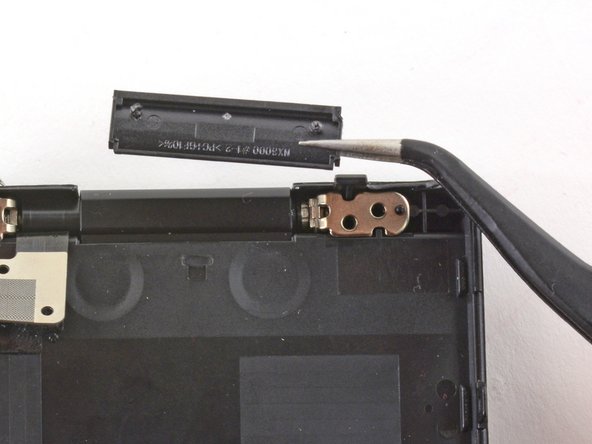
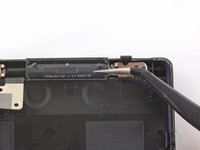
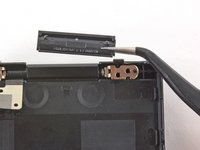
    • Use tweezers to remove the plastic cover on the LCD hinge.

    Ask FixBot

    Add Comment

  16. Samsung NX3000 LCD Replacement: step 16, image 1 of 2 Samsung NX3000 LCD Replacement: step 16, image 2 of 2
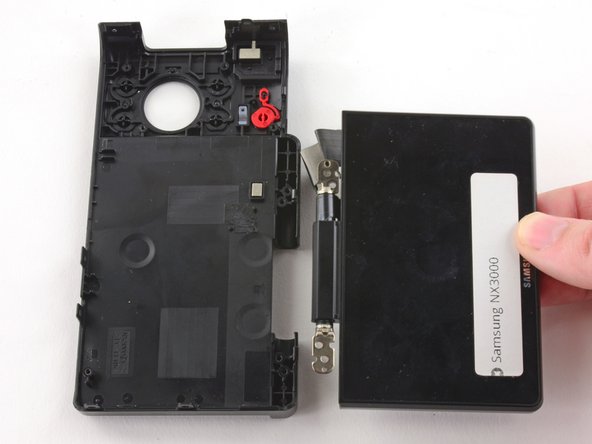
    • Tilt the LCD so it lays flat against the back case.

    • Wiggle the LCD joints and pull the LCD away from the back case.

    Ask FixBot

    Add Comment

Conclusion

To reassemble your device, follow these instructions in reverse order.

Cancel: I did not complete this guide.

2 other people completed this guide.

Kelsea Weber

Member since: 11/12/15

21,442 Reputation

32 Guides authored

1 Guide Comment

Hello, Any Idea how to reset firmware after update did not succeed. Service manual for NX300 gives some glue but how about NX3000? Wherefrom to get the needed software pieces

Raimo - Reply Share
Add Comment

View Statistics:

Past 24 Hours: 3

Past 7 Days: 8

Past 30 Days: 35

All Time: 1,737