Free Shipping on Domestic Orders $75+

Samsung NP700Z5AH Optical Drive Replacement

What you need

  1. Samsung NP700Z5AH Optical Drive Replacement, Battery: step 1, image 1 of 1
    • Remove the ten 6.6mm Philips#00 screws securing the lower case to the upper case.

    Ask FixBot

    Add Comment

  2. Samsung NP700Z5AH Optical Drive Replacement: step 2, image 1 of 3 Samsung NP700Z5AH Optical Drive Replacement: step 2, image 2 of 3 Samsung NP700Z5AH Optical Drive Replacement: step 2, image 3 of 3
    • Using your fingers, pinch the edge of the SD card and pull to remove it.

    Ask FixBot

    Add Comment

  3. Samsung NP700Z5AH Optical Drive Replacement: step 3, image 1 of 2 Samsung NP700Z5AH Optical Drive Replacement: step 3, image 2 of 2
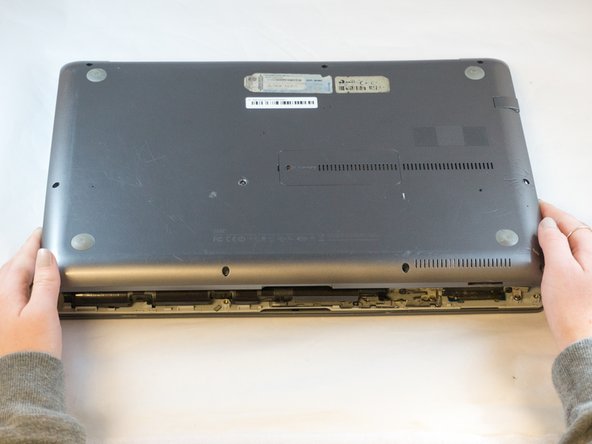
    • Wedge your fingers in between the upper case and the lower case

    • Gently pull the lower case away from the upper case to remove it

    Ask FixBot

    Add Comment

  4. Samsung NP700Z5AH Optical Drive Replacement: step 4, image 1 of 2 Samsung NP700Z5AH Optical Drive Replacement: step 4, image 2 of 2
    Tool used on this step:
    Tweezers
    $4.99
    Buy
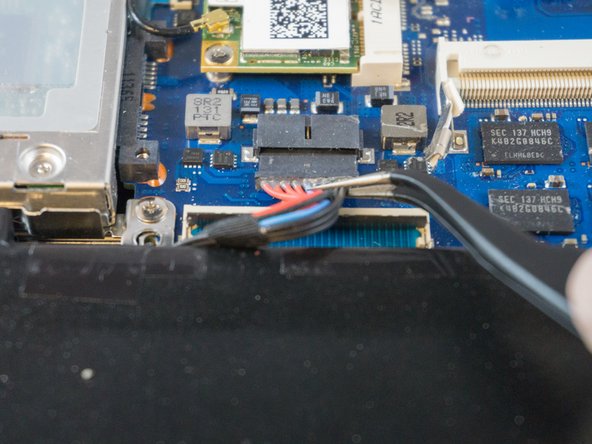
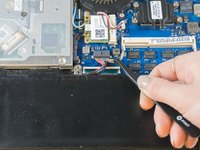
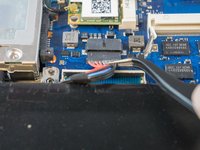
    • Using tweezers or your fingertips, carefully pull on the battery connector to disconnect it from the motherboard.

    • Be sure to pull straight backwards, or you risk damaging the wires.

    Ask FixBot

    Add Comment

  5. Samsung NP700Z5AH Optical Drive Replacement: step 5, image 1 of 1
    • Remove the two 4.4mm Phillips#00 screws from the battery case.

    Ask FixBot

    Add Comment

  6. Samsung NP700Z5AH Optical Drive Replacement: step 6, image 1 of 2 Samsung NP700Z5AH Optical Drive Replacement: step 6, image 2 of 2
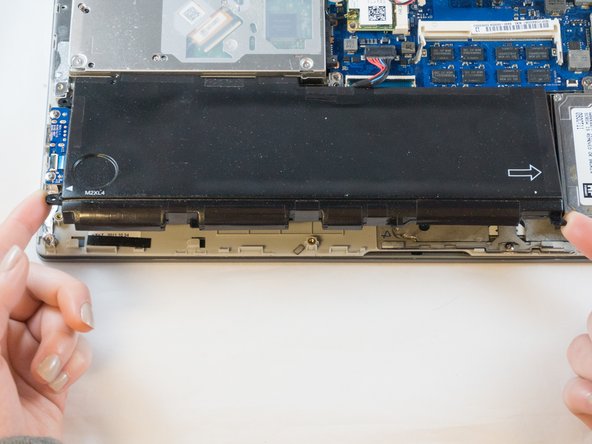
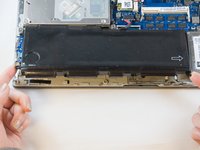
    • Place your fingers on the corner sections of the battery.

    • Lift to remove the battery.

    • If you choose to use tools to remove the battery be careful not to damage it. A damaged lithium-ion battery may leak dangerous chemicals and/or catch fire. Use only plastic pry tools.

    Ask FixBot

    Add Comment

  7. Samsung NP700Z5AH Optical Drive Replacement, Optical Drive: step 7, image 1 of 2 Samsung NP700Z5AH Optical Drive Replacement, Optical Drive: step 7, image 2 of 2
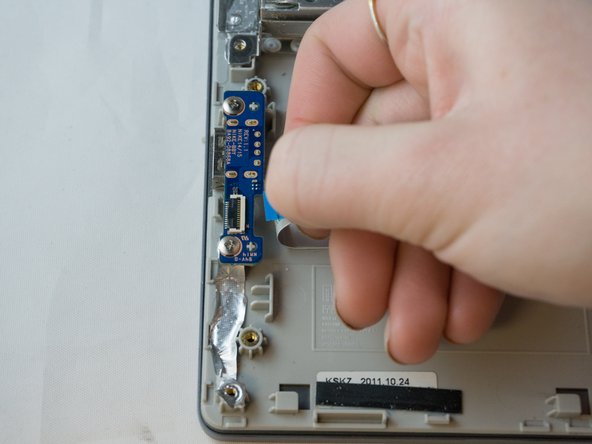
    • Using your fingers, grasp the ribbon cable connected to the optical drive and pull it straight out to disconnect it.

    • To reinstall the cable, hold it near the end and push it straight into the connector, being careful not to kink the cable.

    Ask FixBot

    Add Comment

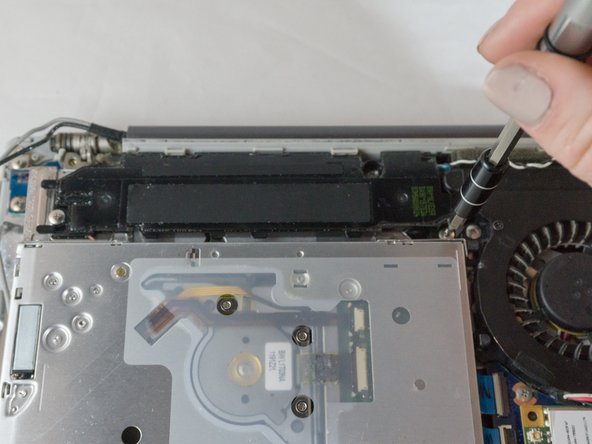
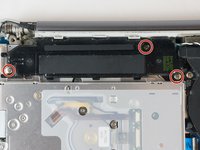
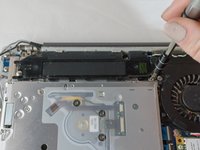
  8. Samsung NP700Z5AH Optical Drive Replacement: step 8, image 1 of 2 Samsung NP700Z5AH Optical Drive Replacement: step 8, image 2 of 2
    • Using the Phillips#00 remove the three 3.5mm screws that secure the speaker to the bottom case.

    Ask FixBot

    Add Comment

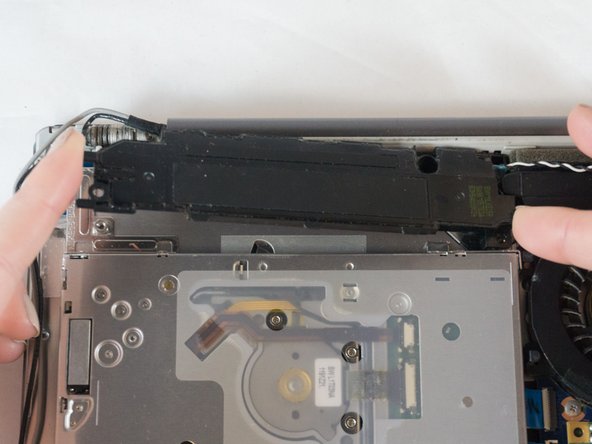
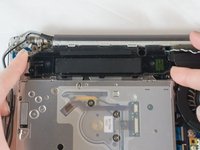
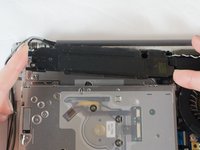
  9. Samsung NP700Z5AH Optical Drive Replacement: step 9, image 1 of 2 Samsung NP700Z5AH Optical Drive Replacement: step 9, image 2 of 2
    • With your fingers, grasp the edges of the speaker and slide it up and away from the fan to lift it out of the case.

    Ask FixBot

    Add Comment

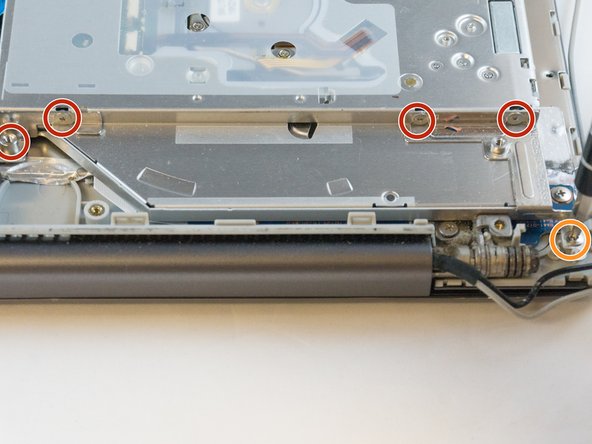
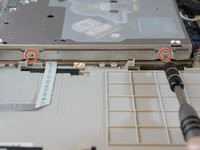
  10. Samsung NP700Z5AH Optical Drive Replacement: step 10, image 1 of 3 Samsung NP700Z5AH Optical Drive Replacement: step 10, image 2 of 3 Samsung NP700Z5AH Optical Drive Replacement: step 10, image 3 of 3
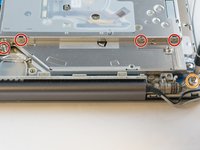
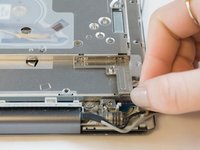
    • With the Phillips#00, remove the following screws holding the optical drive to the metal brackets.

    • Six 2.4mm screws

    • One 3.4mm screw

    • Using your fingers, grasp the metal brackets and remove them.

    Ask FixBot

    Add Comment

  11. Samsung NP700Z5AH Optical Drive Replacement: step 11, image 1 of 2 Samsung NP700Z5AH Optical Drive Replacement: step 11, image 2 of 2
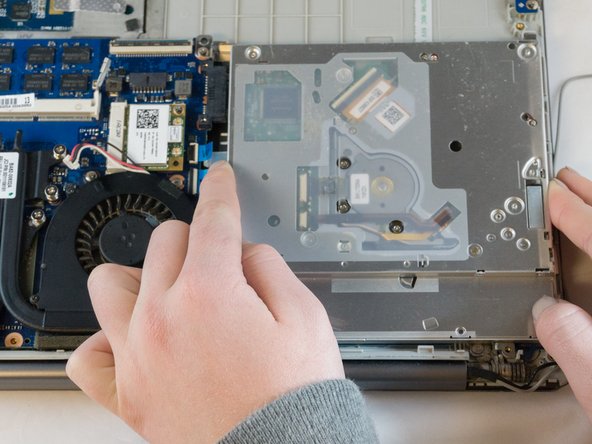
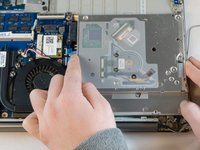
    • Place your fingers on either side of the optical drive and slide it away from the fan to remove it.

    Ask FixBot

    Add Comment

Conclusion

To reassemble your device, follow these instructions in reverse order.

Cancel: I did not complete this guide.

0 Guide Comments

Add Comment

View Statistics:

Past 24 Hours: 1

Past 7 Days: 4

Past 30 Days: 17

All Time: 697