Free Shipping on Domestic Orders $75+

Samsung NP510R5E-A01UB Display Replacement

What you need

  1. Samsung NP510R5E-A01UB Display Replacement, Hard Drive: step 1, image 1 of 1
    • Make sure the device is powered off before beginning.

    • Using the Phillips #0 screwdriver, remove the 6.5mm long screw in the area circled.

    Ask FixBot

    Add Comment

  2. Samsung NP510R5E-A01UB Display Replacement: step 2, image 1 of 1
    • With the cover removed, unscrew all four of the 4.75mm long screws using the Phillips #0 screwdriver.

    Ask FixBot

    Add Comment

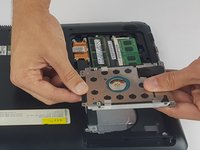
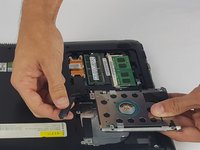
  3. Samsung NP510R5E-A01UB Display Replacement: step 3, image 1 of 2 Samsung NP510R5E-A01UB Display Replacement: step 3, image 2 of 2
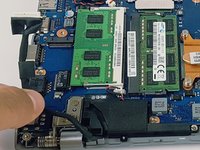
    • Unplug the connector from the hard drive by pulling straight out.

    Ask FixBot

    Add Comment

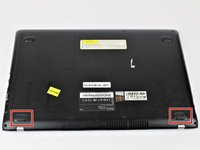
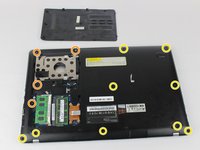
  4. Samsung NP510R5E-A01UB Display Replacement, Display: step 4, image 1 of 3 Samsung NP510R5E-A01UB Display Replacement, Display: step 4, image 2 of 3 Samsung NP510R5E-A01UB Display Replacement, Display: step 4, image 3 of 3
    • Remove the two rubber feet with arrows by them on the back side to uncover two screws.

    • Unscrew the four silver 4.4mm long screws near the hard drive.

    • Unscrew the remaining nine black 6.5mm long screws. Then remove the back casing using a pry tool if needed.

    Ask FixBot

    Add Comment

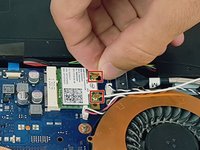
  5. Samsung NP510R5E-A01UB Display Replacement: step 5, image 1 of 2 Samsung NP510R5E-A01UB Display Replacement: step 5, image 2 of 2
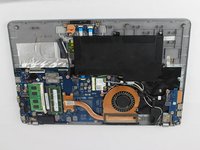
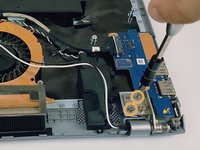
    • Disconnect the black and white cables by pulling up as pictured.

    Ask FixBot

    Add Comment

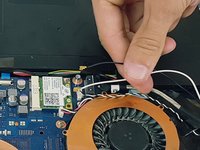
  6. Samsung NP510R5E-A01UB Display Replacement: step 6, image 1 of 2 Samsung NP510R5E-A01UB Display Replacement: step 6, image 2 of 2
    • Disconnect the black cable by pulling straight out.

    Ask FixBot

    Add Comment

  7. Samsung NP510R5E-A01UB Display Replacement: step 7, image 1 of 3 Samsung NP510R5E-A01UB Display Replacement: step 7, image 2 of 3 Samsung NP510R5E-A01UB Display Replacement: step 7, image 3 of 3
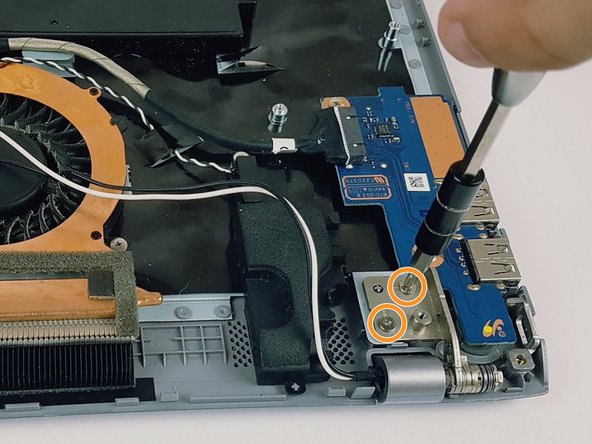
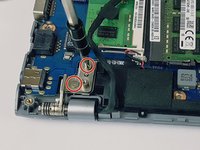
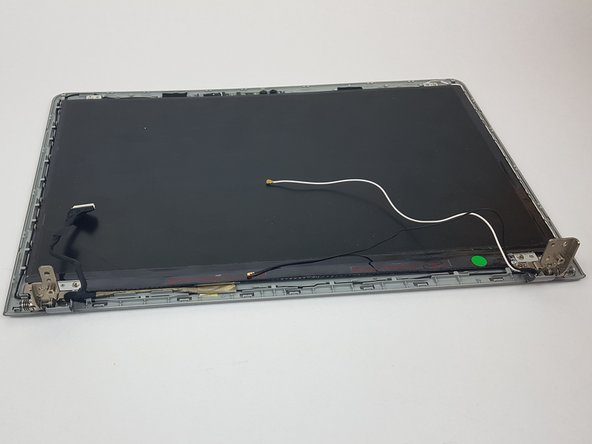
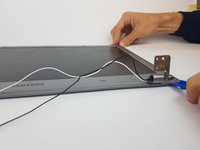
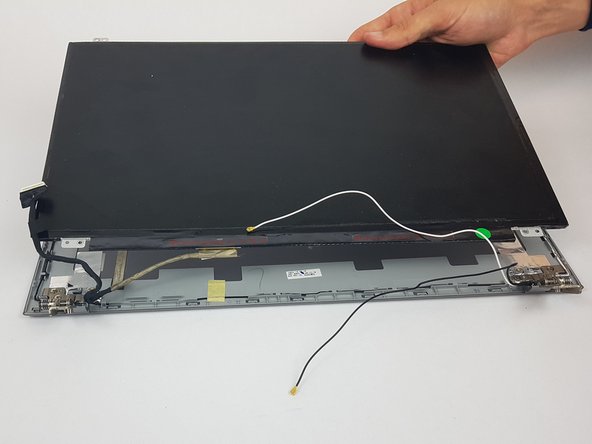
    • Unscrew the two 4.45mm long screws to disconnect the left hinge.

    • Unscrew the two 4.45mm long screws to disconnect the right hinge.

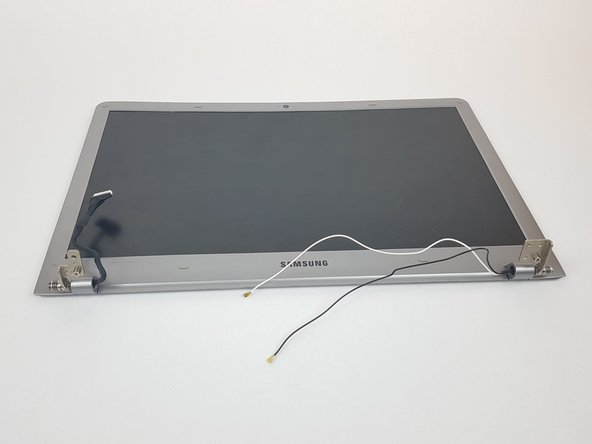
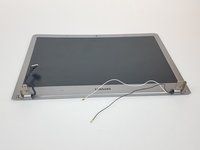
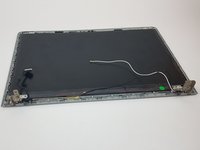
    • At this point the screen and plastic housing should be completely disconnected.

    Ask FixBot

    Add Comment

  8. Samsung NP510R5E-A01UB Display Replacement: step 8, image 1 of 2 Samsung NP510R5E-A01UB Display Replacement: step 8, image 2 of 2
    • Using the plastic opening tool, pry open the plastic housing that holds the display.

    Ask FixBot

    Add Comment

  9. Samsung NP510R5E-A01UB Display Replacement: step 9, image 1 of 2 Samsung NP510R5E-A01UB Display Replacement: step 9, image 2 of 2
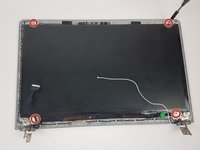
    • Unscrew the four 3.55mm long screws that hold the display in place.

    Ask FixBot

    Add Comment

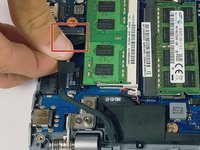
  10. Samsung NP510R5E-A01UB Display Replacement: step 10, image 1 of 2 Samsung NP510R5E-A01UB Display Replacement: step 10, image 2 of 2
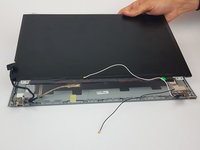
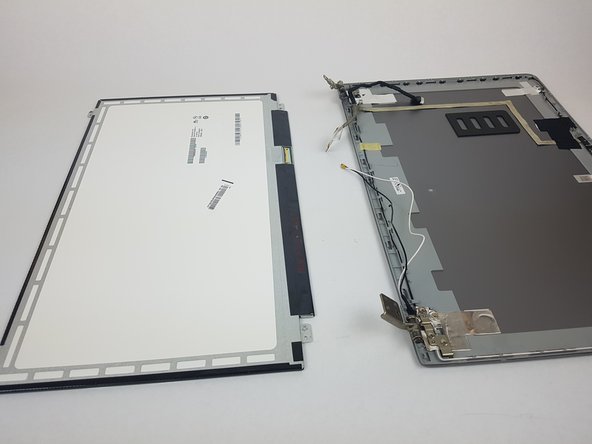
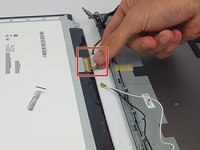
    • Disconnect the last cable by pulling straight out.

    Ask FixBot

    Add Comment

Conclusion

To reassemble your device, follow these instructions in reverse order.

Cancel: I did not complete this guide.

Dominic Simpson

Member since: 02/14/18

245 Reputation

1 Guide authored

Team

USF Tampa, Team S6-G5, Eyestone Spring 2018 Member of USF Tampa, Team S6-G5, Eyestone Spring 2018

USFT-EYESTONE-S18S6G5

3 Members

8 Guides authored

0 Guide Comments

Add Comment

View Statistics:

Past 24 Hours: 2

Past 7 Days: 9

Past 30 Days: 37

All Time: 1,024