Free Shipping on Domestic Orders $75+

Samsung NP36535C-S05US Display Screen Replacement

What you need

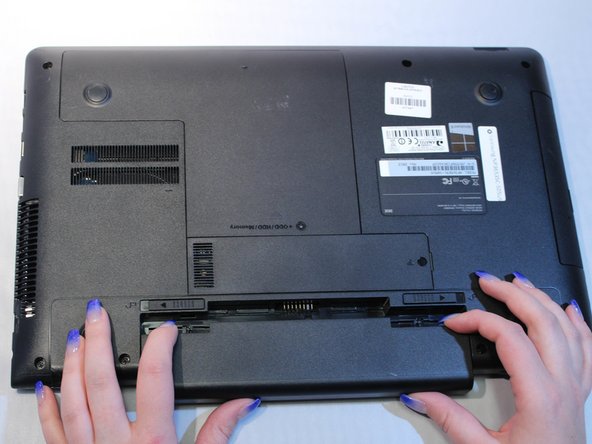
    1. Samsung NP36535C-S05US Display Screen Replacement, Battery: step 1, image 1 of 1
      • Turn the computer off.

      • Disconnect the charging cable from the laptop.

      • Failure to disconnect cable may result in electric shock.

      • Flip the laptop face down on a flat surface.

      Ask FixBot

      Add Comment

    2. Samsung NP36535C-S05US Display Screen Replacement: step 2, image 1 of 1
      • Slide the left and right switches to the unlock position.

      Ask FixBot

      Add Comment

    3. Samsung NP36535C-S05US Display Screen Replacement: step 3, image 1 of 2 Samsung NP36535C-S05US Display Screen Replacement: step 3, image 2 of 2
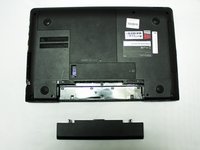
      • While holding the left and right lock switches in the unlock position, pull the battery away from the computer.

      Ask FixBot

      Add Comment

    1. Samsung NP36535C-S05US Display Screen Replacement, Display Screen: step 4, image 1 of 3 Samsung NP36535C-S05US Display Screen Replacement, Display Screen: step 4, image 2 of 3 Samsung NP36535C-S05US Display Screen Replacement, Display Screen: step 4, image 3 of 3
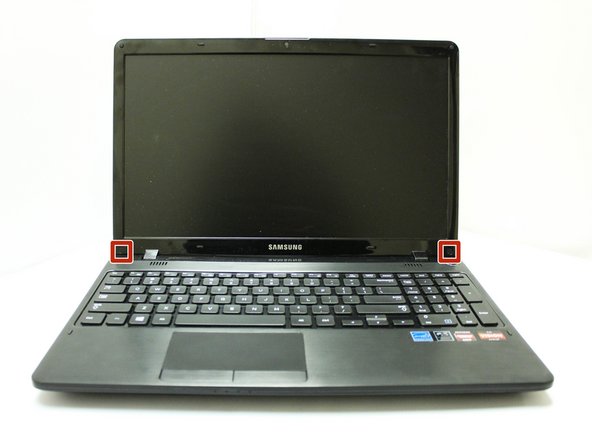
      • Open the laptop.

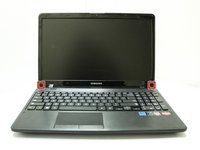
      • Locate the two (2) screw covers.

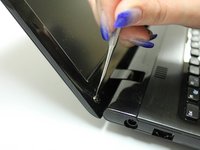
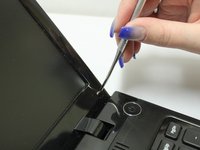
      • Remove the screw covers with the metal spudger.

      Ask FixBot

      Add Comment

    2. Samsung NP36535C-S05US Display Screen Replacement: step 5, image 1 of 1
      • Remove the two (2) 2.27 mm screws with the Philips #0 screwdriver.

      Ask FixBot

      Add Comment

    3. Samsung NP36535C-S05US Display Screen Replacement: step 6, image 1 of 1
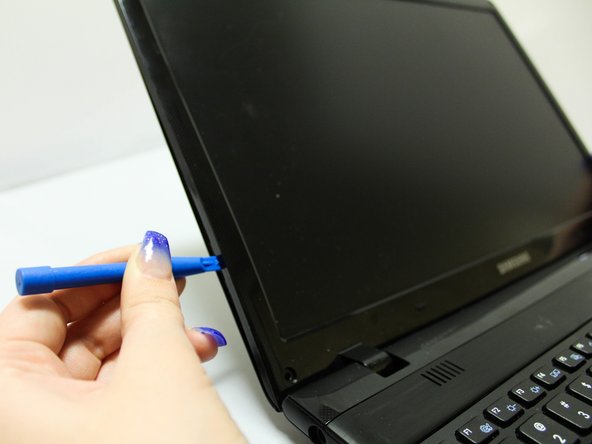
      • Carefully pry the front display cover off with a plastic prying tool.

      Ask FixBot

      Add Comment

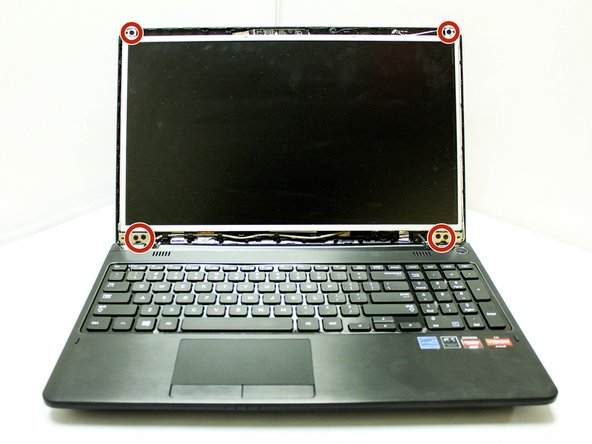
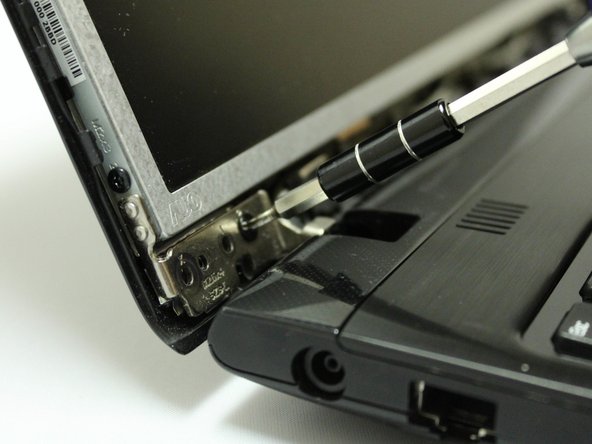
    4. Samsung NP36535C-S05US Display Screen Replacement: step 7, image 1 of 3 Samsung NP36535C-S05US Display Screen Replacement: step 7, image 2 of 3 Samsung NP36535C-S05US Display Screen Replacement: step 7, image 3 of 3
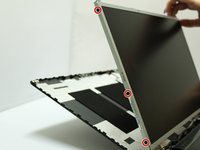
      • Locate the six (6) 2.39 mm screws on the display bracket.

      • Remove the four (4) screws on the left and right sides of the display bracket located near the base of the display with the Philips #0 screwdriver.

      • Remove the two (2) screws on the left and right sides of the display bracket located near the top of the display with the Phillips #0 screwdriver.

      Ask FixBot

      Add Comment

    5. Samsung NP36535C-S05US Display Screen Replacement: step 8, image 1 of 1
      • Carefully remove the connector between the display and the display casing by pulling the connector away from its outlet.

      Ask FixBot

      Add Comment

    6. Samsung NP36535C-S05US Display Screen Replacement: step 9, image 1 of 2 Samsung NP36535C-S05US Display Screen Replacement: step 9, image 2 of 2
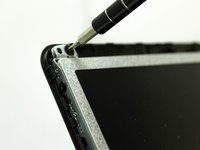
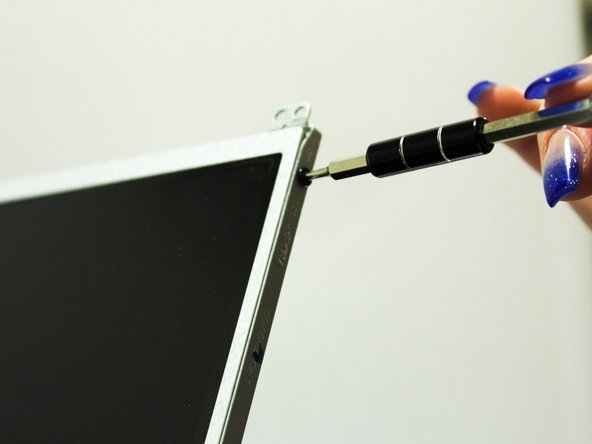
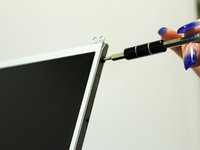
      • Locate the six (6) 1.85 mm screws on the left and right brackets holding the display in place.

      • Remove the screws on each side of the bracket, alternating sides when removing each screw with the Philips #0 screwdriver.

      Ask FixBot

      Add Comment

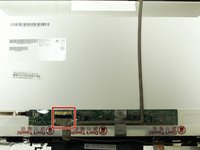
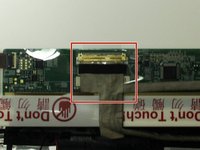
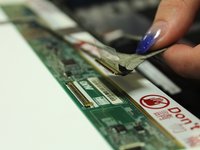
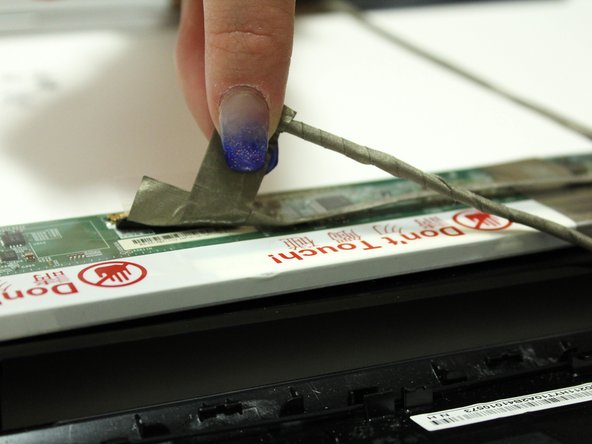
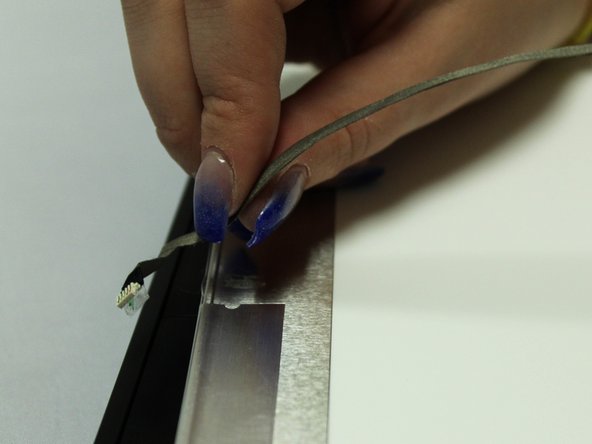
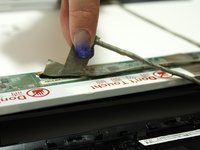
    7. Samsung NP36535C-S05US Display Screen Replacement: step 10, image 1 of 3 Samsung NP36535C-S05US Display Screen Replacement: step 10, image 2 of 3 Samsung NP36535C-S05US Display Screen Replacement: step 10, image 3 of 3
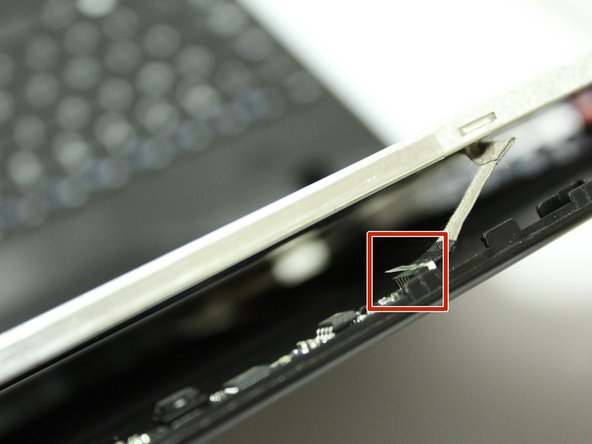
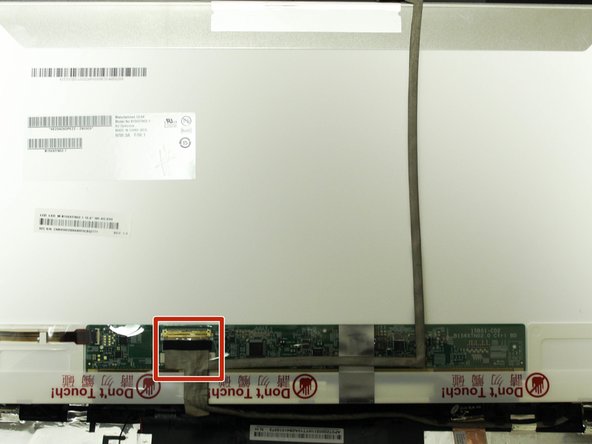
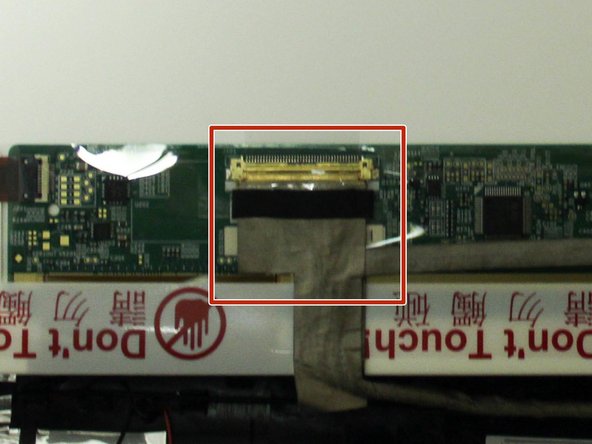
      • Locate the display connector on the back of the display.

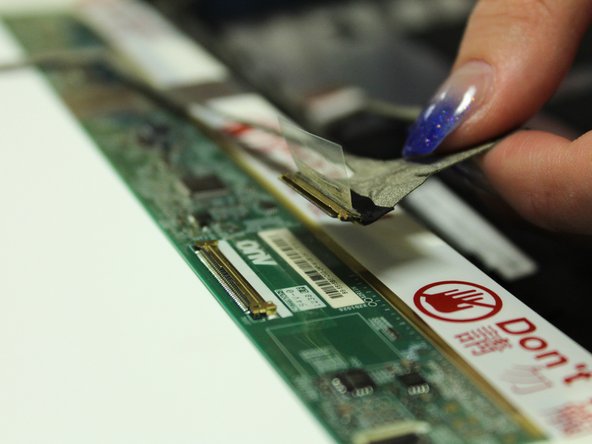
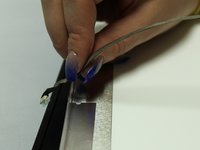
      • Carefully remove the tape on the display connector.

      • Remove the display connector by unplugging it from its outlet.

      Ask FixBot

      Add Comment

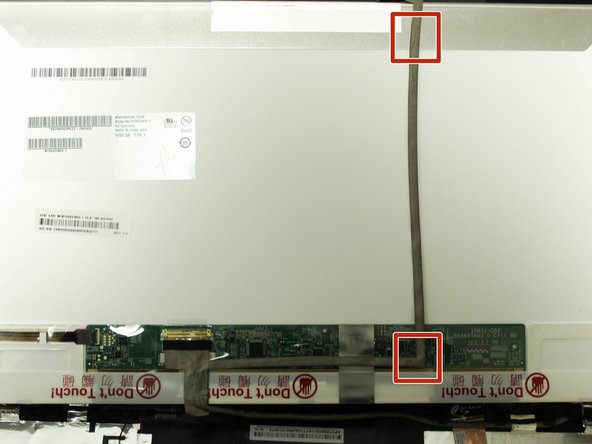
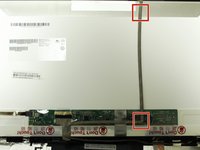
    8. Samsung NP36535C-S05US Display Screen Replacement: step 11, image 1 of 3 Samsung NP36535C-S05US Display Screen Replacement: step 11, image 2 of 3 Samsung NP36535C-S05US Display Screen Replacement: step 11, image 3 of 3
      • Locate and remove the tape from the back of the display in the two (2) sections marked on the supporting image.

      Ask FixBot

      Add Comment

    9. Samsung NP36535C-S05US Display Screen Replacement: step 12, image 1 of 1
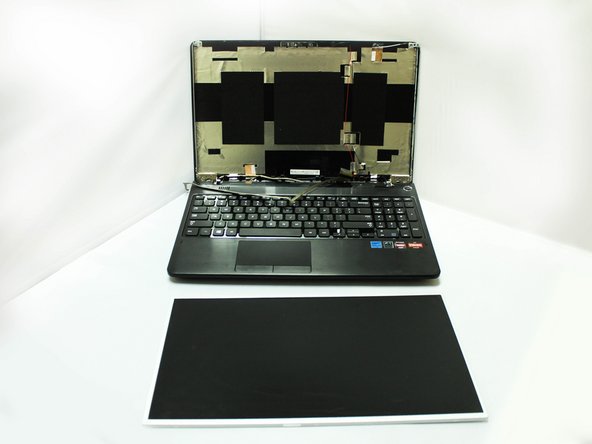
      • You have successfully removed the display screen.

      Ask FixBot

      Add Comment

Conclusion

To reassemble your device, follow these instructions in reverse order.

Cancel: I did not complete this guide.

One other person completed this guide.

0 Guide Comments

Add Comment

View Statistics:

Past 24 Hours: 3

Past 7 Days: 19

Past 30 Days: 78

All Time: 812