
Samsung NP305E5A-A03US Fan Replacement

Kris Stobbe and 3 other contributors
Last updated on Dec 13, 2016
Views: 2.4K
View statistics:
- Past 24 Hours:
- 2
- Past 7 Days:
- 19
- Past 30 Days:
- 99
- All Time:
- 2,406
Comments: 0
No one has left comments on this guide. Will you be first?
Go to guide commentsCompleted: 4 5
4 people have marked this guide "completed." Will you be next?
5 people have marked this guide "completed." Including you — great job!
Favorites: 1 2
1 person has favorited (and subscribed to) this guide. Will you be next?
2 people have favorited (and subscribed to) this guide — including you!
Featured Student Guide
This guide has been the hard work of our awesome students and is found to be exceptionally cool by the iFixit staff.
Introduction
Go to step 1 ↓This guide will help you replace your fan. You may want to use this guie if your computer's fan stops running.
What you need
Tools


-
-
-
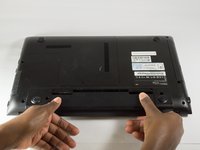
Turn your laptop upside down so that the battery component is facing you.
 Ask FixBot
-
-
-
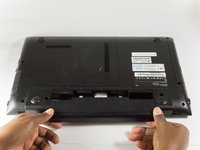
Place your thumbs on the lock tabs.
-
Slide the tabs with your thumbs in an outward direction (in the direction of the arrows).
-
-
-
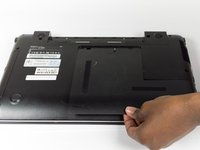
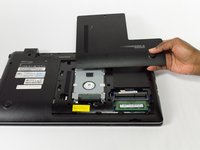
Pull the battery out of the laptop towards yourself to safely remove the battery.
-
-
-
-
-
Unscrew the 3.5mm screws using a Phillips J0 Screwdriver by rotating the screwdriver in the counter clockwise direction.
-
-
-
Wedge the plastic opening tool between the L-shaped back panel to slide the panel off.
-
-
-
Unscrew the three 3.5mm screws using a Phillips J0 Screwdriver by rotating the screwdriver in the counter clockwise direction.
-
Unscrew the one 4.45mm screws using a Phillips J0 Screwdriver by rotating the screwdriver in the counter clockwise direction.
-
-
-
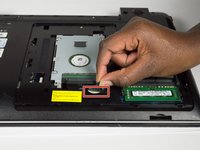
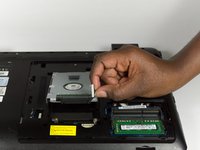
Pull the cord that connects the Hard Drive to the Motherboard to disconnect it.
-
-
-
-
-
Unscrew the fourteen 9.5mm screws using a Phillips J0 Screwdriver by rotating the screwdriver in the counter clockwise direction.
-
Unscrew the two 3.5mm screws using a Phillips J0 Screwdriver by rotating the screwdriver in the counter clockwise direction.
-
-
-
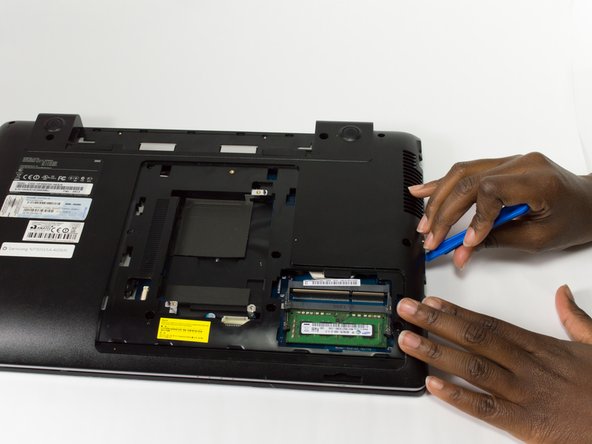
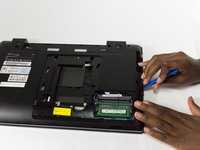
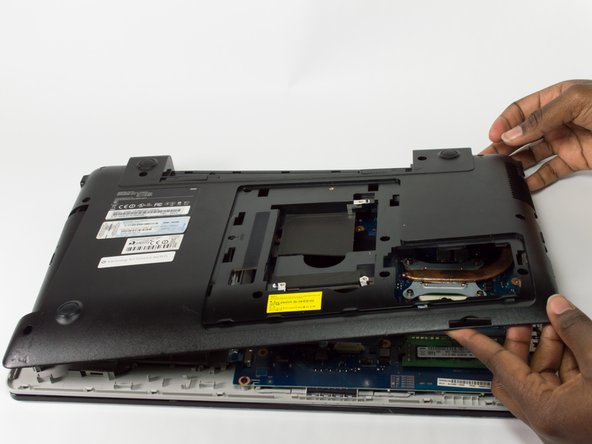
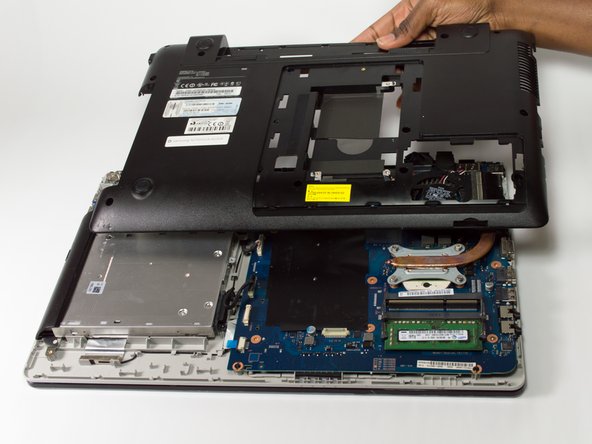
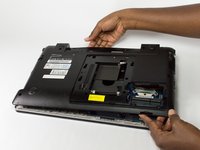
Insert the plastic opening tool between the seam of the back panel and the laptop.
-
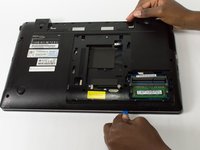
Slide the plastic opening tool along the seam to loosen the back panel from the laptop.
-
-
-
-
-
-
Unscrew the four 8.9mm screws using a Phillips J0 Screwdriver by rotating the screwdriver in the counter clockwise direction.
-
-
-
Unscrew the two 4.45mm screws using a Phillips J0 Screwdriver by rotating the screwdriver in the counter clockwise direction.
-
-









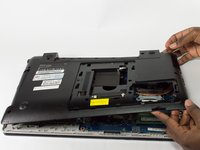
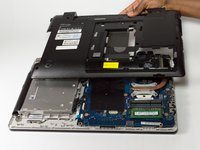

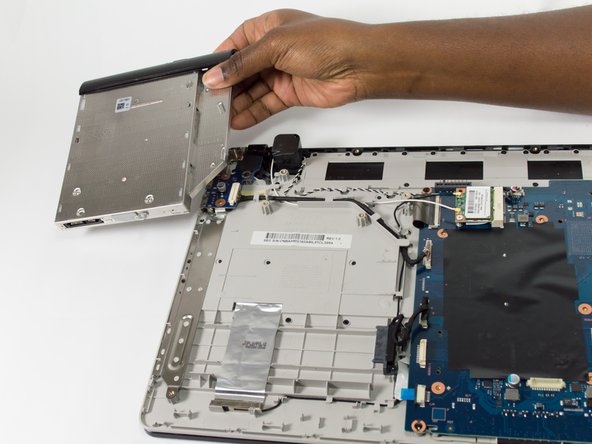
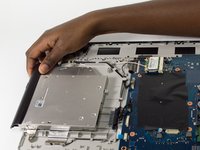
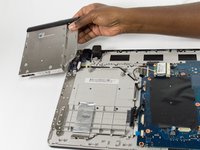
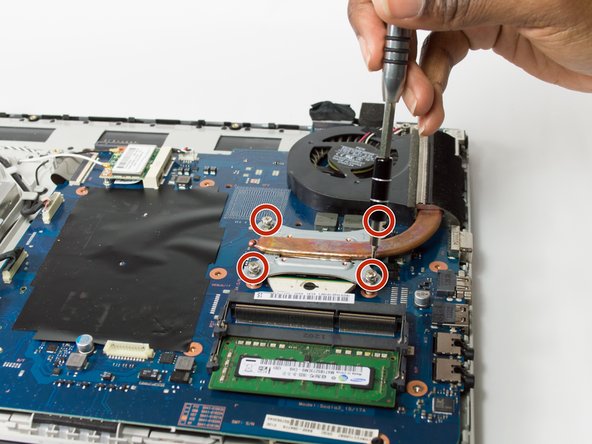

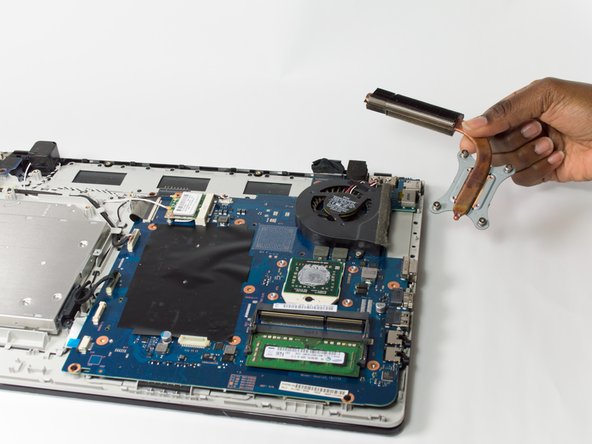
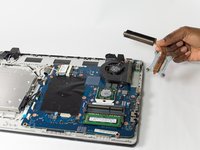


To reassemble your device, follow these instructions in reverse order.
Cancel: I did not complete this guide.
4 other people completed this guide.

Team

Baylor, Team 5-7, Williams Fall 2016 Member of Baylor, Team 5-7, Williams Fall 2016
BU-WILLIAMS-F16S5G7
3 Members
60 Guides authored
