Introduction
Is your laptop's screen cracked or non responsive? Try replacing it! This guide will show you how to remove the screen's plastic casing so that you can access the screen itself.
What you need
-
-
-
Push both tabs away from the center of the device.
-
While both are in the fully unlocked position, slide the battery out.
-
-
-
-
-
Turn the laptop over and open it so that you can see the keyboard and screen.
-
Using a Phillips #000 screwdriver, remove the two 4 mm Phillips #8 screws that are under the black covers on the front of your screen.
-
-
-
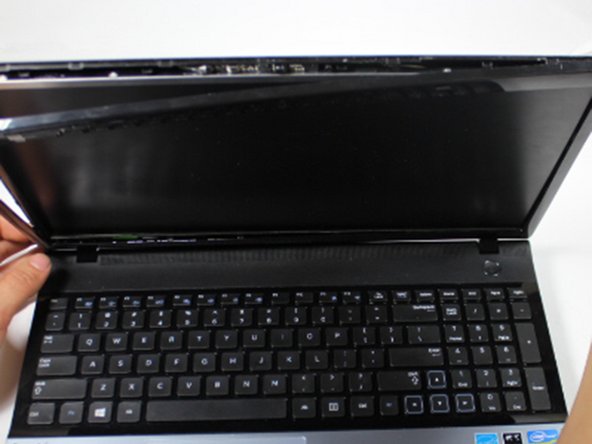
Insert the plastic opening tool into the seam on the top of the screen.
-
Use the plastic opening tool to pop open the clasps that keep the casing on the screen.
-
Follow this seam around the laptop's screen with the plastic opening tool until the plastic cover comes off.
-
-
-
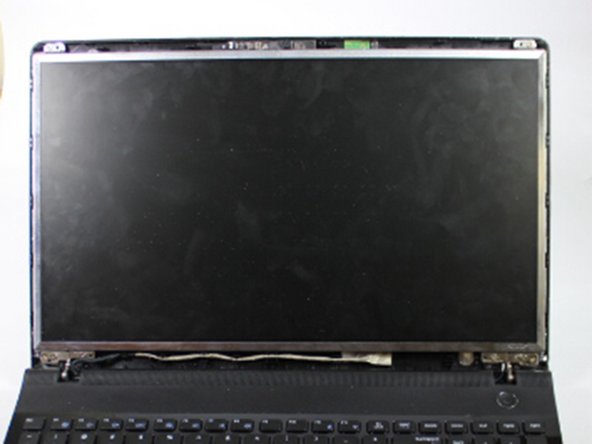
Using a Phillips #000 screwdriver, remove the top two 4 mm Phillips #8 screws that join the LCD screen to the plastic casing.
-
Using the same screwdriver, remove the bottom four 4 mm Phillips #8 screws that mount the screen onto the base of the laptop.
-
-
-
Gently lay the LCD on the keyboard, and lay down the back panel of the screen as well. They are not attached and will separate easily.
-
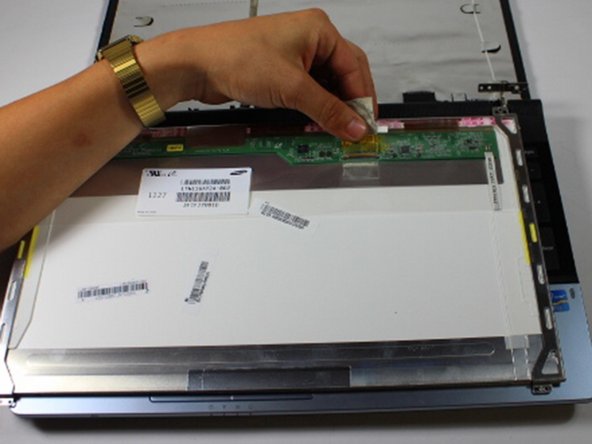
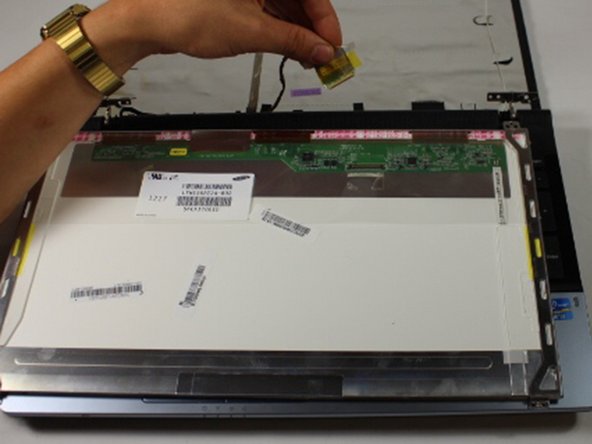
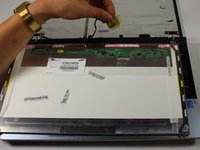
Remove the tape that secures the video connector to the LCD.
-
While maintaining a firm grip on the LCD, grasp the video connector at its base, and pull it away from you.
-
-

 Ask FixBot





To reassemble your device, follow these instructions in reverse order.
Cancel: I did not complete this guide.
10 other people completed this guide.

Team

Baylor, Team 10-13, Williams Fall 2015 Member of Baylor, Team 10-13, Williams Fall 2015
BU-WILLIAMS-F15S10G13
3 Members
48 Guides authored
