Free Shipping on Domestic Orders $75+

Samsung NP-RF411 Laptop Maintenance

What you need

    1. Samsung NP-RF411 Laptop Maintenance, Laptop: step 1, image 1 of 2 Samsung NP-RF411 Laptop Maintenance, Laptop: step 1, image 2 of 2
      • Quite a simple stage. There are a total of 19 screws to be removed from the bottom of the casing.

      • Three for HDD

      • One for Ram/HDD Cover

      • One for ODD

      • one hidden under a rubber foot at the front of the laptop.

      • Three under the Battery

      • Make sure you remove the fake SD Card at the front, because this can stall you.

      Ask FixBot

      Add Comment

    2. Samsung NP-RF411 Laptop Maintenance: step 2, image 1 of 3 Samsung NP-RF411 Laptop Maintenance: step 2, image 2 of 3 Samsung NP-RF411 Laptop Maintenance: step 2, image 3 of 3
      • Once the cover is off, there are three screws holding the main PCB down.

      • Screws for the HDD

      • Battery. DC 11.1V 57W

      Ask FixBot

      Add Comment

    3. Samsung NP-RF411 Laptop Maintenance: step 3, image 1 of 2 Samsung NP-RF411 Laptop Maintenance: step 3, image 2 of 2
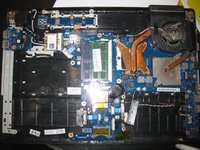
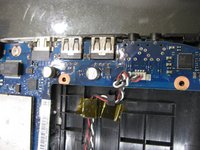
      • This shows the main PCB

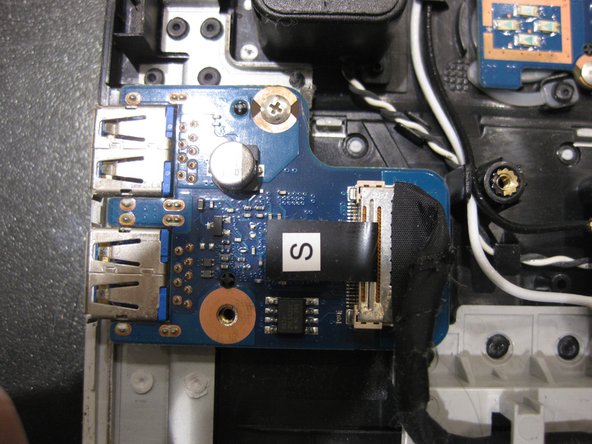
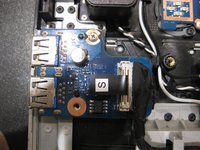
      • USB 3.0 Ports

      Ask FixBot

      Add Comment

    4. Samsung NP-RF411 Laptop Maintenance: step 4, image 1 of 3 Samsung NP-RF411 Laptop Maintenance: step 4, image 2 of 3 Samsung NP-RF411 Laptop Maintenance: step 4, image 3 of 3
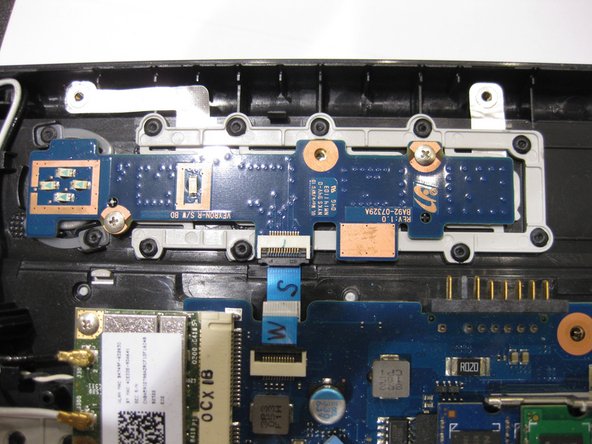
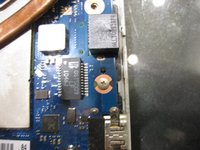
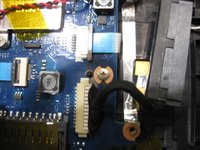
      • locations of the main PCB / WIFI card screws.

      Ask FixBot

      Add Comment

    5. Samsung NP-RF411 Laptop Maintenance: step 5, image 1 of 3 Samsung NP-RF411 Laptop Maintenance: step 5, image 2 of 3 Samsung NP-RF411 Laptop Maintenance: step 5, image 3 of 3
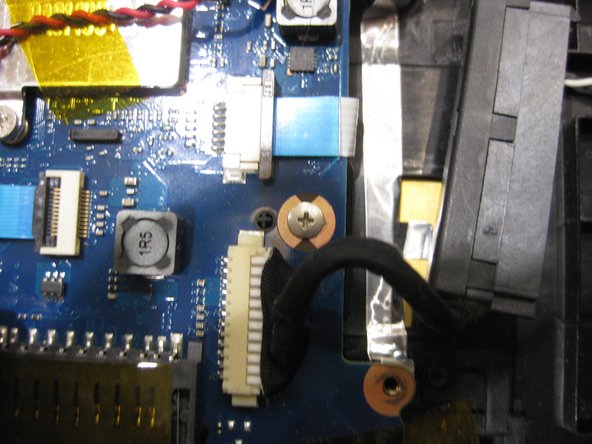
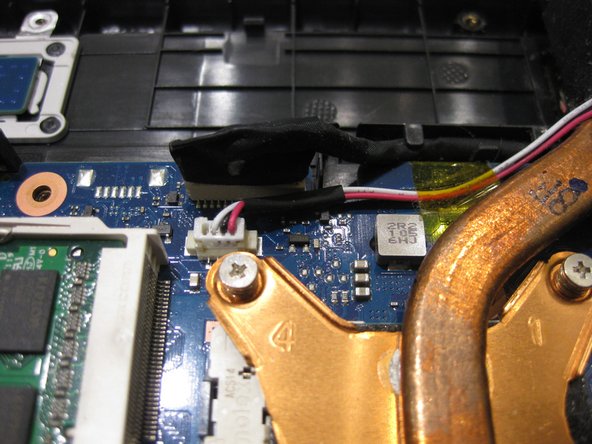
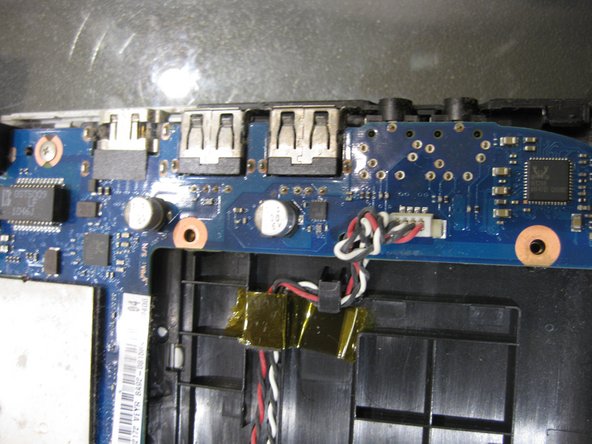
      • removing the Main PCB means detaching the cable marked M, W the big fat black cable at the top and the white connector at the right usb side.

      Ask FixBot

      Add Comment

    6. Samsung NP-RF411 Laptop Maintenance: step 6, image 1 of 2 Samsung NP-RF411 Laptop Maintenance: step 6, image 2 of 2
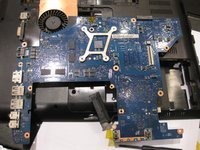
      • Here's the underside of the main PCB, all cables detached.

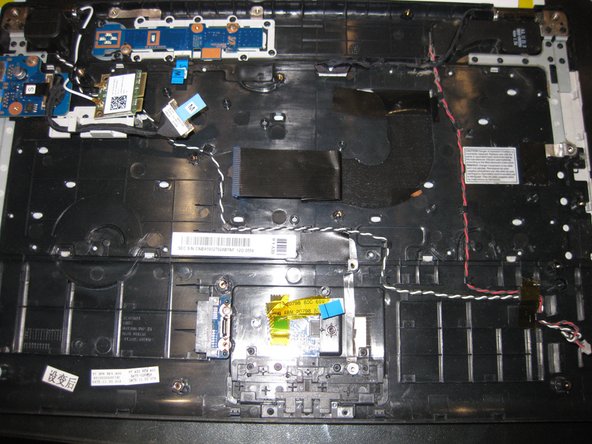
      • With the PCB removed this is all you have left.

      Ask FixBot

      Add Comment

Conclusion

To reassemble your device, follow these instructions in reverse order.

Cancel: I did not complete this guide.

5 other people completed this guide.

Robbie Steele

Member since: 04/22/10

206 Reputation

1 Guide authored

1 Guide Comment

My laptop motherboard heat why?

The Media Sound Rec. - Reply Share

Add Comment

View Statistics:

Past 24 Hours: 4

Past 7 Days: 13

Past 30 Days: 42

All Time: 4,118