Free Shipping on Domestic Orders $75+

Samsung N150 Plus Fan Replacement

What you need

  1. Samsung N150 Plus Fan Replacement, Battery: step 1, image 1 of 1
    • Turn off the computer.

    • Disconnect the charging cable from the laptop.

    • Failure to unplug the cable could result in electric shock.

    • Flip the laptop upside down with the front face down on a flat surface.

    Ask FixBot

    Add Comment

  2. Samsung N150 Plus Fan Replacement: step 2, image 1 of 2 Samsung N150 Plus Fan Replacement: step 2, image 2 of 2
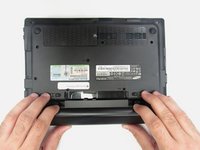
    • Slide the left and right switch to the "unlocked" position.

    Ask FixBot

    Add Comment

  3. Samsung N150 Plus Fan Replacement: step 3, image 1 of 2 Samsung N150 Plus Fan Replacement: step 3, image 2 of 2
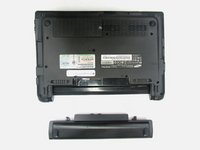
    • While holding the left and right hand switches in the "unlocked" position, push the battery away from the computer.

    Ask FixBot

    Add Comment

  4. Samsung N150 Plus Fan Replacement, Back Panel: step 4, image 1 of 1
    • Using the Phillip's 00 screwdriver, unscrew the fourteen 7mm screws until the back panel comes loose.

    Ask FixBot

    Add Comment

  5. Samsung N150 Plus Fan Replacement: step 5, image 1 of 1
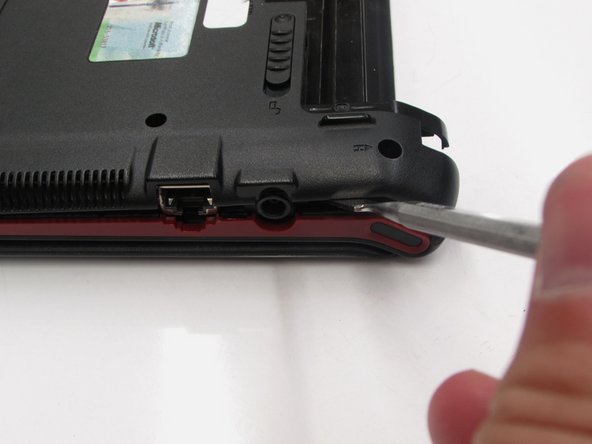
    • Using either the blue plastic opening tools or spudger tool, wedge one in between the back panel and the laptop.

    • Apply pressure upwards till the back panel pops off.

    • If the back panel is difficult to remove and feels like it is going to break, DO NOT force it. Check to confirm that all the screws are removed before attempting again.

    Ask FixBot

    Add Comment

  6. Samsung N150 Plus Fan Replacement: step 6, image 1 of 2 Samsung N150 Plus Fan Replacement: step 6, image 2 of 2
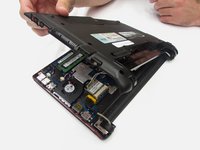
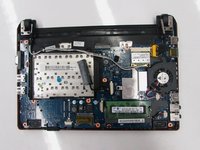
    • The computer should be open with the motherboard exposed and internal components exposed. You should now be able to access the Fan and RAM. There are more necessary steps to follow before accessing the screen and keyboard.

    Ask FixBot

    Add Comment

  7. Samsung N150 Plus Fan Replacement, Fan: step 7, image 1 of 2 Samsung N150 Plus Fan Replacement, Fan: step 7, image 2 of 2
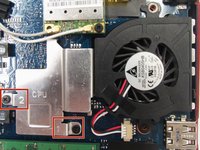
    • Use the phillips #00 screwdriver, to unscrew the two 5mm mounting screws labeled 1 & 2 on the right and left hand side of the metal casing labeled CPU.

    Ask FixBot

    Add Comment

  8. Samsung N150 Plus Fan Replacement: step 8, image 1 of 2 Samsung N150 Plus Fan Replacement: step 8, image 2 of 2
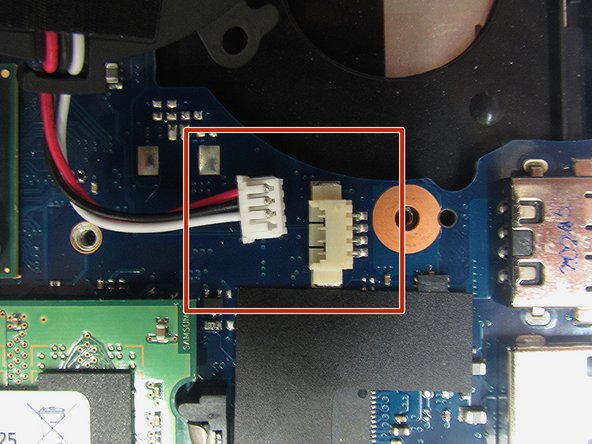
    • Unplug the the wires from the white connector attached to the motherboard, by pulling the wires toward you.

    • When pulling on the wires make sure not to detach the wires from the white plug that connects to the motherboard.

    Ask FixBot

    Add Comment

  9. Samsung N150 Plus Fan Replacement: step 9, image 1 of 1
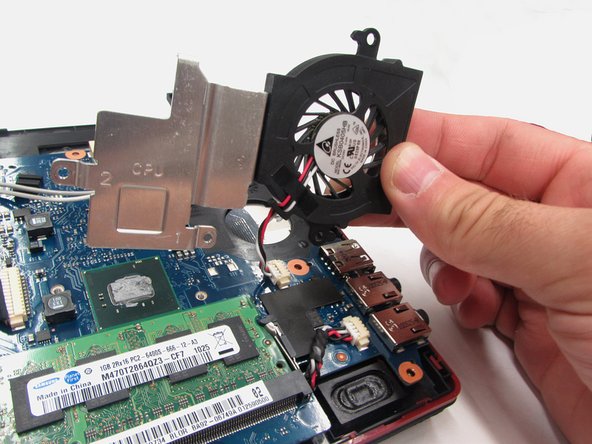
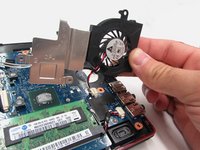
    • Remove the metal casing with the fan attached from the motherboard.

    Ask FixBot

    Add Comment

  10. Samsung N150 Plus Fan Replacement: step 10, image 1 of 1
    • Use the Phillips #000 screwdriver, to unscrew the three 4mm screws.

    Ask FixBot

    Add Comment

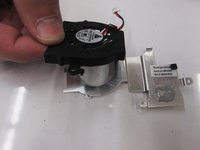
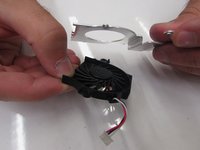
  11. Samsung N150 Plus Fan Replacement: step 11, image 1 of 2 Samsung N150 Plus Fan Replacement: step 11, image 2 of 2
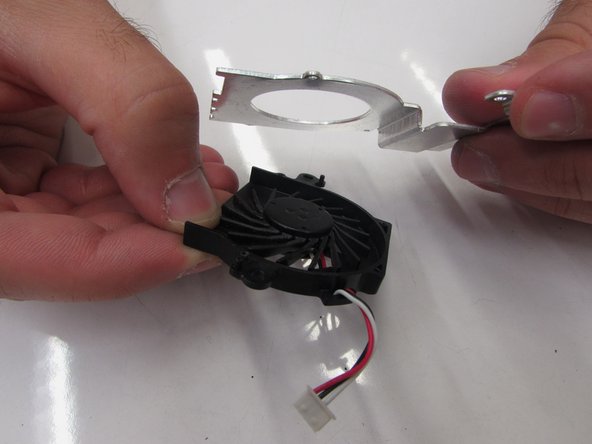
    • Remove the fan from the metal CPU housing.

    Ask FixBot

    Add Comment

Conclusion

To reassemble your device, follow these instructions in reverse order.

Cancel: I did not complete this guide.

One other person completed this guide.

0 Guide Comments

Add Comment

View Statistics:

Past 24 Hours: 0

Past 7 Days: 9

Past 30 Days: 46

All Time: 1,549