Introduction
The LCD screen on the Samsung Mythic SGH‑a897 may become cracked, washed out, or completely unresponsive after years of use or accidental damage. Users may notice dark spots, color streaks, or a display that no longer lights up, making it difficult to read messages or navigate the phone’s menus.
A reliable screen is important for operating this device. Physical stress, aging components, or loose internal connections can cause the LCD to malfunction, and replacing it restores normal viewing and basic usability.
Before starting this repair, make sure you have a compatible replacement LCD for the SGH‑a897. This guide walks you through opening the phone’s casing and accessing the internal display so you can install a new screen.
What you need
-
-
-
To remove the phone's back cover, slide your fingernail into the slit at the bottom of your phone.
 Ask FixBot
-
-
-
Place your finger on either bottom corner of the battery slot and lift to remove the battery.
-
-
-
-
-
Using a Phillips #00 Screwdriver, remove the six 5 mm screws from the back casing of the phone.
-
-
-
Using the iFixit Opening Tool, insert the tool into the seam between the back case and the rest of the phone.
-
Working along the seam, pry the back casing from the phone.
-
-
-
-
-
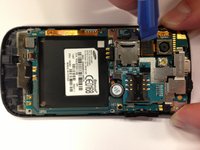
Carefully remove the camera by using the iFixit Tool to pry the camera cable from the motherboard.
-
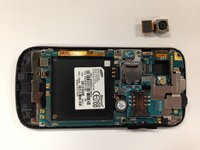
Carefully remove the camera from the phone's motherboard.
-
-
-
-
-
Tool used on this step:Tweezers$4.99
-
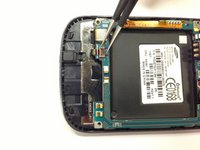
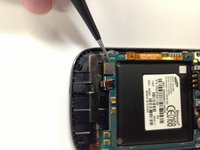
Using tweezers, firmly grip the black lever at the bottom of the motherboard.
-
Use the tweezers to flip the black lever up so that it is upright from the motherboard.
-
-
-
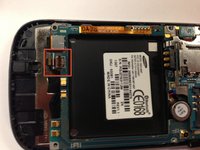
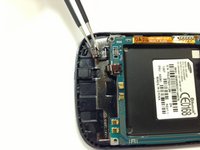
Remove the ZIF cable by carefully using the tweezers to pull the cable straight out.
-
-
-
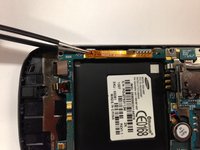
Use the tweezers to unclip the orange ribbon cable from the left side of the phone.
-
-
-
Use the tweezers to unclip the other orange ribbon cable along the left side of the phone.
-
-
-
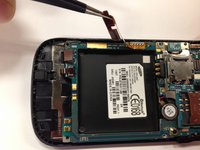
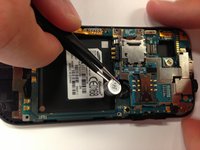
Using either side of the tweezers, slide a side of the tweezer underneath the red and blue wires and the capacitor.
-
Carefully lift the capacitor away from the phone.
-
-
-
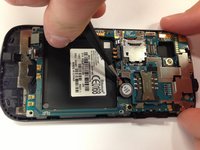
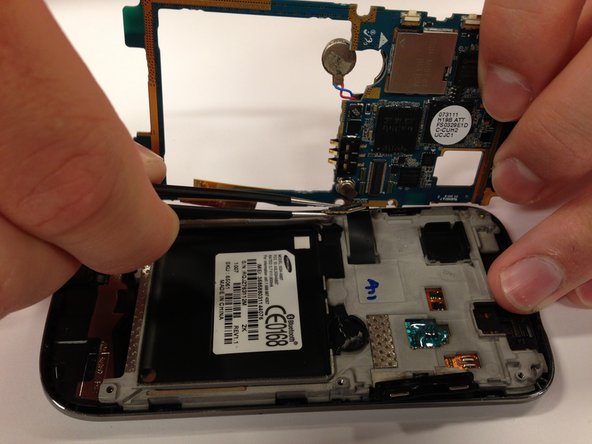
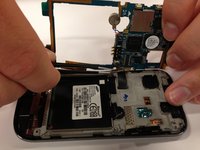
Carefully tilt the motherboard up from the back of the phone.
-
Use tweezers to unclip the black connector.
-
-
-
-
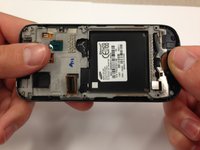
Hold the phone by the black plastic at the ends and gently bend them down so that the middle of the phone is the highest point. Apply pressure slowly until the grey portion pops off.
-
-
Tool used on this step:Tweezers$4.99
-
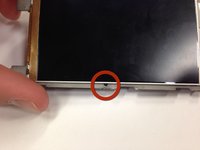
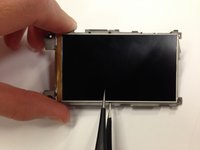
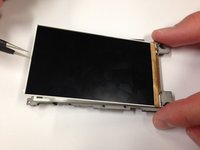
Insert the tweezers into the hole to wedge them between the LCD and grey plastic.
-
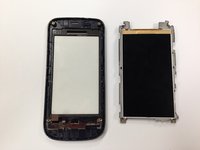
Once under the LCD, slide the tweezers around the three silver edges until the entire display lifts from the grey plastic.
-
-















To reassemble your device, follow these instructions in reverse order. Take your e-waste to an R2 or e-Stewards certified recycler.
Cancel: I did not complete this guide.
2 other people completed this guide.

Team

Cal Poly, Team 17-1, Regan Spring 2013 Member of Cal Poly, Team 17-1, Regan Spring 2013
CPSU-REGAN-S13S17G1
4 Members
108 Guides authored
