
Samsung ML2510 Power Button Replacement

bbaustin and 6 other contributors
Last updated on Jan 4, 2021
Views: 3.8K
View statistics:
- Past 24 Hours:
- 1
- Past 7 Days:
- 18
- Past 30 Days:
- 104
- All Time:
- 3,817
Comments: 0
No one has left comments on this guide. Will you be first?
Go to guide commentsCompleted: 2 3
2 people have marked this guide "completed." Will you be next?
3 people have marked this guide "completed." Including you — great job!
Favorites: 0 1
No one has favorited (and subscribed to) this guide. Will you be the first?
1 person has favorited (and subscribed to) this guide — and that's you!
Better Introduction
Improve this guide by completing or revising its introduction.
Introduction
Go to step 1 ↓This guide will help you to replace the power button of your Samsung ML2510 laser printer.
What you need
Tools


-
-
-
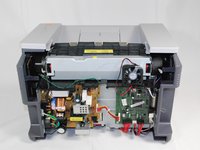
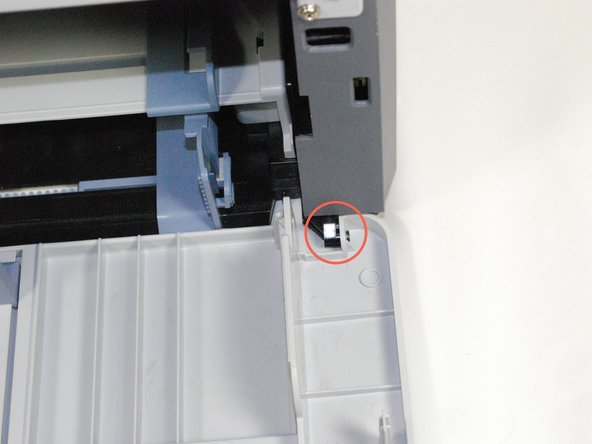
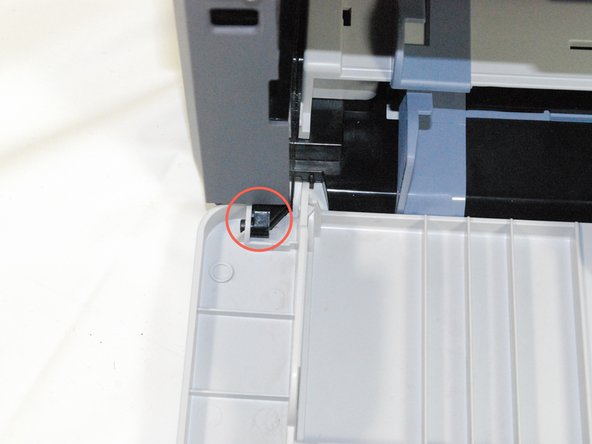
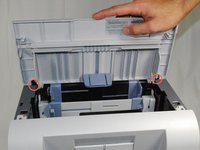
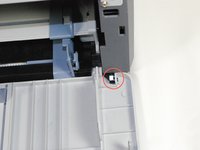
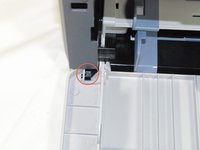
Remove the top hinged panel by taking out the pins at the bottom of this panel.
 Ask FixBot
-
-
-
Using a Phillips #2 screwdriver, remove the four screws on the back of the printer.
-
-
-
-
-
Remove the front panel by gently separating the holes on the panel from the pegs attached to the main printer body.
-
-
-
Using a Phillips #2 screwdriver, remove both 1" screws on the front face of the printer.
-
-
-
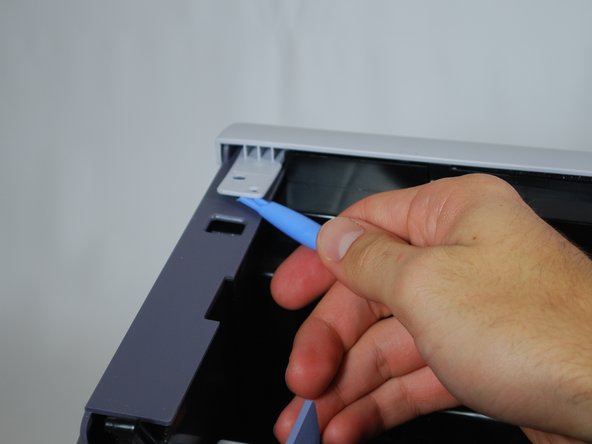
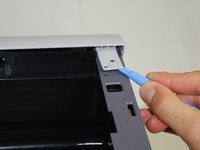
Using a plastic opening tool, gently lift one side of the top panel from its peg.
-
Repeat the last step to free the opposite side of the top panel.
-
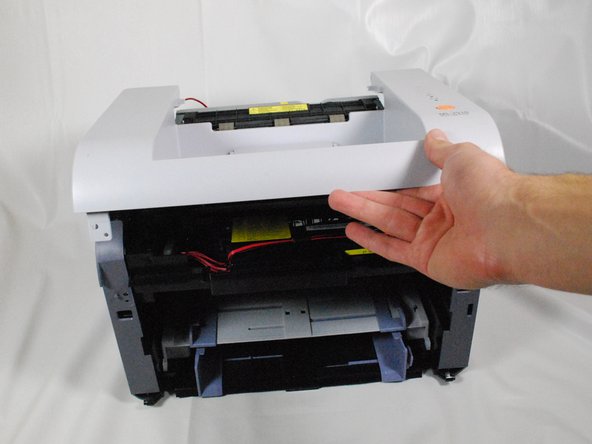
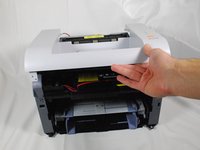
Lift the top panel from the front to remove it entirely.
-
Turn over the top panel to reveal the button on the underside of the panel.
-
-
-
-
Using a Phillips #2 screwdriver, remove both 1" screws that secure the button to the underside of the top panel.
-
-
-
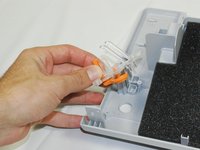
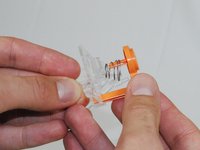
Remove the clear plastic piece and the orange button from the panel.
-
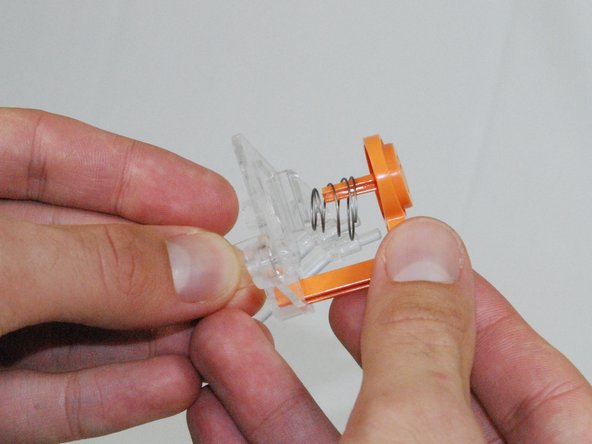
Remove the orange button and the spring from the clear plastic holder.
-
Replace the button and reassemble the printer following the directions in reverse order.
-
-








Cancel: I did not complete this guide.
2 other people completed this guide.

Team

Cal Poly, Team 17-18, Regan Fall 2011 Member of Cal Poly, Team 17-18, Regan Fall 2011
CPSU-REGAN-F11S17G18
4 Members
72 Guides authored
