
Samsung ML2510 Motor Replacement

bbaustin and 7 other contributors
Last updated on Jan 9, 2025
Views: 5.6K
View statistics:
- Past 24 Hours:
- 2
- Past 7 Days:
- 20
- Past 30 Days:
- 107
- All Time:
- 5,580
Comments: 0
No one has left comments on this guide. Will you be first?
Go to guide commentsCompleted: 1 2
1 person has marked this guide "completed." Will you be next?
2 people have marked this guide "completed." Including you — great job!
Favorites: 0 1
No one has favorited (and subscribed to) this guide. Will you be the first?
1 person has favorited (and subscribed to) this guide — and that's you!
Incorrect Tools
Help make this guide better by using the correct tools in images and/or text.
Better Introduction
Improve this guide by completing or revising its introduction.
Introduction
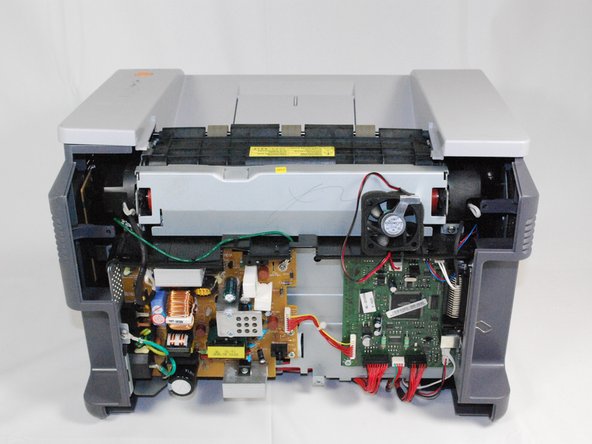
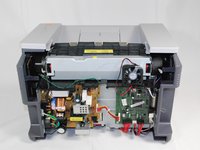
Go to step 1 ↓You will be required to disassemble much of the printer and its casing. You will need to refer to the Removing Samsung ML2510 Back Panel repair guide.
What you need
Tools


-
-
-
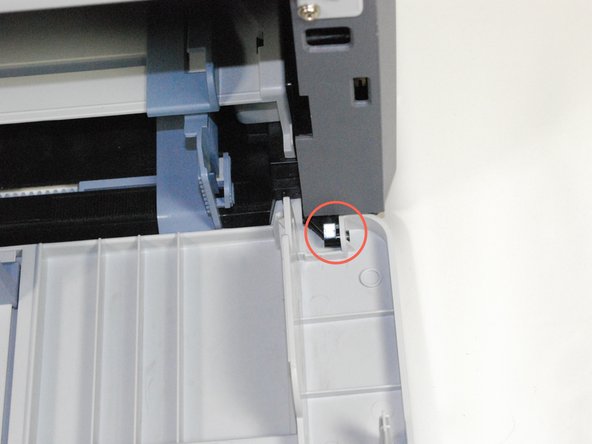
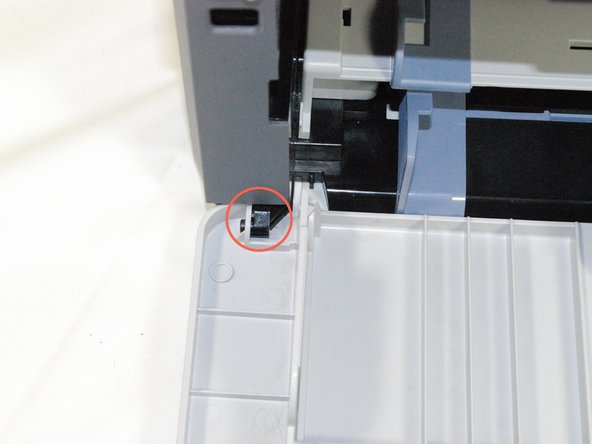
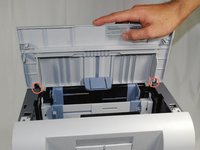
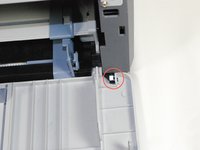
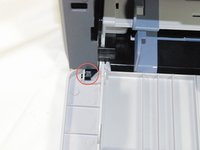
Remove the top hinged panel by taking out the pins at the bottom of this panel.
 Ask FixBot
-
-
-
Using a Phillips #2 screwdriver, remove the four screws on the back of the printer.
-
-
-
-
-
Remove the front panel by gently moving the holes on the panel, one at a time, from the pegs attached to the main body of the printer.
-
-
-
Use a Phillips #2 screwdriver to remove the two, 1", Phillips, PH#2 screws on the front face of the printer.
-
-
-
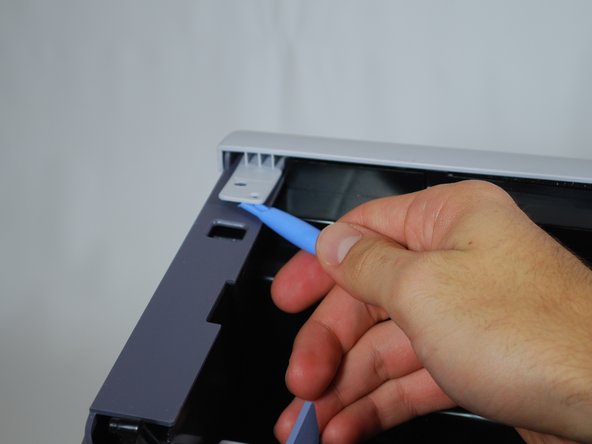
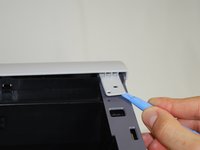
Use plastic opening tool to gently lift one side of the top panel from its peg.
-
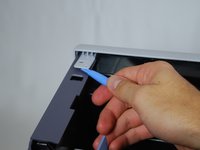
Repeat the first process for the other side.
-
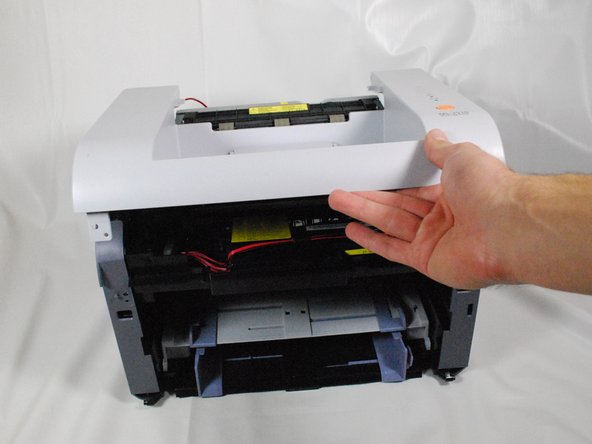
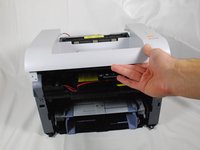
Lift the top panel from the front of the printer to remove it entirely.
-
-
-
-
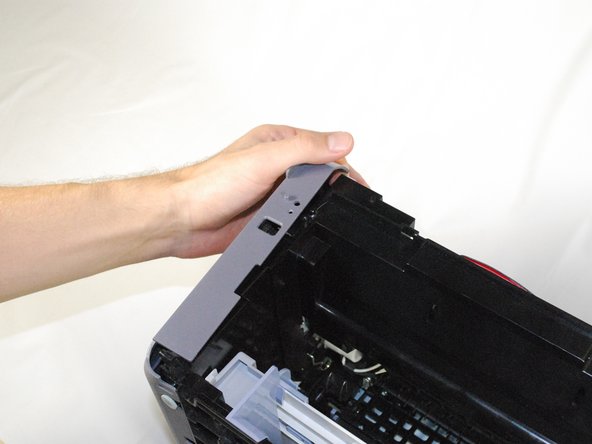
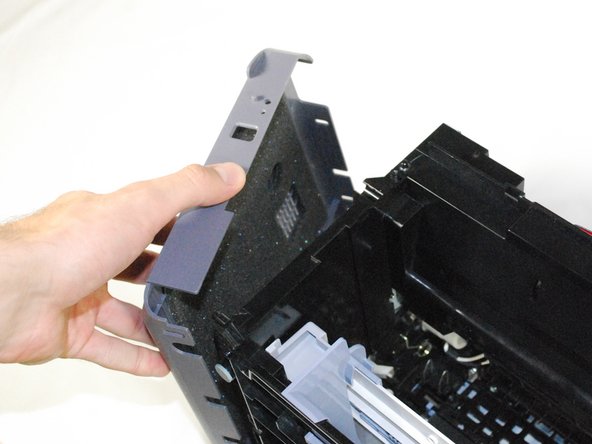
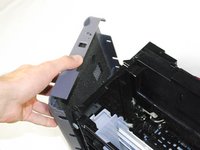
Lift the left side panel up from the raised stops.
-
Gently rotate the panel, as indicated in the picture, to remove the panel entirely.
-
-
-
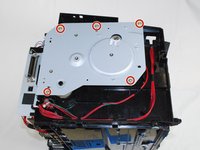
Use Phillips #2 screwdriver to remove the five, 1", Phillips, PH#2 screws on the side metal panel.
-
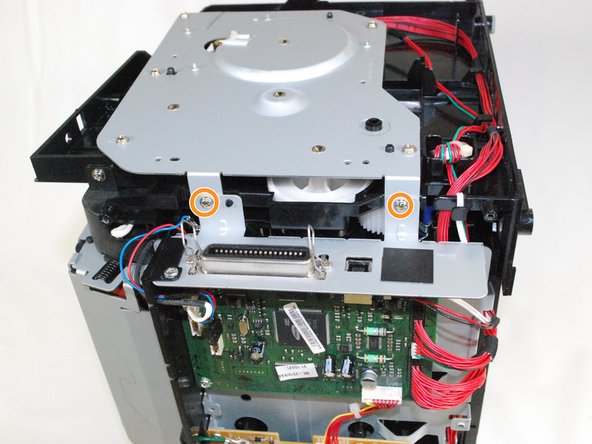
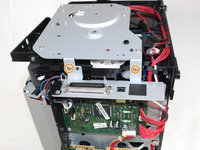
Remove the two, 1", Phillips, PH#2 screws on the back of the printer.
-
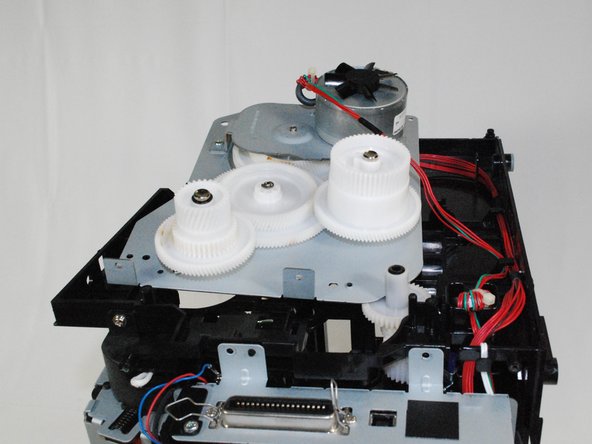
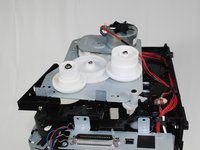
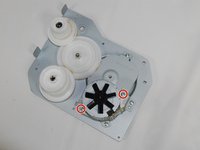
Flip over the metal panel to reveal the gear mechanism.
-
-
-
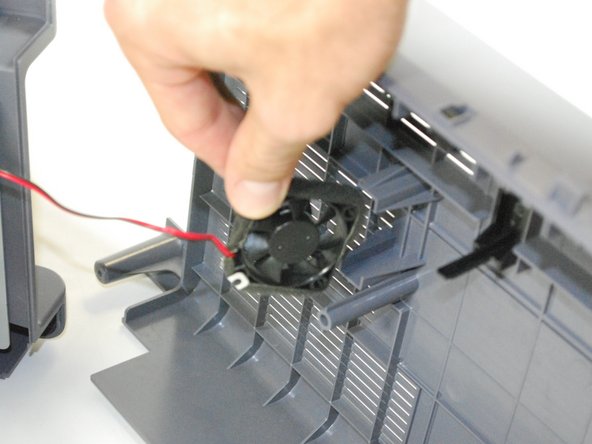
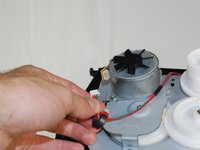
Remove the cable attached to the motor.
-
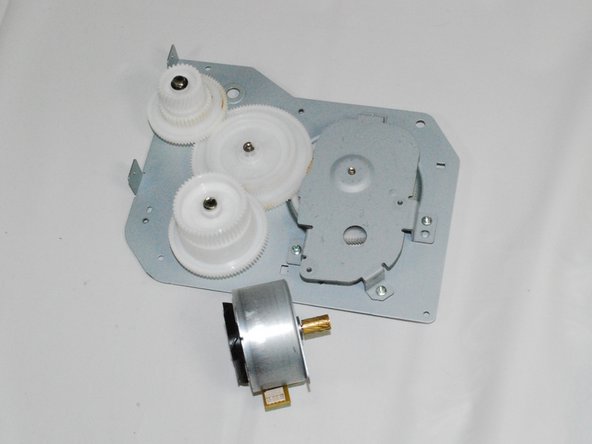
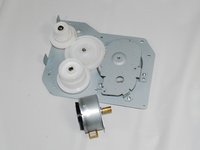
The entire panel can be removed from the rest of the printer.
-
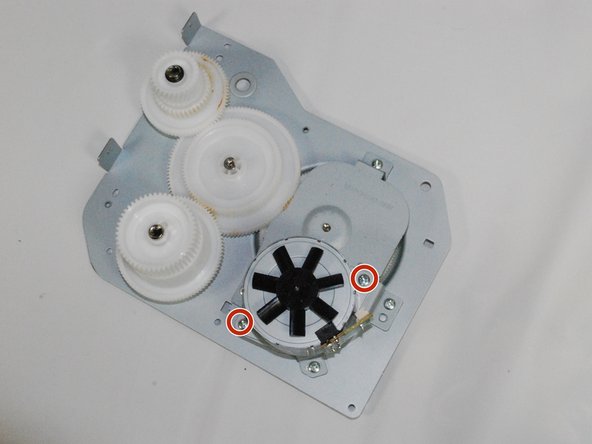
Use a Phillips #2 screwdriver to remove the motor from the panel by removing the two, 1", Phillips, PH#2 screws.
-
Replace the motor and reassemble the printer by following the instructions in reverse order.
-
-








Cancel: I did not complete this guide.
One other person completed this guide.

Team

Cal Poly, Team 17-18, Regan Fall 2011 Member of Cal Poly, Team 17-18, Regan Fall 2011
CPSU-REGAN-F11S17G18
4 Members
72 Guides authored
