Free Shipping on Domestic Orders $75+

Samsung Juke Outer Casing Replacement

What you need

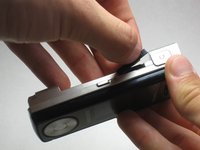
    1. Samsung Juke Outer Casing Replacement, Battery: step 1, image 1 of 1
      • Press and hold down the button on the bottom side of the phone with your finger.

      Ask FixBot

      Add Comment

    2. Samsung Juke Outer Casing Replacement: step 2, image 1 of 2 Samsung Juke Outer Casing Replacement: step 2, image 2 of 2
      • While holding the button down, remove the back cover of the phone.

      Ask FixBot

      Add Comment

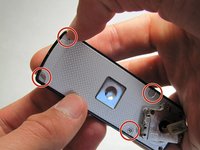
    1. Samsung Juke Outer Casing Replacement, Camera/Speaker: step 3, image 1 of 1
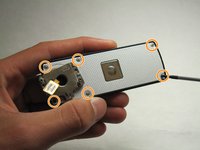
      • Remove the four screws from the back of the phone using a Phillips #00 screwdriver.

      Ask FixBot

      Add Comment

    2. Samsung Juke Outer Casing Replacement: step 4, image 1 of 1
      • Remove the two 7.3 mm screws from the camera and the speaker at the bottom back plate of the phone using a Phillips #00 screwdriver.

      Ask FixBot

      Add Comment

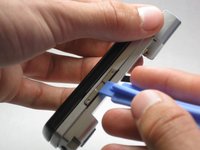
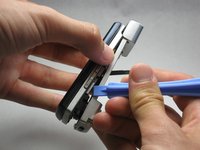
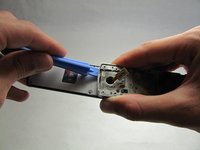
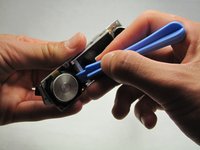
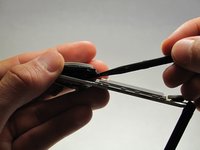
    3. Samsung Juke Outer Casing Replacement: step 5, image 1 of 3 Samsung Juke Outer Casing Replacement: step 5, image 2 of 3 Samsung Juke Outer Casing Replacement: step 5, image 3 of 3
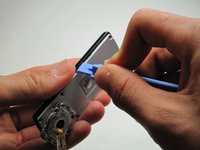
      • Locate the USB port (where the charger can be plugged in). Using the iFixit opening tool, open the phone cover.

      • Failure to open USB port cover at this stage may result in damaging the device.

      Ask FixBot

      Add Comment

    4. Samsung Juke Outer Casing Replacement: step 6, image 1 of 1
      • Remove the 5.5 mm screws from both sides of the camera/speaker with a Phillips #00 screwdriver.

      Ask FixBot

      Add Comment

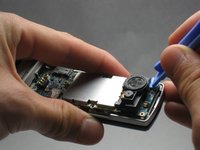
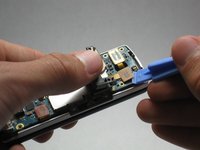
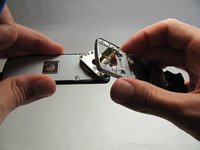
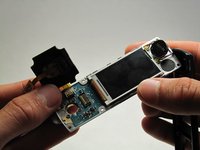
    5. Samsung Juke Outer Casing Replacement: step 7, image 1 of 2 Samsung Juke Outer Casing Replacement: step 7, image 2 of 2
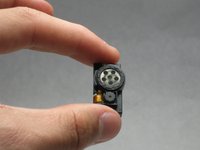
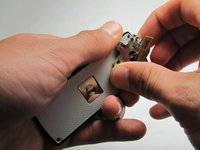
      • Use the iFixit opening tool to remove the camera/speaker from the motherboard.

      • Practice caution to prevent damage to the attaching ribbon.

      Ask FixBot

      Add Comment

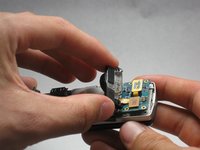
    6. Samsung Juke Outer Casing Replacement: step 8, image 1 of 2 Samsung Juke Outer Casing Replacement: step 8, image 2 of 2
      • Use the iFixit opening tool to gently pry the camera/speaker off.

      Ask FixBot

      Add Comment

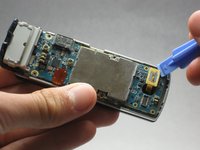
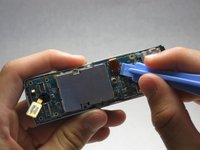
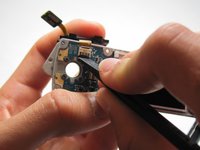
    1. Samsung Juke Outer Casing Replacement, Motherboard: step 9, image 1 of 2 Samsung Juke Outer Casing Replacement, Motherboard: step 9, image 2 of 2
      • Use the iFixit opening tool to remove the yellow tab on the motherboard.

      Ask FixBot

      Add Comment

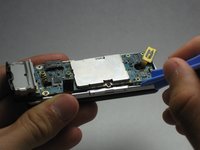
    2. Samsung Juke Outer Casing Replacement: step 10, image 1 of 2 Samsung Juke Outer Casing Replacement: step 10, image 2 of 2
      • Use the iFixit opening tool to remove the other orange tab to free the motherboard.

      Ask FixBot

      Add Comment

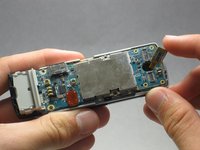
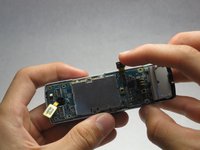
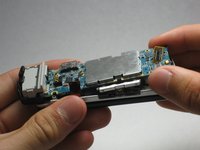
    3. Samsung Juke Outer Casing Replacement: step 11, image 1 of 3 Samsung Juke Outer Casing Replacement: step 11, image 2 of 3 Samsung Juke Outer Casing Replacement: step 11, image 3 of 3
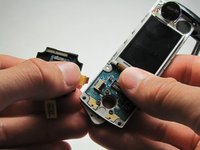
      • To completely remove the motherboard, use the iFixit opening tool to leverage it up, then use your fingers to pull it out.

      • Do not be alarmed if the volume and hold buttons are removed from the motherboard.

      Ask FixBot

      Add Comment

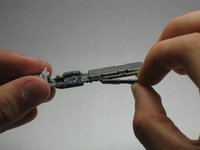
    1. Samsung Juke Outer Casing Replacement, Keyboard: step 12, image 1 of 3 Samsung Juke Outer Casing Replacement, Keyboard: step 12, image 2 of 3 Samsung Juke Outer Casing Replacement, Keyboard: step 12, image 3 of 3
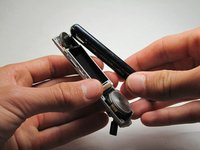
      • Open/swivel the phone so the back of the LCD panel is visible.

      • Use the iFixit opening tool to pry the keypad from the hinge on the back of the device.

      • A moderate amount of force may need to be applied.

      Ask FixBot

      Add Comment

    1. Samsung Juke Outer Casing Replacement, Click Wheel: step 13, image 1 of 2 Samsung Juke Outer Casing Replacement, Click Wheel: step 13, image 2 of 2
      • Using your fingernail, remove the stickers covering the screws on the back of the LCD casing.

      • Remove six 3.5 mm screws from the back of the device using a Phillips #00 screwdriver.

      Ask FixBot

      Add Comment

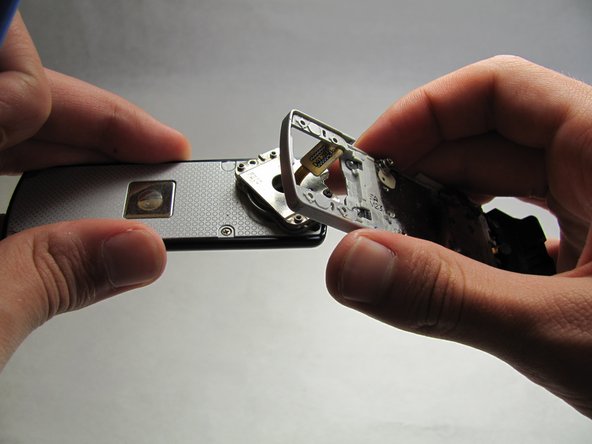
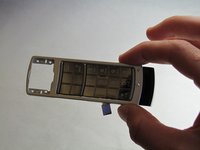
    2. Samsung Juke Outer Casing Replacement: step 14, image 1 of 3 Samsung Juke Outer Casing Replacement: step 14, image 2 of 3 Samsung Juke Outer Casing Replacement: step 14, image 3 of 3
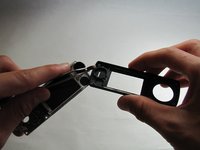
      • Using a generous amount of force, use your hands to pry loose the casing from the LCD panel.

      • If necessary, use the iFixit opening tool to completely free the casing.

      • Be careful not to sever the wire connecting the outer casing to the display board.

      Ask FixBot

      Add Comment

    3. Samsung Juke Outer Casing Replacement: step 15, image 1 of 3 Samsung Juke Outer Casing Replacement: step 15, image 2 of 3 Samsung Juke Outer Casing Replacement: step 15, image 3 of 3
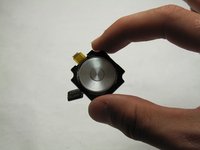
      • Using the iFixit opening tool, remove the click wheel from the board.

      • After you have freed the edges, use the spudger to release the clip holding it flush to the board.

      Ask FixBot

      Add Comment

    4. Samsung Juke Outer Casing Replacement: step 16, image 1 of 3 Samsung Juke Outer Casing Replacement: step 16, image 2 of 3 Samsung Juke Outer Casing Replacement: step 16, image 3 of 3
      • Unlock the ribbon connection by pressing down on the black clip.

      • Carefully pull the click wheel away from the device.

      Ask FixBot

      Add Comment

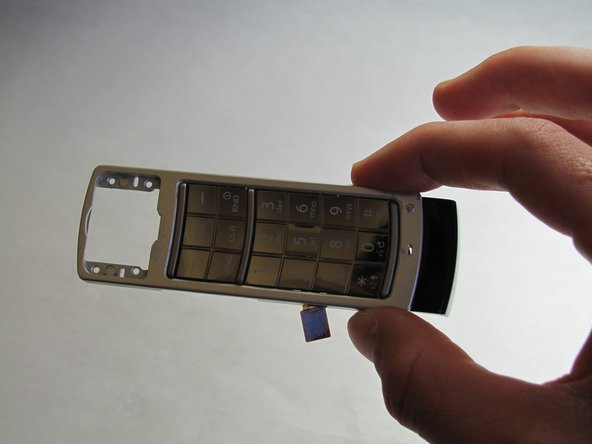
    1. Samsung Juke Outer Casing Replacement, Outer Casing: step 17, image 1 of 2 Samsung Juke Outer Casing Replacement, Outer Casing: step 17, image 2 of 2
      Tool used on this step:
      Tweezers
      $4.99
      Buy
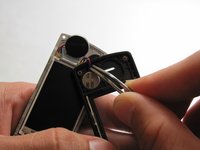
      • Using tweezers, grip the red and blue wires that attach the audio earpiece to the outer casing and pull.

      • This is glued on so a moderate amount of force may be needed.

      Ask FixBot

      Add Comment

Conclusion

To reassemble your device, follow these instructions in reverse order.

Cancel: I did not complete this guide.

2 other people completed this guide.

Ryan Turner

Member since: 04/15/10

107 Reputation

2 Guides authored

Team

Cal Poly, Team 6-18, Maness Spring 2010 Member of Cal Poly, Team 6-18, Maness Spring 2010

CPSU-MANESS-S10S6G18

3 Members

72 Guides authored

0 Guide Comments

Add Comment

View Statistics:

Past 24 Hours: 0

Past 7 Days: 0

Past 30 Days: 20

All Time: 2,825