Free Shipping on Domestic Orders $75+

Samsung Jack LCD Replacement

What you need

    1. Samsung Jack LCD Replacement, Battery: step 1, image 1 of 1
      • Slide the battery cover downwards with pressure focused on the center of the cover.

      • Lift the cover off of the phone.

      Ask FixBot

      Add Comment

    2. Samsung Jack LCD Replacement: step 2, image 1 of 1
      • Grasp the bottom left and right corners of the battery and lift it from its housing.

      Ask FixBot

      Add Comment

    1. Samsung Jack LCD Replacement, Rear Case: step 3, image 1 of 1
      • Remove the four black 7.30 mm screws surrounding the battery housing using a Phillips #00 Screwdriver.

      Ask FixBot

      Add Comment

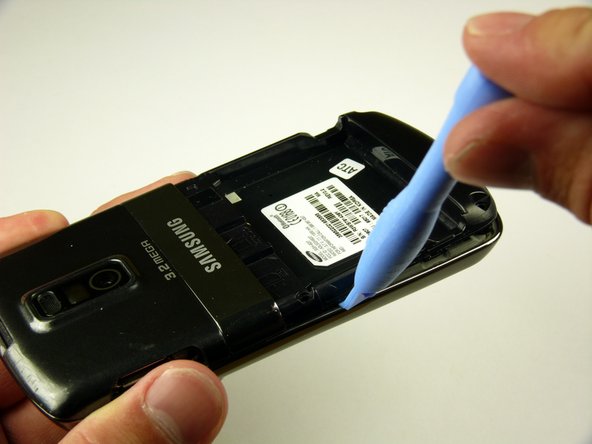
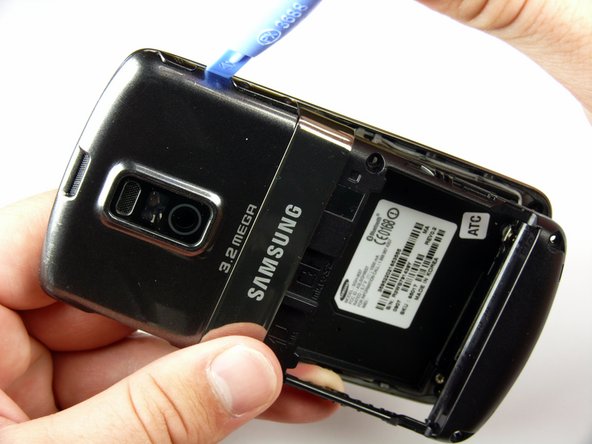
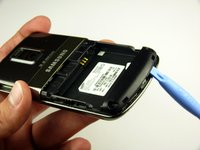
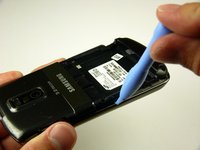
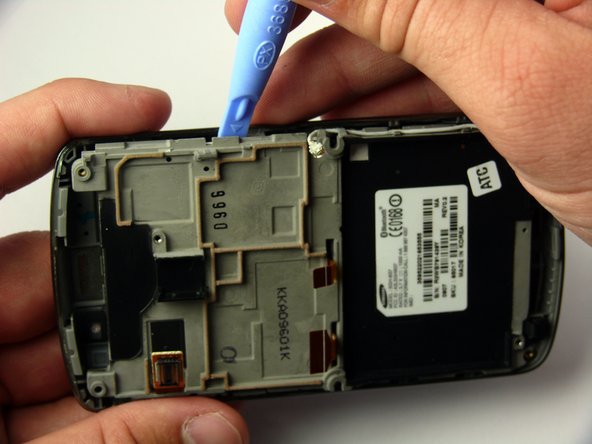
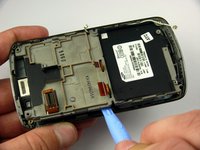
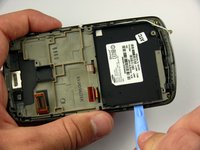
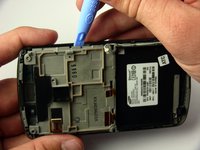
    2. Samsung Jack LCD Replacement: step 4, image 1 of 3 Samsung Jack LCD Replacement: step 4, image 2 of 3 Samsung Jack LCD Replacement: step 4, image 3 of 3
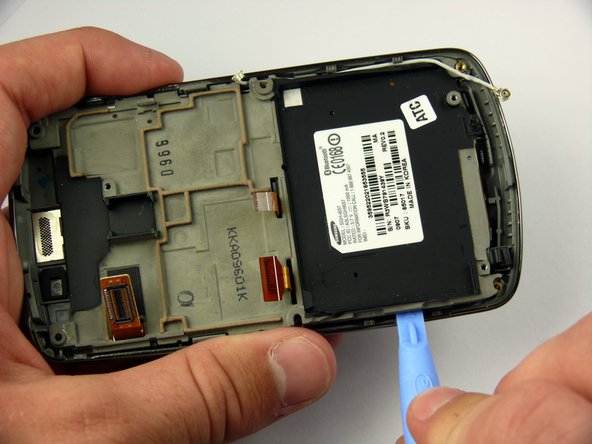
      • The rear case is firmly attached to the phone with clips. Do not be afraid to use a little extra force.

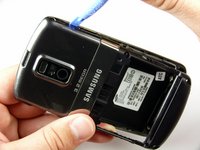
      • Insert the Plastic Opening Tool in between the front and rear cases.

      • Pry with the Plastic Opening Tool around all edges of the phone until you free all the clips.

      Ask FixBot

      Add Comment

    3. Samsung Jack LCD Replacement: step 5, image 1 of 1
      • Lift the rear case off of the phone.

      Ask FixBot

      Add Comment

    1. Samsung Jack LCD Replacement, Antenna: step 6, image 1 of 1
      • Remove the two silver 4.30 mm screws on either side of the antenna using a Phillip's #00 Screwdriver.

      Ask FixBot

      Add Comment

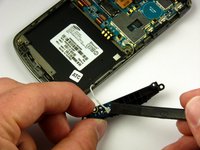
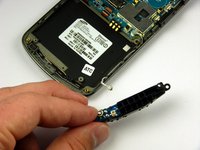
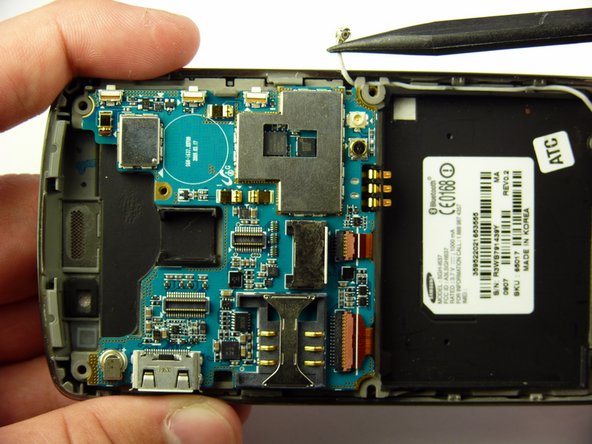
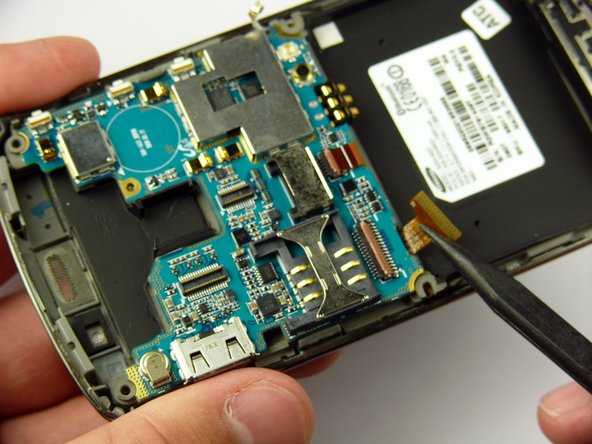
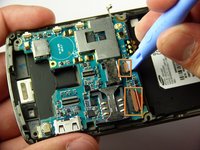
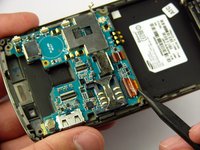
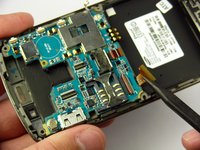
    2. Samsung Jack LCD Replacement: step 7, image 1 of 3 Samsung Jack LCD Replacement: step 7, image 2 of 3 Samsung Jack LCD Replacement: step 7, image 3 of 3
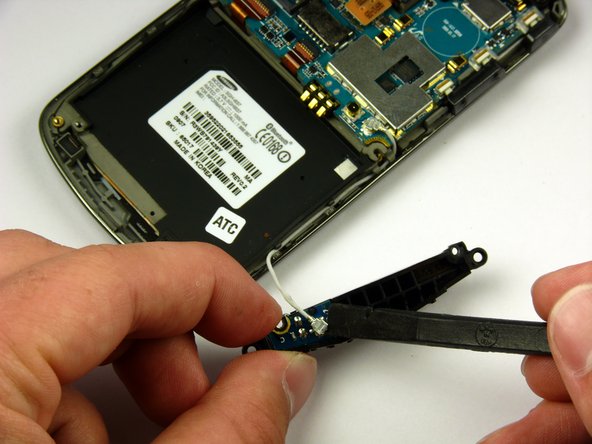
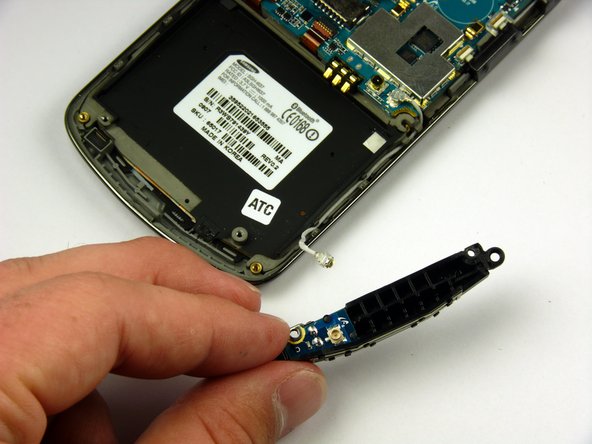
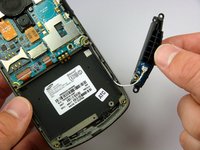
      • There is a wire under the antenna connecting it to the Motherboard. Do not pull off the antenna just yet.

      • Use a spudger to remove the wire connector under the antenna.

      Ask FixBot

      Add Comment

    1. Samsung Jack LCD Replacement, Speaker: step 8, image 1 of 1
      • Remove the two black 7.30 mm screws on the top right and left corners of the Motherboard using a Phillips #00 Screwdriver.

      • Remove the silver 4.50 mm screw located below the speaker using a Phillips #00 Screwdriver.

      Ask FixBot

      Add Comment

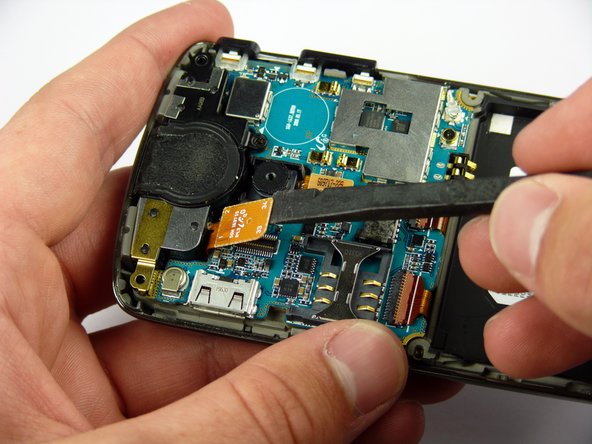
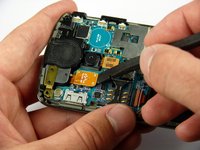
    2. Samsung Jack LCD Replacement: step 9, image 1 of 2 Samsung Jack LCD Replacement: step 9, image 2 of 2
      • Use the spudger to detach the speaker ribbon cable.

      Ask FixBot

      Add Comment

    3. Samsung Jack LCD Replacement: step 10, image 1 of 1
      • Lift the speaker out of its compartment.

      Ask FixBot

      Add Comment

    1. Samsung Jack LCD Replacement, Motherboard: step 11, image 1 of 1
      • Remove the power and volume buttons on the right side of the Motherboard.

      Ask FixBot

      Add Comment

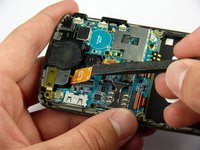
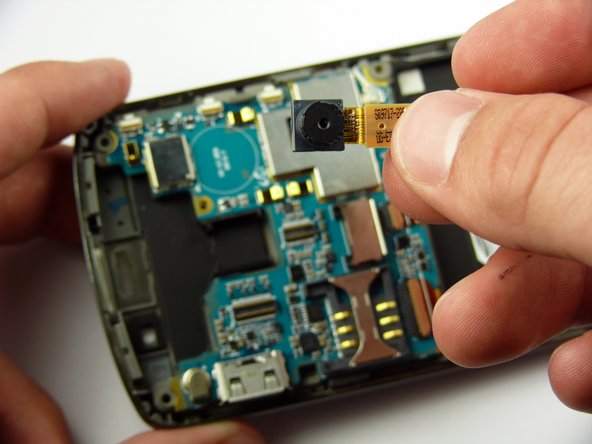
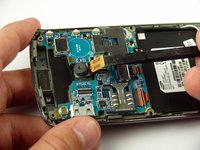
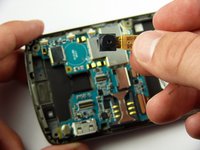
    2. Samsung Jack LCD Replacement: step 12, image 1 of 2 Samsung Jack LCD Replacement: step 12, image 2 of 2
      • Use a spudger to detach the camera ribbon cable.

      • Lift the camera off of the Motherboard.

      Ask FixBot

      Add Comment

    3. Samsung Jack LCD Replacement: step 13, image 1 of 2 Samsung Jack LCD Replacement: step 13, image 2 of 2
      • Use a spudger to disconnect the white antenna wire on the bottom right corner of the Motherboard.

      Ask FixBot

      Add Comment

    4. Samsung Jack LCD Replacement: step 14, image 1 of 3 Samsung Jack LCD Replacement: step 14, image 2 of 3 Samsung Jack LCD Replacement: step 14, image 3 of 3
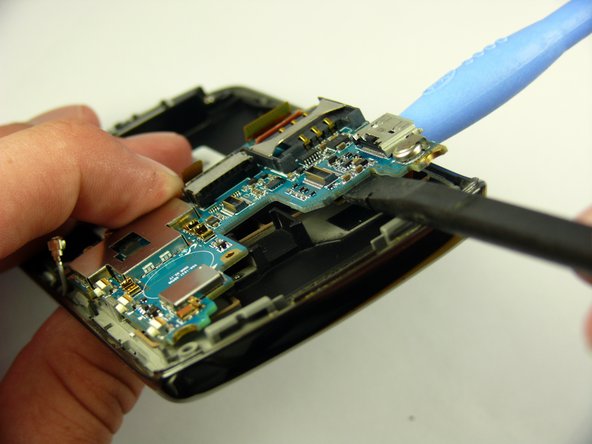
      • Use a Plastic Opening Tool to lift the flaps of the ZIF connectors to release the ribbon cables near the bottom of the Motherboard.

      • Use a spudger to carefully pull the ribbon cables away from the ZIF connectors.

      Ask FixBot

      Add Comment

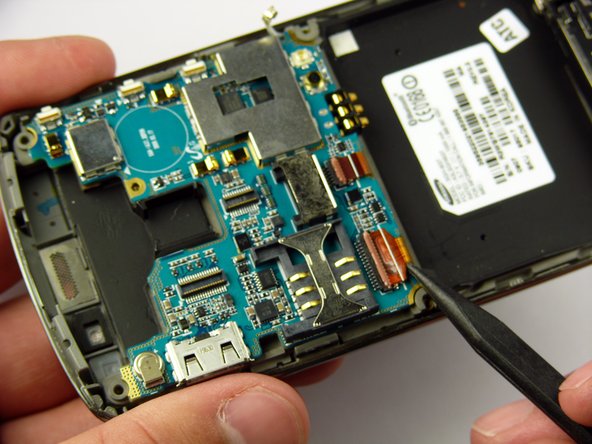
    5. Samsung Jack LCD Replacement: step 15, image 1 of 2 Samsung Jack LCD Replacement: step 15, image 2 of 2
      • There is a ribbon cable under the Motherboard connecting it to the LCD. Do not pull off the Motherboard just yet.

      • Insert the Plastic Opening Tool under the upper left corner of the Motherboard to help reveal the ribbon cable.

      • Use a spudger to disconnect the Motherboard ribbon cable.

      Ask FixBot

      Add Comment

    6. Samsung Jack LCD Replacement: step 16, image 1 of 1
      • Lift the Motherboard off of the phone.

      Ask FixBot

      Add Comment

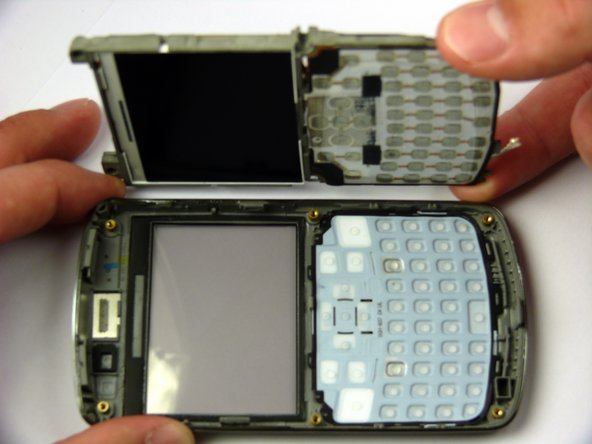
    1. Samsung Jack LCD Replacement, LCD: step 17, image 1 of 3 Samsung Jack LCD Replacement, LCD: step 17, image 2 of 3 Samsung Jack LCD Replacement, LCD: step 17, image 3 of 3
      • The LCD frame is firmly attached to the phone with clips. Do not be afraid to use a little extra force.

      • Insert the Plastic Opening Tool between the LCD frame and the front case of the phone.

      • Slide the Plastic Opening Tool around the LCD frame to detach all of the clips.

      Ask FixBot

      Add Comment

    2. Samsung Jack LCD Replacement: step 18, image 1 of 2 Samsung Jack LCD Replacement: step 18, image 2 of 2
      • Lift up the LCD frame.

      Ask FixBot

      Add Comment

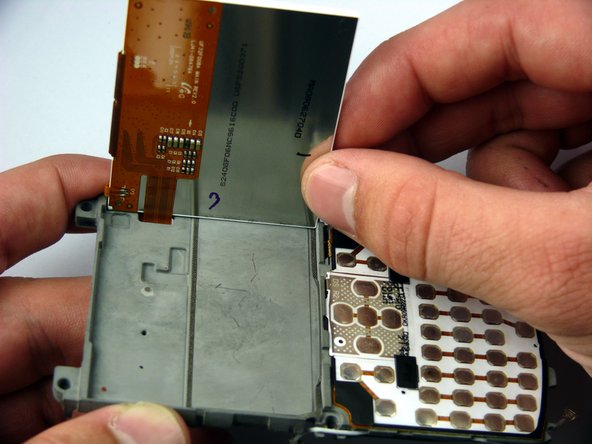
    3. Samsung Jack LCD Replacement: step 19, image 1 of 3 Samsung Jack LCD Replacement: step 19, image 2 of 3 Samsung Jack LCD Replacement: step 19, image 3 of 3
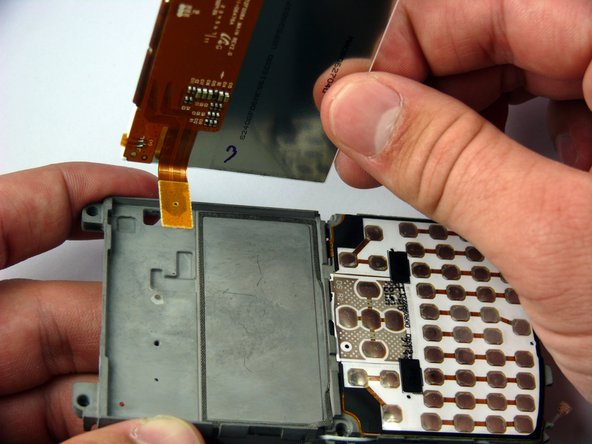
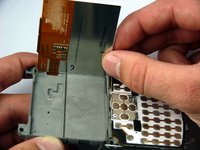
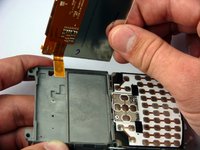
      • There is a hanging ribbon cable connected to the LCD screen that passes through the LCD frame.

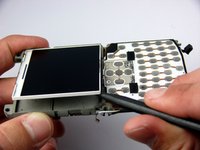
      • Insert the spudger under the bottom left corner of the LCD screen.

      • Use the spudger to gently pry the LCD screen out of its frame.

      • Gently remove the screen from the frame.

      Ask FixBot

      Add Comment

Conclusion

To reassemble your device, follow these instructions in reverse order.

Cancel: I did not complete this guide.

One other person completed this guide.

Paul Piller

Member since: 04/12/11

56 Reputation

5 Guides authored

Team

Cal Poly, Team 24-57, Amido Spring 2011 Member of Cal Poly, Team 24-57, Amido Spring 2011

CPSU-AMIDO-S11S24G57

4 Members

84 Guides authored

0 Guide Comments

Add Comment

View Statistics:

Past 24 Hours: 1

Past 7 Days: 1

Past 30 Days: 23

All Time: 2,280