
Samsung Impression LCD Replacement

Saul Villatoro and 6 other contributors
Last updated on Jan 20, 2025
Views: 5K
View statistics:
- Past 24 Hours:
- 1
- Past 7 Days:
- 16
- Past 30 Days:
- 95
- All Time:
- 5,023
Comments: 0
No one has left comments on this guide. Will you be first?
Go to guide commentsCompleted: 0 1
No one has marked this guide "completed." Will you be the first?
1 person has marked this guide "completed." It's you — great job!
Favorites: 1 2
1 person has favorited (and subscribed to) this guide. Will you be next?
2 people have favorited (and subscribed to) this guide — including you!
Action Shots
Be an action hero! This guide needs images that better demonstrate how to perform specific actions.
Needs Better Images
Better photos will improve this guide. Help out by taking, editing, or uploading new ones!
Markup Mishap
This guide needs better markups. Help out by correcting or making some markup annotations.
Better Introduction
Improve this guide by completing or revising its introduction.
Introduction
Go to step 1 ↓How to remove & replace the phone's LCD screen.
What you need
Tools


-
-
-
Orient the phone with the screen facing downward.
-
Slide the panel away from the camera using your thumb. This will expose the battery.
 Ask FixBot
-
-
-
Insert the tip of the spudger on the left side of the battery.
-
Pry the battery out. It will pivot in the direction of the white arrow.
-
-
-
-
-
Remove the six 3.5 mm screws using a Phillips #000 screwdriver. Unscrew in a counterclockwise direction.
-
-
-
Gently pry around the edges with the spudger to remove back panel.
-
The side buttons will become loose and will fall out, so put these in a safe place.
-
-
-
-
-
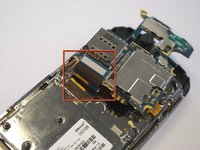
Gently remove the black wire to free the circuit board.
-
Remove the wire by gently prying up the gold terminator attached to the green circuit board.
-
-
-
-
-
Remove the two base screws along the edge of the silver piece, where you just removed the black end piece.
-
The screws are 2.7mm in length.
-
The bottom black end cap will snap out.
-
-
-
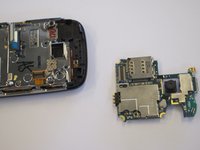
Remove the six 2.7 mm screws holding the silver plate on and set aside (fig. 1).
-
Separate the silver plate and phone frame (fig. 2).
-
-
-
-
-
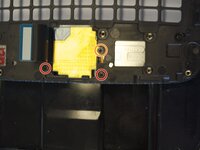
Remove the 3 screws holding down the flex cable.
-
The two screws on the black frame are 2.0 mm in length.
-
The top right screw that goes through the circle port on the flex cable is 2.3 mm.
-
Remove the keyboard slider frame. The flex cable should be exposed, but not free.
-
-
-
-
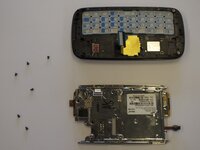
Slide the phone apart and remove the 3.5 mm screw on the top middle (fig. 1).
-
Remove the outer shell by prying the edges off with your fingers or a small screwdriver (fig. 2).
-
The device will now be in two pieces (fig. 3).
-
-
-
Lift the tab underneath the blue tape and gently pull the flex cable (fig. 1).
-
The flex cable will now be completely free (fig. 2).
-
-
-
-
-
Remove the 2.3 mm screw.
-
Lift the black tab at the end of the ribbon.
-
Gently pull the speaker and ribbon free.
-
-
-
-
-
Lift the remaining two tabs and free their respective ribbon cables.
-
Gently pry the screen away from the housing.
-
-






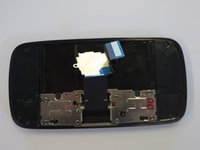


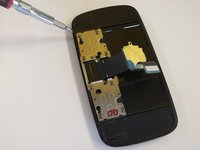
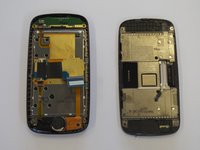


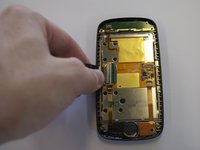
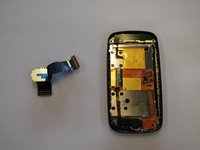


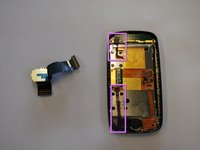
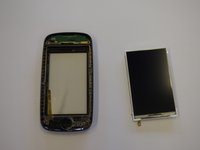
To reassemble your device, follow these instructions in reverse order.

Team

Cal Poly, Team 8-10, Regan Spring 2011 Member of Cal Poly, Team 8-10, Regan Spring 2011
CPSU-REGAN-S11S8G10
4 Members
132 Guides authored
