Free Shipping on Domestic Orders $75+

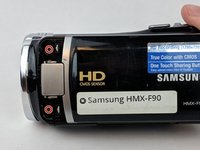
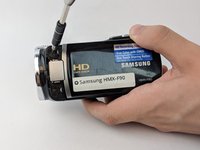
Samsung HMX-F90 Lens Replacement

What you need

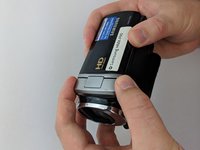
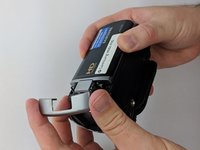
    1. Samsung HMX-F90 Lens Replacement, Battery: step 1, image 1 of 3 Samsung HMX-F90 Lens Replacement, Battery: step 1, image 2 of 3 Samsung HMX-F90 Lens Replacement, Battery: step 1, image 3 of 3
      • Pull the release tab away from the battery.

      • Slide the battery towards the release tab and then pull the battery away from the camcorder.

      Ask FixBot

      Add Comment

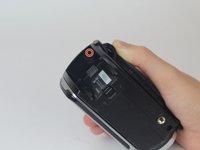
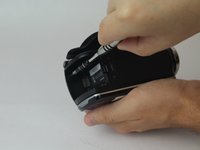
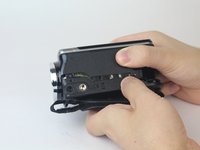
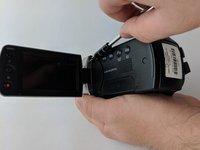
    1. Samsung HMX-F90 Lens Replacement, Strap Side Outer Casing: step 2, image 1 of 2 Samsung HMX-F90 Lens Replacement, Strap Side Outer Casing: step 2, image 2 of 2
      • Rotate the camcorder so that the strap side is facing you.

      • Locate and remove the three 4.5mm Phillips #00 screws around the hand strap.

      Ask FixBot

      Add Comment

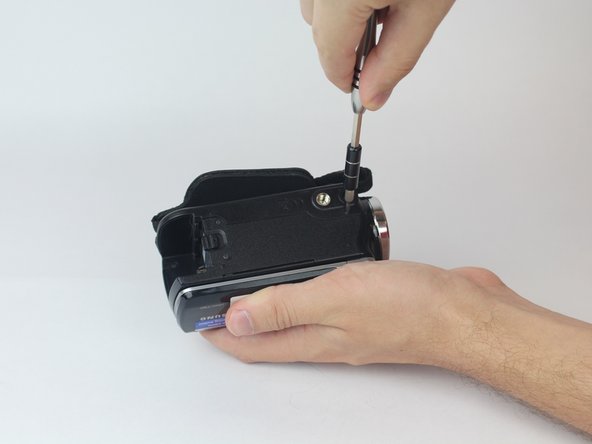
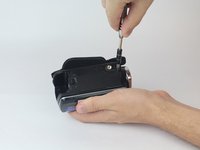
    2. Samsung HMX-F90 Lens Replacement: step 3, image 1 of 2 Samsung HMX-F90 Lens Replacement: step 3, image 2 of 2
      • Rotate the camcorder so that the battery slot is facing you.

      • Located in the top left corner of the battery slot, remove the 4.5mm Phillips #00 screw.

      Ask FixBot

      Add Comment

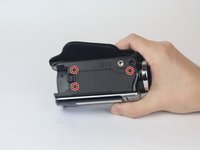
    3. Samsung HMX-F90 Lens Replacement: step 4, image 1 of 2 Samsung HMX-F90 Lens Replacement: step 4, image 2 of 2
      • Rotate the camcorder so you are looking at the bottom of the camcorder.

      • Locate and remove the last three 4.5mm Phillips #00 screws.

      Ask FixBot

      Add Comment

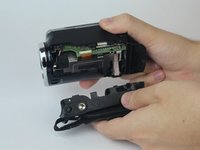
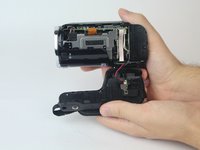
    4. Samsung HMX-F90 Lens Replacement: step 5, image 1 of 3 Samsung HMX-F90 Lens Replacement: step 5, image 2 of 3 Samsung HMX-F90 Lens Replacement: step 5, image 3 of 3
      • With both hands, pull the side strap apart from the rest of the camcorder.

      Ask FixBot

      Add Comment

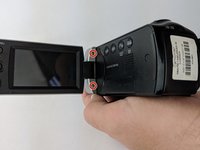
    1. Samsung HMX-F90 Lens Replacement, Lens: step 6, image 1 of 2 Samsung HMX-F90 Lens Replacement, Lens: step 6, image 2 of 2
      • Rotate the camcorder so that back is facing you. Then flip open the LCD screen.

      • Locate and remove the 4.5mm Phillips #00 screws in the LCD screen base.

      Ask FixBot

      Add Comment

    2. Samsung HMX-F90 Lens Replacement: step 7, image 1 of 2 Samsung HMX-F90 Lens Replacement: step 7, image 2 of 2
      • Close the LCD screen. Then lift the silver base away from the camcorder.

      Ask FixBot

      Add Comment

    3. Samsung HMX-F90 Lens Replacement: step 8, image 1 of 2 Samsung HMX-F90 Lens Replacement: step 8, image 2 of 2
      • Locate and remove the two 3.5mm Phillips #00 screws from the side of the camcorder.

      Ask FixBot

      Add Comment

    4. Samsung HMX-F90 Lens Replacement: step 9, image 1 of 3 Samsung HMX-F90 Lens Replacement: step 9, image 2 of 3 Samsung HMX-F90 Lens Replacement: step 9, image 3 of 3
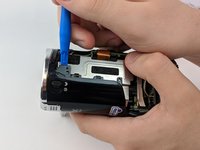
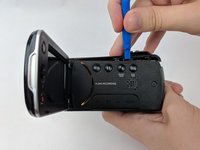
      • Gradually pry off the outer casing using a prying tool.

      Ask FixBot

      Add Comment

    5. Samsung HMX-F90 Lens Replacement: step 10, image 1 of 3 Samsung HMX-F90 Lens Replacement: step 10, image 2 of 3 Samsung HMX-F90 Lens Replacement: step 10, image 3 of 3
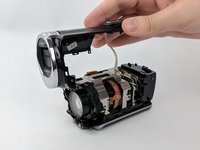
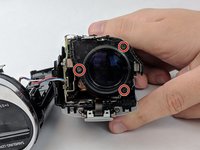
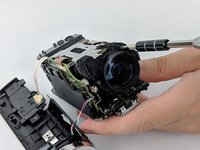
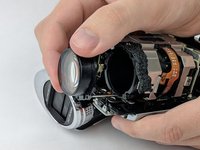
      • Locate and remove the three 4mm Phillips #00 screws around the lens.

      • Gently remove the lens.

      Ask FixBot

      Add Comment

Conclusion

To reassemble your device, follow these instructions in reverse order.

Cancel: I did not complete this guide.

3 other people completed this guide.

Amir Harb

Member since: 09/26/17

705 Reputation

6 Guides authored

Team

USF Tampa, Team S13-G1, Boczar Fall 2017 Member of USF Tampa, Team S13-G1, Boczar Fall 2017

USFT-BOCZAR-F17S13G1

4 Members

72 Guides authored

0 Guide Comments

Add Comment

View Statistics:

Past 24 Hours: 0

Past 7 Days: 6

Past 30 Days: 40

All Time: 1,942