
Samsung Glyde Camera Replacement

Cameron Law and 8 other contributors
Last updated on Oct 22, 2025
Views: 1.5K
View statistics:
- Past 24 Hours:
- 3
- Past 7 Days:
- 19
- Past 30 Days:
- 97
- All Time:
- 1,473
Comments: 0
No one has left comments on this guide. Will you be first?
Go to guide commentsCompleted: 0 1
No one has marked this guide "completed." Will you be the first?
1 person has marked this guide "completed." It's you — great job!
Favorites: 4 5
4 people have favorited (and subscribed to) this guide. Will you be next?
5 people have favorited (and subscribed to) this guide — including you!
Action Shots
Be an action hero! This guide needs images that better demonstrate how to perform specific actions.
Bullets!
Better coordination with markups and the color/type of bullets will help make this guide more clear!
Needs Better Images
Better photos will improve this guide. Help out by taking, editing, or uploading new ones!
Introduction
Go to step 1 ↓This replacement can be done to restore a phone's camera functionality. By fixing this, this can solve blurry or broken camera or problems focusing. No skills are required for this replacement besides having minimal strength. Be aware that the camera is difficult to access and is also attached with adhesive, making it difficult to remove. Be sure you know that this replacement is permanent. Some tools you need are the iFixit Opening Tool and the Philips #00 Screwdriver.
What you need
Tools


-
-
-
Using your thumb, press down and slide the back cover away from the camera.
 Ask FixBot
-
-
-
Remove the battery from the phone by using your plastic opening tool to find a gap at any edge of the battery and lifting the battery up.
-
-
-
-
-
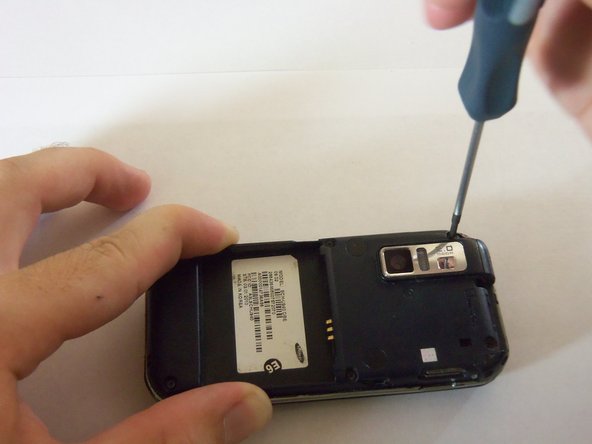
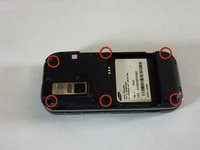
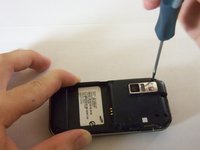
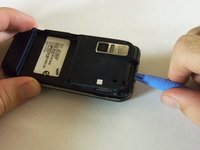
Using a Phillips#00 screw driver, remove the six 4mm screws holding the back case together.
-
-
-
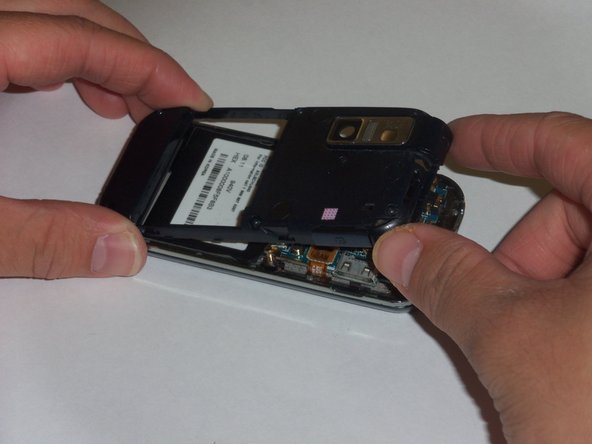
Use a plastic opening tool to pry the case off. To do this, find a gap on any side of the phone, top preferably, and slip the tip of the tool in the gap
-
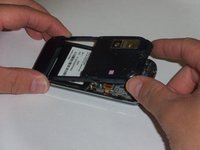
Now use moderate strength and slowly maneuver the tool around the outside until the case becomes loose.
-
Using your fingers, take the case off.
-
-
-
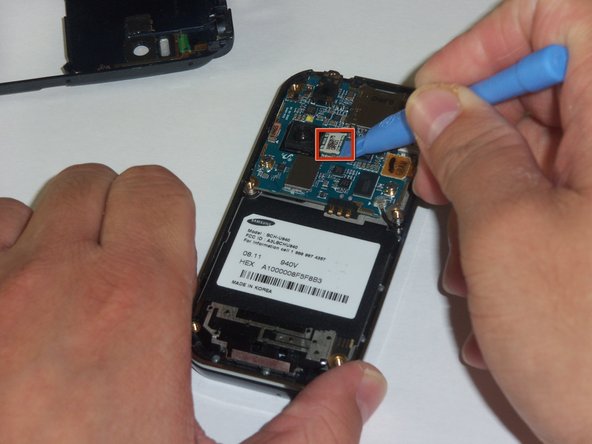
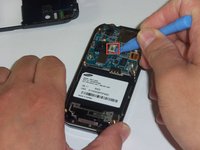
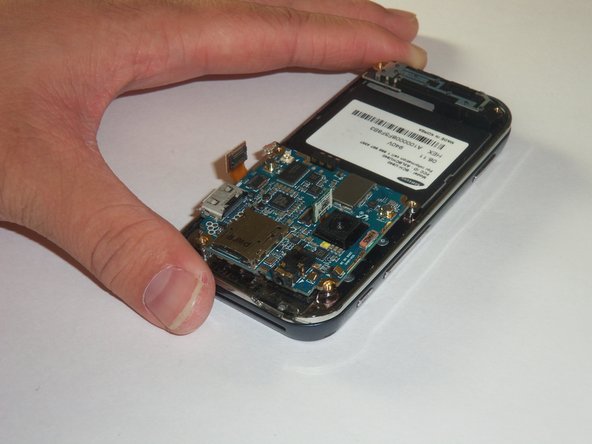
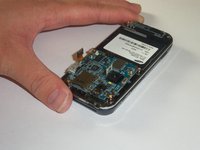
The green film above the camera is the camera connector to the motherboard.
-
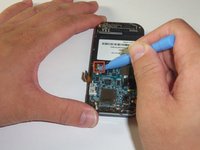
Use a plastic opening tool to disconnect the camera connector.
-
-
-
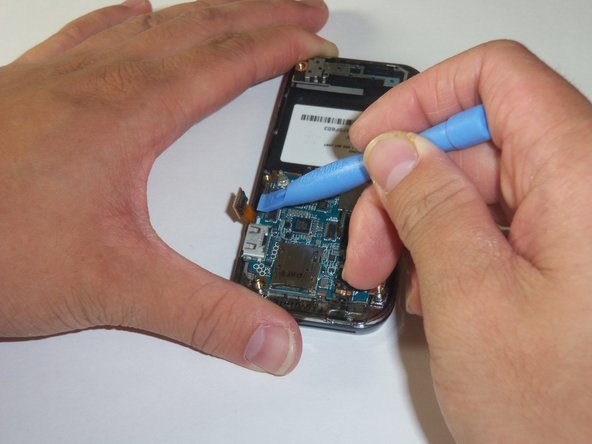
The golden film connector connects the keyboard to the motherboard.
-
Use a plastic opening tool to disconnect the keyboard connector.
-
-
-
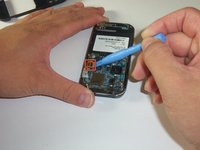
The circular connector holds the motherboard in place.
-
Using a plastic opening tool, disconnect the circular connector.
-
-
-
-
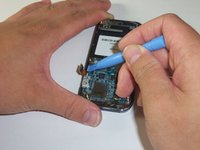
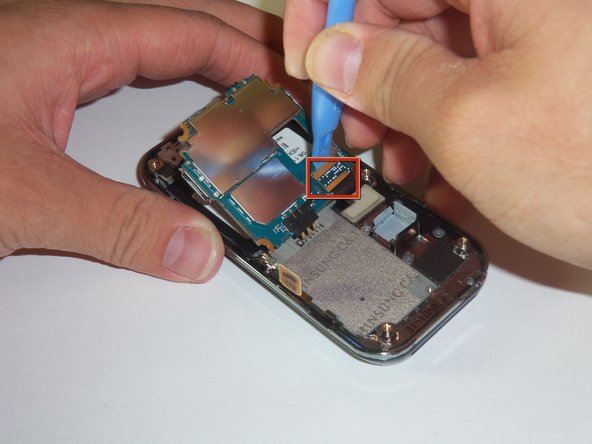
There is a LCD connector underneath the motherboard.
-
Gently lift the far edge of the motherboard upwards toward the center of the phone.
-
Using a plastic opening tool, disconnect the LCD connector.
-
-
-
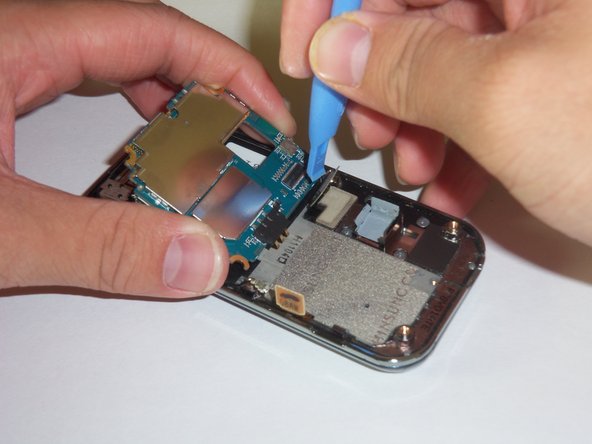
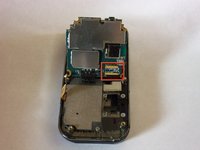
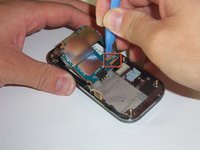
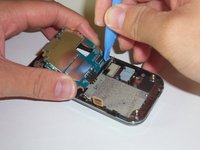
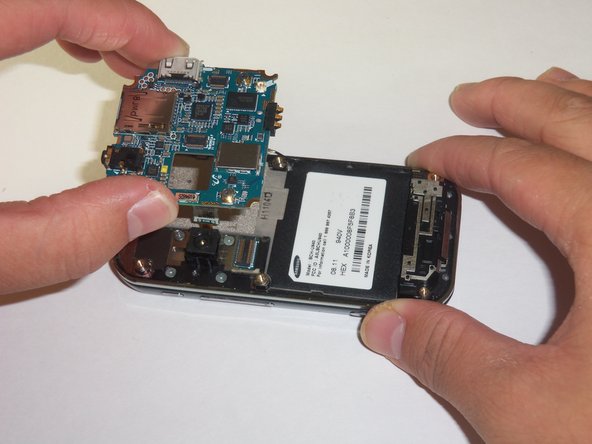
After disconnecting the four connectors, gently lift the motherboard up with your fingers.
-
Place the motherboard in a secure area.
-
-
-
-
-
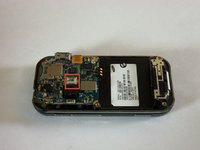
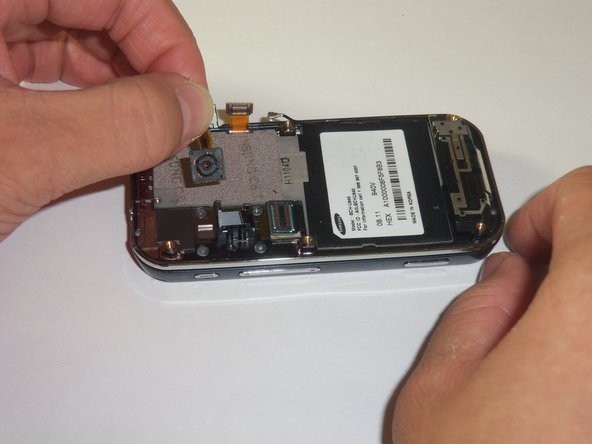
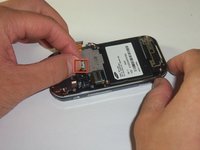
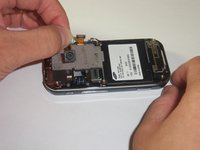
Use your thumb and index finger to grip the camera connector.
-
Pull the camera connector upwards to detach the camera.
-
-









To reassemble your device, follow these instructions in reverse order.

Team

Cal Poly, Team 3-12, Regan Fall 2011 Member of Cal Poly, Team 3-12, Regan Fall 2011
CPSU-REGAN-F11S3G12
4 Members
84 Guides authored
