Introduction
Hello, in this guide I will be showing you how to replace the battery of this smartwatch.
What you need
-
-
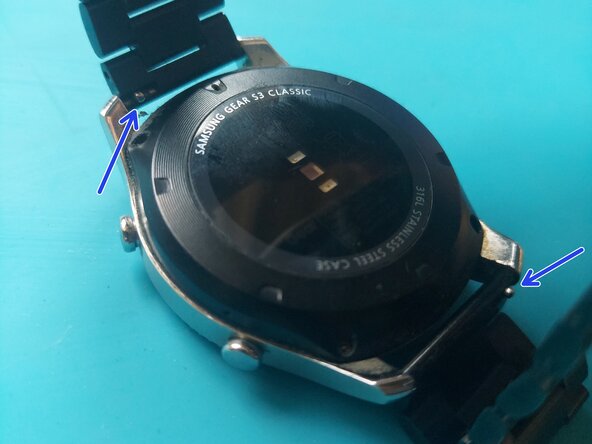
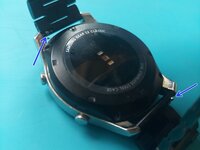
Pull back the locking tabs to release the bracelet so it`s out of the way.
-
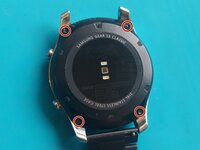
Remove the four Y wing screws.
-
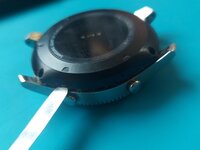
Use a prying tool to separate the back from the watch. Go all the way around and do not pry only in one place, because you can damage the plastic back.
 Ask FixBot
-
-
-
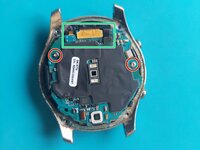
Remove the two Phillips screws and disconnect the three connectors.
-
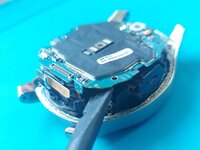
Use a plastic prying tool to CAREFULLY lift up the motherboard. The battery is glued to it, so it can be a bit difficult. Have patience, this step is crucual!
-
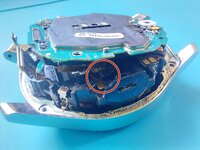
Use a prying tool to lift up the battery connector. It is glued to the surface, but should come out easily.
-
-
-
-
Be very careful with the button flex cable. It cannot be removed so you will have to work around it.
-
Use a plastic prying tool to separate the battery from the motherboard. A bit of IPA can help here.
-
-
-
Cut some double-sided adhesive strips and lay them on the back of the motherboard.
-
Put a small piece of adhesive on the plastic that holds the battery connector.
-
Carefully slot the battery and the battery connector in the casing.
-
I suggest putting the battery connector first and then the rest of the battery, starting from the left-top corner. Be careful not the puncture the battery.
-


To reassemble your device, follow these instructions in reverse order.
Cancel: I did not complete this guide.
One other person completed this guide.
