
Samsung Gear S2 Back Replacement

Jacob Baldwin and one other contributor
Last updated on Jun 22, 2017
Views: 719
View statistics:
- Past 24 Hours:
- 0
- Past 7 Days:
- 4
- Past 30 Days:
- 23
- All Time:
- 719
Comments: 9
8 comments on steps, 1 guide comment.
Go to guide commentsCompleted: 0 1
No one has marked this guide "completed." Will you be the first?
1 person has marked this guide "completed." It's you — great job!
Favorites: 1 2
1 person has favorited (and subscribed to) this guide. Will you be next?
2 people have favorited (and subscribed to) this guide — including you!
Introduction
Go to step 1 ↓If the heart rate monitor on the watch no longer detects your heart rate, then replacing the back may fix it.
What you need
Tools


-
-
-
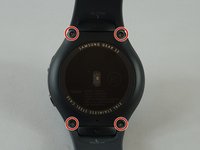
Flip the watch over so that the face is down.
-
Using a Y#0 screwdriver, unscrew the four 3.5 millimeter tri-head screws.
 Ask FixBot
-
-
-
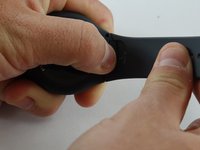
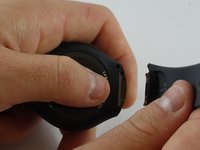
Using your finger, push forward on the release while pulling up on the strap.
-
-
-
-
-
-
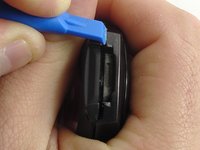
Insert a plastic opening tool between the top and bottom portions of the case, and gently pry off the back.
-
-






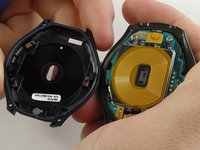
To reassemble your device, follow these instructions in reverse order.

Team

USF Tampa, Team S2-G3, Sullivan Spring 2017 Member of USF Tampa, Team S2-G3, Sullivan Spring 2017
USFT-SULLIVAN-S17S2G3
3 Members
60 Guides authored
1 Guide Comment
And where do you get the new replacement back? And does it just snap back on?
