Free Shipping on Domestic Orders $75+

Samsung Gear S Battery/ Motherboard Replacement

What you need

    1. Samsung Gear S Battery/ Motherboard Replacement, Display Assembly: step 1, image 1 of 3 Samsung Gear S Battery/ Motherboard Replacement, Display Assembly: step 1, image 2 of 3 Samsung Gear S Battery/ Motherboard Replacement, Display Assembly: step 1, image 3 of 3
      • Remove the wrist strap by peeling back the rubber starting from one corner of the watch face. Continue peeling the rubber away from the watch face until the strap is completely off.

      Ask FixBot

      Add Comment

    2. Samsung Gear S Battery/ Motherboard Replacement: step 2, image 1 of 2 Samsung Gear S Battery/ Motherboard Replacement: step 2, image 2 of 2
      • Starting from an edge, wedge a metal spudger in between the screen and the chrome trim ring and pry, lifting the screen outwards.

      • Some force is needed due to adhesive seal.

      Ask FixBot

      Add Comment

    3. Samsung Gear S Battery/ Motherboard Replacement: step 3, image 1 of 1
      • Use a plastic opening tool to gently pry upwards on the plastic motherboard assembly.

      Ask FixBot

      Add Comment

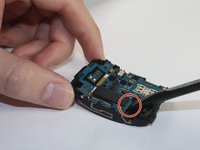
    4. Samsung Gear S Battery/ Motherboard Replacement: step 4, image 1 of 1
      • Locate the ribbon assembly attaching the display to the motherboard.

      Ask FixBot

      Add Comment

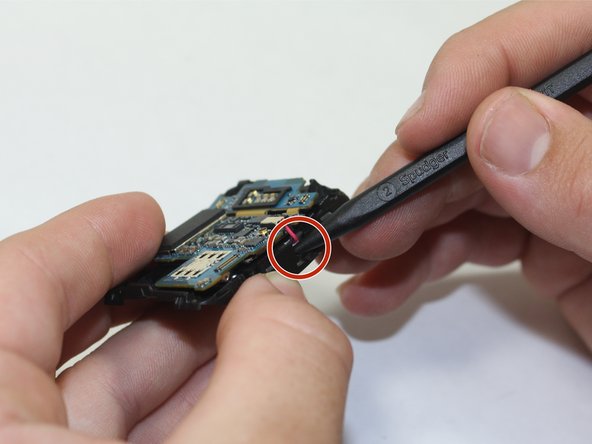
    5. Samsung Gear S Battery/ Motherboard Replacement: step 5, image 1 of 1
      • Use a plastic opening tool to detach the glass screen/ LED Display ribbon connector from the motherboard.

      Ask FixBot

      Add Comment

    6. Samsung Gear S Battery/ Motherboard Replacement: step 6, image 1 of 1
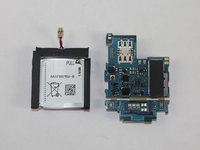
      • Now the watch should be in three separate pieces.

      Ask FixBot

      Add Comment

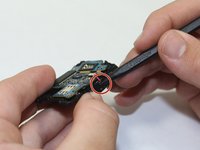
    1. Samsung Gear S Battery/ Motherboard Replacement, Battery/ Motherboard: step 7, image 1 of 1
      • Locate the tabs on the motherboard and unclasp them.

      Ask FixBot

      Add Comment

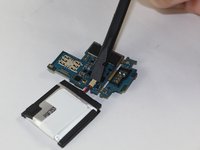
    2. Samsung Gear S Battery/ Motherboard Replacement: step 8, image 1 of 2 Samsung Gear S Battery/ Motherboard Replacement: step 8, image 2 of 2
      • Use the spugder to gently pry upwards on the motherboard.

      • If you keep the battery attached to the upper half of the motherboard, you will have to gently pry upwards on both the battery and the motherboard.

      Ask FixBot

      Add Comment

    3. Samsung Gear S Battery/ Motherboard Replacement: step 9, image 1 of 1
      • Once the motherboard and the battery are removed, disconnect the battery at the connector.

      Ask FixBot

      Add Comment

    4. Samsung Gear S Battery/ Motherboard Replacement: step 10, image 1 of 2 Samsung Gear S Battery/ Motherboard Replacement: step 10, image 2 of 2
      • Use a spudger to gently pry upward on the clasp connecting the battery to the motherboard.

      Ask FixBot

      Add Comment

Conclusion

To reassemble your device, follow these instructions in reverse order.

Cancel: I did not complete this guide.

36 other people completed this guide.

Luis Franco

Member since: 09/03/15

1,076 Reputation

4 Guides authored

Team

USF Tampa, Team 12-1, Blackwell Fall 2015 Member of USF Tampa, Team 12-1, Blackwell Fall 2015

USFT-BLACKWELL-F15S12G1

4 Members

30 Guides authored

17 Guide Comments

Thanks for the comprehensive guide! Where can one purchase a Gear S compatible battery?

JG - Reply Share

Hi, did you found where to buy it?

Simone - Reply Share

HI , How to by a battery?

Luigi - Reply Share

I'm looking for a replacement battery.

jhdownes - Reply Share

Apparently you can get them in Spain.

http://www.impextrom.com/es/bateria-aa1f...

foszz - Reply Share

Add Comment

View Statistics:

Past 24 Hours: 3

Past 7 Days: 11

Past 30 Days: 55

All Time: 33,257