Free Shipping on Domestic Orders $75+

Samsung Galaxy Tab S3 Front Facing Camera Replacement

What you need

    1. Samsung Galaxy Tab S3 Front Facing Camera Replacement, Display: step 1, image 1 of 1
      • To soften the adhesive holding the tablet together, heat up the edges of the glass panel using a heated iOpener on the edge of the device. Alternatively you can use a heat gun to loosen the adhesive.

      • Leave the iOpener on edge for two minutes.

      • Be careful not to burn yourself while handling the hot iOpener. For more information on the iOpener, use the iOpener Instructions Guide.

      Ask FixBot

      Add Comment

    2. Samsung Galaxy Tab S3 Front Facing Camera Replacement: step 2, image 1 of 1
      • Place a suction cup near edge that you heated up with the iOpener.

      • Press down on the suction cup to create a seal, and pull up with force to create a separation between the display and the midframe.

      • Use an opening tool to split apart the glass panel from the midframe.

      • Be careful to not break the glass when prying from the frame.

      Ask FixBot

      Add Comment

    3. Samsung Galaxy Tab S3 Front Facing Camera Replacement: step 3, image 1 of 1
      Tool used on this step:
      Plastic Cards
      $2.99
      Buy
      • As you continue along the edge using the opening tool, use a plastic card to keep the glass separate from the midframe.

      • You can also use multiple opening picks instead of a plastic card.

      Ask FixBot

      Add Comment

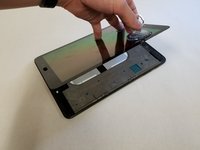
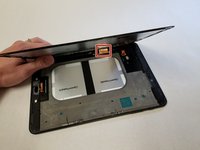
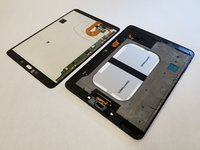
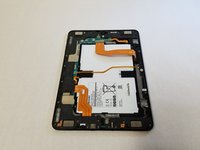
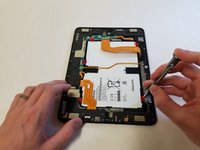
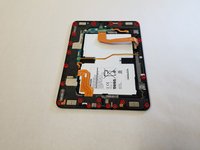
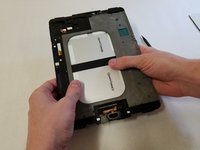
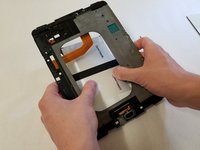
    4. Samsung Galaxy Tab S3 Front Facing Camera Replacement: step 4, image 1 of 3 Samsung Galaxy Tab S3 Front Facing Camera Replacement: step 4, image 2 of 3 Samsung Galaxy Tab S3 Front Facing Camera Replacement: step 4, image 3 of 3
      • Pull off the glass panel using the suction cup.

      • As you remove the glass panel, be careful not to tear the ribbon connecting the motherboard to the display.

      • Carefully disconnect the ribbon cable connecting the display assembly to the motherboard. You can disconnect this ribbon from either end.

      Ask FixBot

      Add Comment

    5. Samsung Galaxy Tab S3 Front Facing Camera Replacement, Rear glass panel: step 5, image 1 of 2 Samsung Galaxy Tab S3 Front Facing Camera Replacement, Rear glass panel: step 5, image 2 of 2
      • Repeat steps 3 through 7 to remove the rear glass panel on the opposite side of the device.

      Ask FixBot

      Add Comment

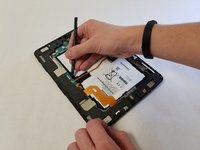
    1. Samsung Galaxy Tab S3 Front Facing Camera Replacement, Battery: step 6, image 1 of 2 Samsung Galaxy Tab S3 Front Facing Camera Replacement, Battery: step 6, image 2 of 2
      • Use a Phillips #000 screwdriver to unscrew the five screws securing the battery, and the twenty-two screws surrounding the midframe.

      Ask FixBot

      Add Comment

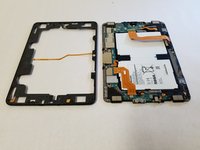
    2. Samsung Galaxy Tab S3 Front Facing Camera Replacement: step 7, image 1 of 1
      • The midframe should snap off from the device’s motherboard.

      Ask FixBot

      Add Comment

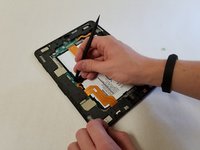
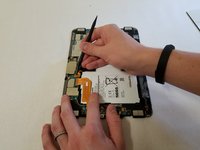
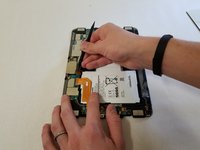
    3. Samsung Galaxy Tab S3 Front Facing Camera Replacement: step 8, image 1 of 3 Samsung Galaxy Tab S3 Front Facing Camera Replacement: step 8, image 2 of 3 Samsung Galaxy Tab S3 Front Facing Camera Replacement: step 8, image 3 of 3
      • Locate the ribbon running from the midframe and disconnect it from the motherboard with the flat end of a spudger.

      Ask FixBot

      Add Comment

    4. Samsung Galaxy Tab S3 Front Facing Camera Replacement: step 9, image 1 of 2 Samsung Galaxy Tab S3 Front Facing Camera Replacement: step 9, image 2 of 2
      • Use the flat end of the spudger to pop off the connector between the battery and the motherboard.

      Ask FixBot

      Add Comment

    5. Samsung Galaxy Tab S3 Front Facing Camera Replacement: step 10, image 1 of 2 Samsung Galaxy Tab S3 Front Facing Camera Replacement: step 10, image 2 of 2
      • Flip the midframe over and pop the battery out, making sure to slide it out from underneath the ribbon cables.

      Ask FixBot

      Add Comment

    6. Samsung Galaxy Tab S3 Front Facing Camera Replacement: step 11, image 1 of 1
      • The battery should now be removed and detached from the device.

      Ask FixBot

      Add Comment

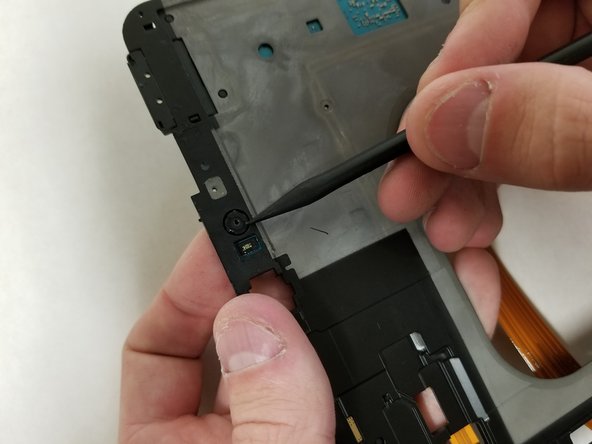
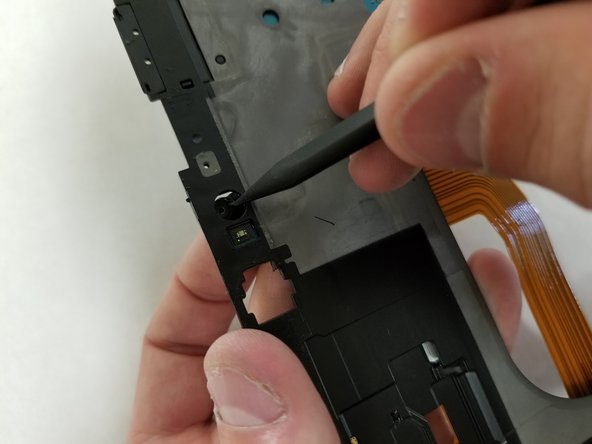
    1. Samsung Galaxy Tab S3 Front Facing Camera Replacement, Front Facing Camera: step 12, image 1 of 3 Samsung Galaxy Tab S3 Front Facing Camera Replacement, Front Facing Camera: step 12, image 2 of 3 Samsung Galaxy Tab S3 Front Facing Camera Replacement, Front Facing Camera: step 12, image 3 of 3
      • Using a nylon spudger, carefully push the camera out of its framing.

      • Unlike the rear facing camera, you will be pushing this camera out from the front. Try to push on the side of the camera so as to not damage the lens with the pointy end of the spudger.

      Ask FixBot

      Add Comment

    2. Samsung Galaxy Tab S3 Front Facing Camera Replacement: step 13, image 1 of 2 Samsung Galaxy Tab S3 Front Facing Camera Replacement: step 13, image 2 of 2
      • Carefully pop the front facing camera off from the motherboard with the flat end of the spudger.

      Ask FixBot

      Add Comment

    3. Samsung Galaxy Tab S3 Front Facing Camera Replacement: step 14, image 1 of 1
      • Remove the front facing camera from the device.

      Ask FixBot

      Add Comment

Conclusion

To reassemble your device, follow these instructions in reverse order.

Cancel: I did not complete this guide.

One other person completed this guide.

Justin Ogihara

Member since: 09/18/17

31,603 Reputation

52 Guides authored

1 Guide Comment

This repair can be done without removing the screen!

hansderaedt - Reply Share

Add Comment

View Statistics:

Past 24 Hours: 1

Past 7 Days: 13

Past 30 Days: 48

All Time: 898