Introduction
It is normal for lithium-ion batteries, such as the one found in the Galaxy Tab S3, to sustain damage after each charge cycle and eventually degrade over time. Most tablet batteries are designed to last about 2 to 3 years before becoming too worn out for normal use. If your battery is worn out and no longer holds a charge, you might want to consider replacing it. This guide will show you how to properly remove and replace the battery.
What you need
-
-
-
To soften the adhesive holding the tablet together, heat up the edges of the glass panel using a heated iOpener on the edge of the device. Alternatively you can use a heat gun to loosen the adhesive.
-
Leave the iOpener on edge for two minutes.
 Ask FixBot
-
-
-
Place a suction cup near edge that you heated up with the iOpener.
-
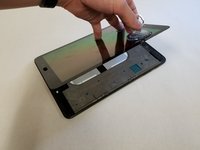
Press down on the suction cup to create a seal, and pull up with force to create a separation between the display and the midframe.
-
Use an opening tool to split apart the glass panel from the midframe.
-
-
Tool used on this step:Plastic Cards$2.99
-
As you continue along the edge using the opening tool, use a plastic card to keep the glass separate from the midframe.
-
-
-
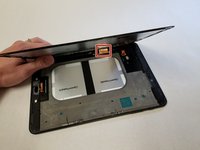
Pull off the glass panel using the suction cup.
-
Carefully disconnect the ribbon cable connecting the display assembly to the motherboard. You can disconnect this ribbon from either end.
-
-
-
-
Repeat steps 3 through 7 to remove the rear glass panel on the opposite side of the device.
-
-
-
-
-
Use a Phillips #000 screwdriver to unscrew the five screws securing the battery, and the twenty-two screws surrounding the midframe.
-
-
-
Locate the ribbon running from the midframe and disconnect it from the motherboard with the flat end of a spudger.
-
-
-
Use the flat end of the spudger to pop off the connector between the battery and the motherboard.
-
-
-
Flip the midframe over and pop the battery out, making sure to slide it out from underneath the ribbon cables.
-
-


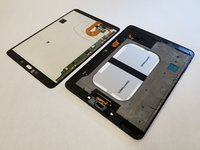


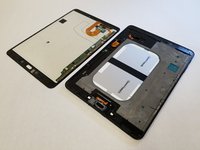
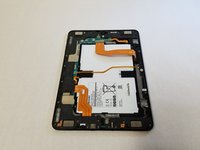


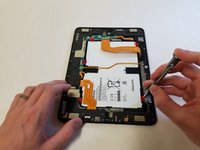
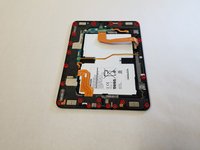


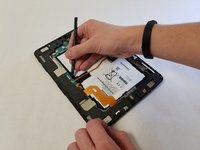
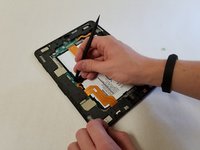
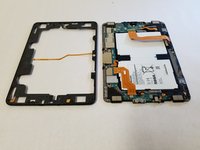


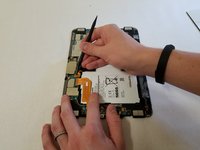
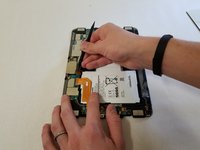


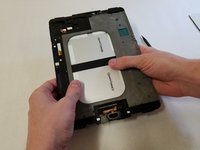
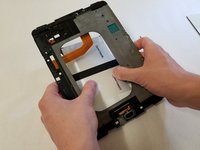

To reassemble your device, follow these instructions in reverse order. If you have removed too much adhesive, you may need to apply more during the reassembly process.
Cancel: I did not complete this guide.
9 other people completed this guide.

Team

Cal Poly, Team S22-G4, Maness Spring 2018 Member of Cal Poly, Team S22-G4, Maness Spring 2018
CPSU-MANESS-S18S22G4
5 Members
60 Guides authored
7 Guide Comments
This repair can be done without removing the screen!
how? would it be simpler to do it that way?
There is no reason to remove the screen. It’s super risky to do it that way. When you take the battery out, just use some alcohol on the sides of the battery to weaken the adhesive and use a suction cup to pull the battery out. No need to push on it from the screen side.
What I get for reading a guide before checking comment, TOTALLY unnecessary step in removing screen. LCD cost $220 on ebay….
Un vrai tuto de merde avec lequel vous êtes assuré de niquer votre tablette !!! Je vous recommande expressément de rechercher sur youtube “ How to Replace Your Samsung Galaxy Tab S3 SM-T825 Battery “ pour trouver un VRAI TUTO simple et qui vous évitera à coup sur de flinguer votre écran.
P de Rochefort
