Introduction
The Samsung Galaxy Tab A9 Plus (Models SM-X210, SM-X16B, SM-X215) screen is crucial for interacting with your device. If it's cracked, no longer responds correctly to touch input, or isn't displaying images properly, it might be time to replace the screen assembly. In this guide, we'll walk you through the steps to safely and carefully replace your screen, restoring your tablet's display and touch functionality.
The screen and digitizer of this device are typically glued together as a single unit. You will replace both, even if only one part is faulty. Symptoms such as spiderweb cracks, dead spots on the touchscreen, or distorted or missing images indicate the need for replacement.
You may also need to remove the screen to access the internal components of the tablet.
Be aware that opening the device breaks the water-resistant seals, requiring new adhesives to restore them.
Caution: This repair requires using a heat gun to soften the adhesive securing the screen. Be very careful when using a heat gun. It heats up quickly and can easily damage your device if you apply heat to one area for too long. It is also very hot and can burn. For tips on using a heat gun, check out this How to Use a Heat Gun to Soften Adhesive guide.
If your screen is cracked, wear safety glasses and gloves, and consider taping it to prevent injury from shards.
Before you begin this repair, make sure to power off and unplug your device from the charger.
What you need
-
-
-
Power the device off by holding the power button for 10-15 seconds.
-
Use the heat gun to evenly heat the edge of the device and loosen the adhesive securing the screen to the tablet.
-
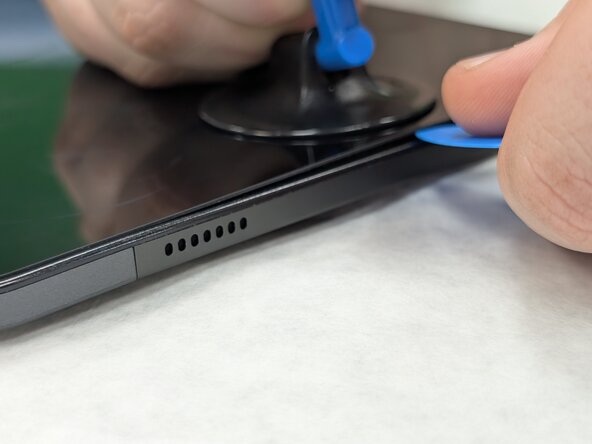
Use the suction tool to separate the screen from the case, and insert an opening pick to help keep the screen edge separated from the rest of the device.
-
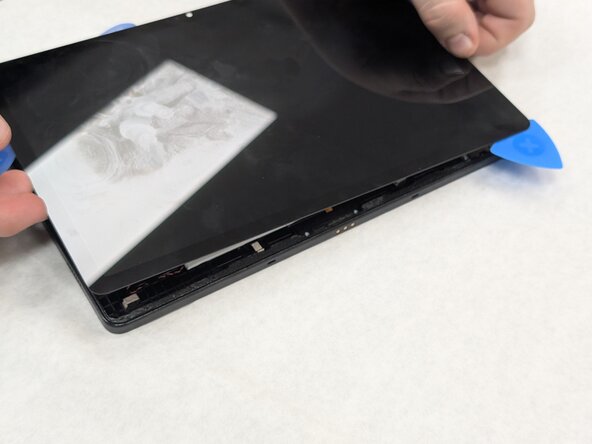
Slide a second pick around the edge to cut through the remaining glue of the screen.
-
Continue placing plastic opening picks in the gaps about every inch or so intill the screen fully separates.
 Ask FixBot
-
-
-
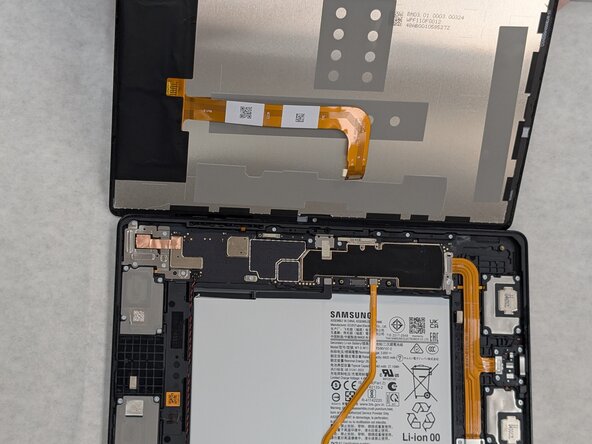
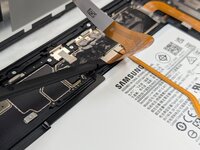
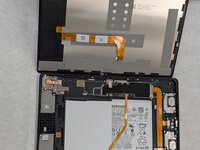
Gently lift the screen towards the top of the device (the side with the front camera), being careful not to damage the orange flex cable.
-
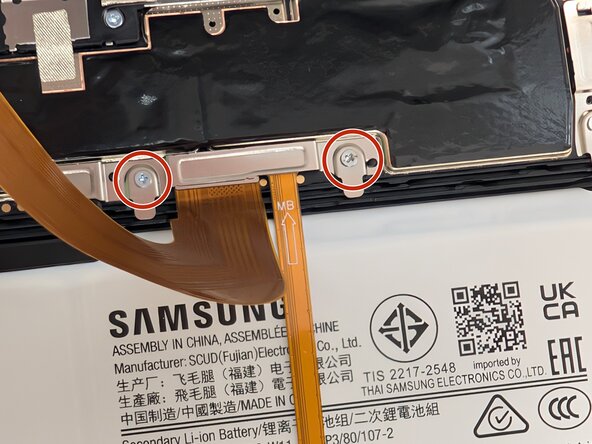
Use a JIS #00 screwdriver to remove two 2.4 mm screws securing the metal bracket.
-
Remove the metal bracket covering the connector and place it to the side to use for reassembly.
-
-
-
-
Carefully slide a spudger or opening pick under the glued-down cable to separate its adhesive and disconnect the cable.
-
Remove the display screen from the tablet.
-
-






To reassemble your device, follow these instructions in reverse order. Take your e-waste to an R2 or e-Stewards certified recycler.
Cancel: I did not complete this guide.
5 other people completed this guide.

Team

University of North Texas, Team 1-6, Kilpatrick Spring 2025 Member of University of North Texas, Team 1-6, Kilpatrick Spring 2025
UNT-KILPATRICK-S25S1G6
3 Members
60 Guides authored
