Introduction
The Samsung Galaxy Tab A9+ (Models SM-X210, SM-X16B, SM-X215) is ideal for portable use, allowing you to power your tablet away from an outlet, and a functional battery is essential for optimal performance. If you've noticed significantly shorter battery life, inconsistent operation, or your tablet won't even power on, a failing battery is likely the cause. This guide will walk you through replacing the battery to restore reliable charging and performance. Symptoms such as rapid draining, sluggishness, or failure to power on indicate that the battery is degrading. If basic troubleshooting has not resolved the issue, replacement is the solution.
Opening the tablet requires a heat gun to soften the strong adhesive securing the back panel, as tools like iOpeners don't get hot enough. While opening the device is necessary, this guide makes the process straightforward and suitable for beginners.
Be aware that opening the device breaks the water-resistant seals, requiring new adhesives to restore them. If your screen is cracked, wear safety glasses and gloves, and consider taping it to prevent injury from shards.
Handle swollen batteries with extreme caution in a well-ventilated area, as they pose a fire hazard and should not be punctured. Remember, old batteries are hazardous waste and must be appropriately recycled. Be patient, organize parts, use correct tools, and avoid excessive force.
Before you begin the repair, power off and unplug your device completely to avoid electrical hazards. It's also wise to back up essential data beforehand to prevent loss.
What you need
-
-
Power the device off by holding the power button for 10-15 seconds.
-
Use the heat gun to evenly heat the edge of the device and loosen the adhesive securing the screen to the tablet.
-
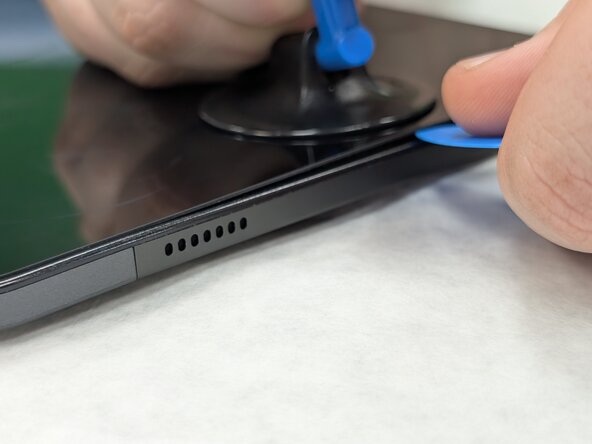
Use the suction tool to separate the screen from the case, and insert an opening pick to help keep the screen edge separated from the rest of the device.
-
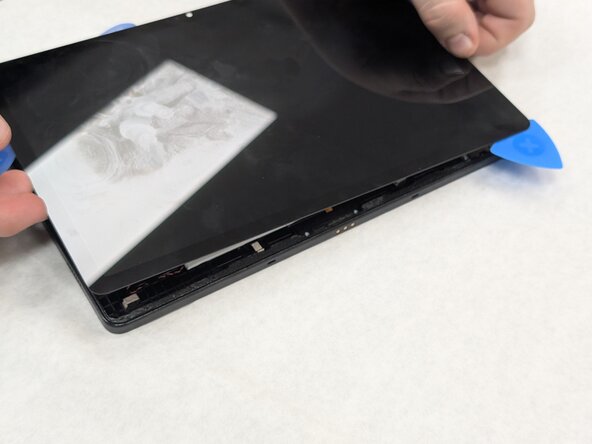
Slide a second pick around the edge to cut through the remaining glue of the screen.
-
Continue placing plastic opening picks in the gaps about every inch or so intill the screen fully separates.
 Ask FixBot
-
-
-
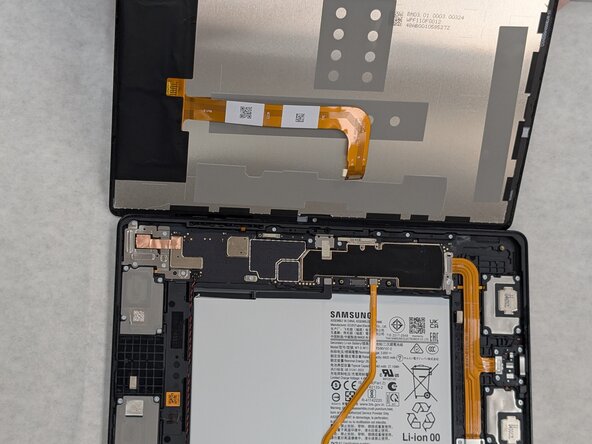
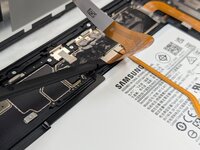
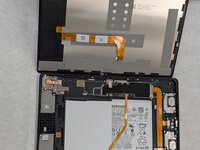
Gently lift the screen towards the top of the device (the side with the front camera), being careful not to damage the orange flex cable.
-
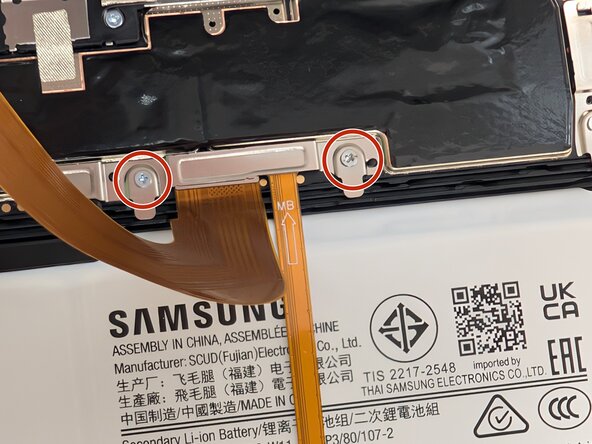
Use a JIS #00 screwdriver to remove two 2.4 mm screws securing the metal bracket.
-
Remove the metal bracket covering the connector and place it to the side to use for reassembly.
-
-
-
Carefully slide a spudger or opening pick under the glued-down cable to separate its adhesive and disconnect the cable.
-
Remove the display screen from the tablet.
-
-
-
-
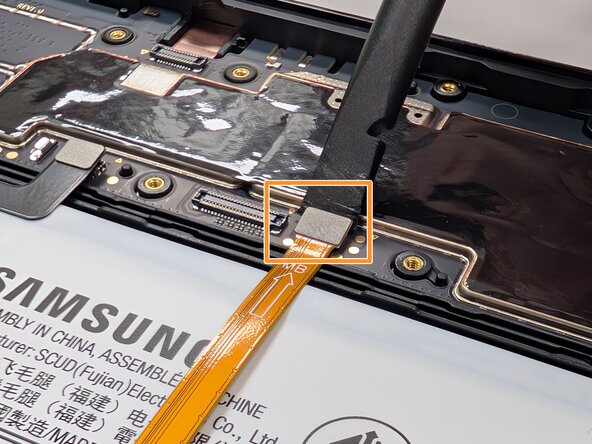
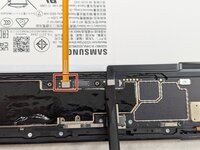
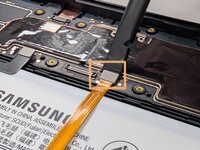
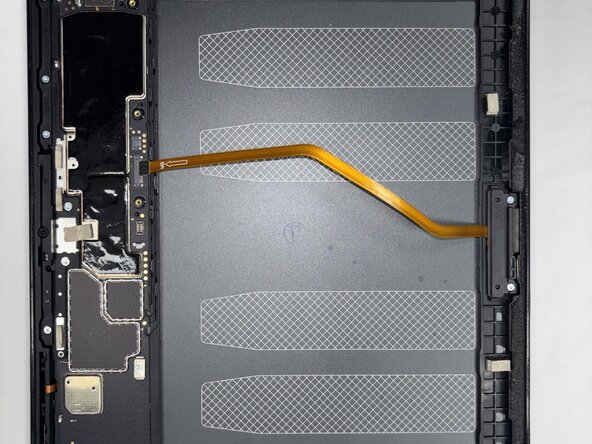
Place a spudger or an opening tool under the connector's edge and pry straight up to disconnect the orange flex cable.
-
Use a spudger to disconnect the black battery press connector.
-
-
-
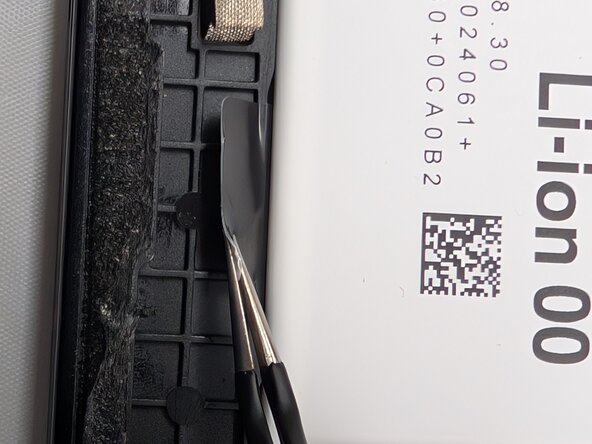
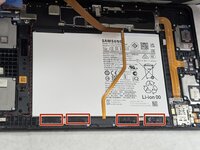
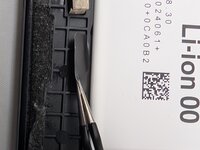
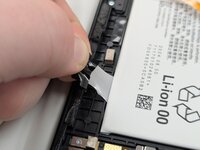
Use a pair of tweezers to pull the four adhesive tabs until you can get a good enough grip to remove them with your hands.
-
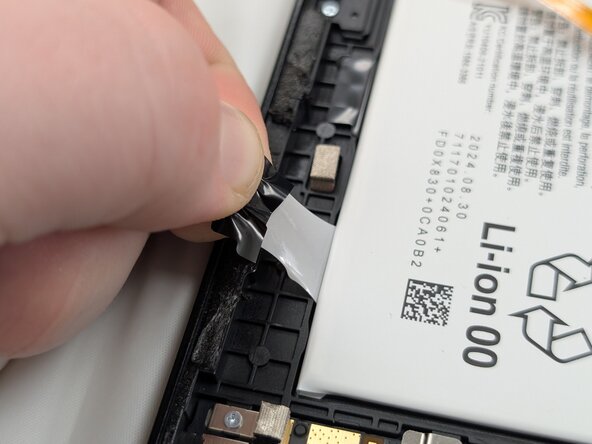
Once enough of the strips are pulled out, use your hands to slowly pull all four tabs out from underneath the battery.
-
-
-
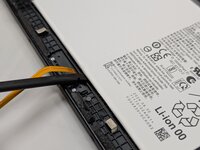
Use a spudger to lift the battery enough to hold it from underneath, then remove it completely.
-









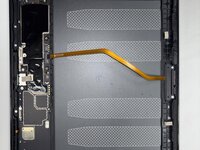
To reassemble your device, follow these instructions in reverse order. Take your e-waste to an R2 or e-Stewards certified recycler.
Cancel: I did not complete this guide.
3 other people completed this guide.

Team

University of North Texas, Team 1-6, Kilpatrick Spring 2025 Member of University of North Texas, Team 1-6, Kilpatrick Spring 2025
UNT-KILPATRICK-S25S1G6
3 Members
10 Guides authored
