Introduction
Use this guide if your Samsung Galaxy Tab A8 battery isn't charging or functioning properly.
Before you continue, we suggest you review your device's battery settings and health. For additional help, use this troubleshooting guide: Samsung Galaxy Tab A8 Battery Doesn't Hold Charge
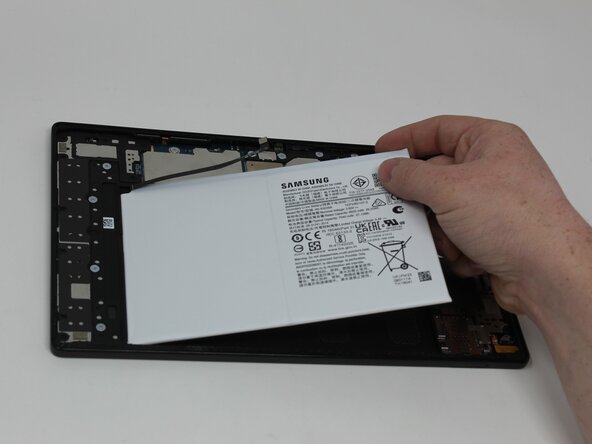
The Lithium-ion battery is able to store and supply power to the tablet without being plugged in. However, it can degrade over time and lose its capacity (mAh). Replacing the battery can extend your tablet's lifespan and improve performance.
Working with lithium-ion batteries can be hazardous. If connected or swollen, it can catch on fire if damaged. Before starting this repair, discharge the battery to 25% and disconnect the device from all peripherals.
What you need
-
-
Fully power off the device.
-
Orient the screen so it is face-up.
-
Apply anti-clamp or other suction device to apply constant upward force on the screen.
-
Heat the screen to soften the adhesive with a heat gun or blow dryer. Be sure to heat all sides as evenly as possible.
-
-
-
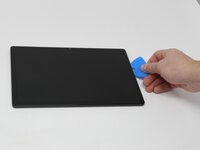
Use plastic opening picks, or a Jimmy if necessary, to remove the adhesive and get under the screen.
-
Using the plastic opening picks, move around the screen slowly, one corner at a time. Every few inches, leave an additional opening pick behind where you are working to hold the screen open while continuing to remove the adhesive.
-
-


To reassemble your device, follow these instructions in reverse order.

Team

Utah Tech University, Team 1-3, McMurrin Fall 2025 Member of Utah Tech University, Team 1-3, McMurrin Fall 2025
UTAHTECH-MCMURRIN-F25S1G3
3 Members
7 Guides authored