Free Shipping on Domestic Orders $75+

Samsung Galaxy Tab 4 Motherboard Replacement

What you need

    1. Samsung Galaxy Tab 4 Motherboard Replacement, Motherboard: step 1, image 1 of 2 Samsung Galaxy Tab 4 Motherboard Replacement, Motherboard: step 1, image 2 of 2
      • Insert the plastic opening tool into the gap between the device frame and the back panel on any side of the device.

      • Slide the opening tool around the edges of the device to disconnect the back panel from the frame.

      Ask FixBot

      Add Comment

    2. Samsung Galaxy Tab 4 Motherboard Replacement: step 2, image 1 of 3 Samsung Galaxy Tab 4 Motherboard Replacement: step 2, image 2 of 3 Samsung Galaxy Tab 4 Motherboard Replacement: step 2, image 3 of 3
      • Carefully remove the back panel from the frame of the device.

      Ask FixBot

      Add Comment

    3. Samsung Galaxy Tab 4 Motherboard Replacement: step 3, image 1 of 3 Samsung Galaxy Tab 4 Motherboard Replacement: step 3, image 2 of 3 Samsung Galaxy Tab 4 Motherboard Replacement: step 3, image 3 of 3
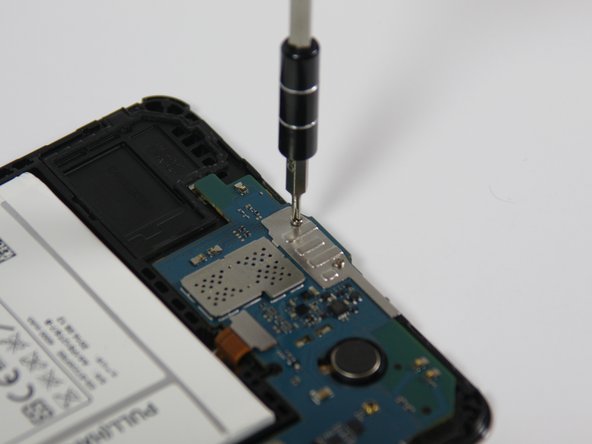
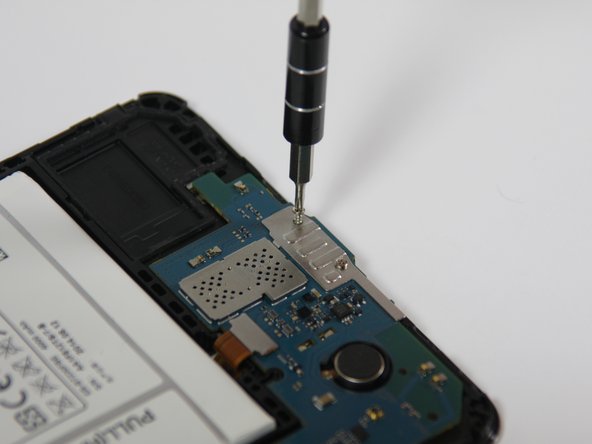
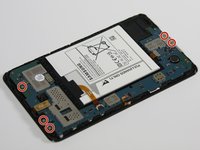
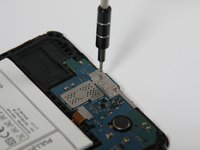
      • Using a Phillips #00 Screwdriver, remove the five 4 mm screws connecting the motherboard to the frame of the device.

      Ask FixBot

      Add Comment

    4. Samsung Galaxy Tab 4 Motherboard Replacement: step 4, image 1 of 3 Samsung Galaxy Tab 4 Motherboard Replacement: step 4, image 2 of 3 Samsung Galaxy Tab 4 Motherboard Replacement: step 4, image 3 of 3
      Tool used on this step:
      Tweezers
      $4.99
      Buy
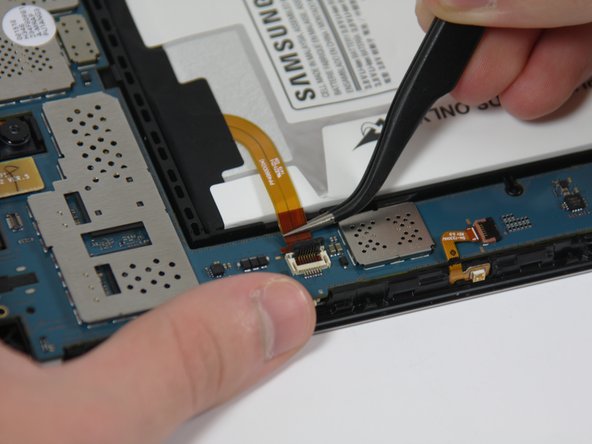
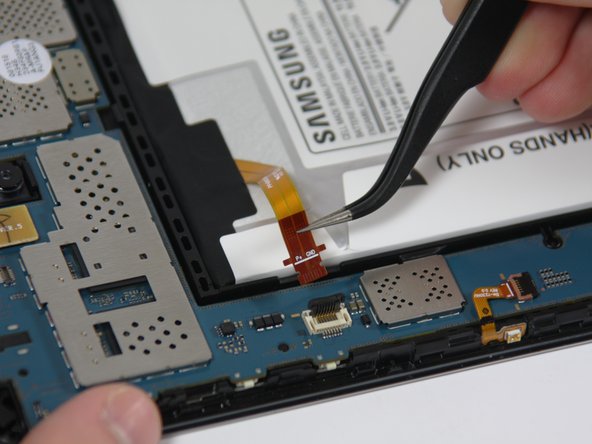
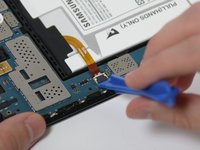
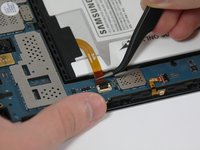
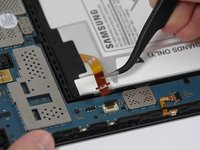
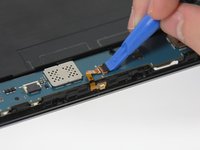
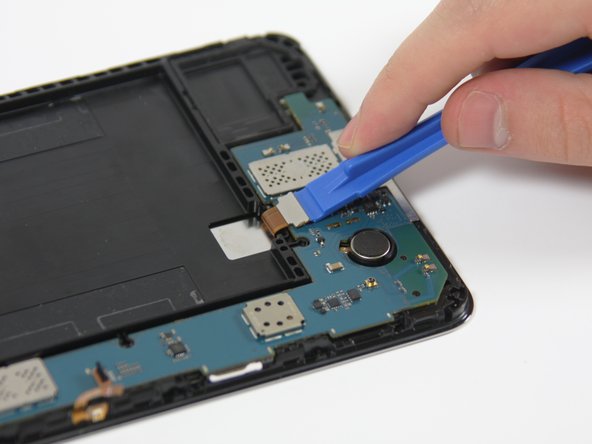
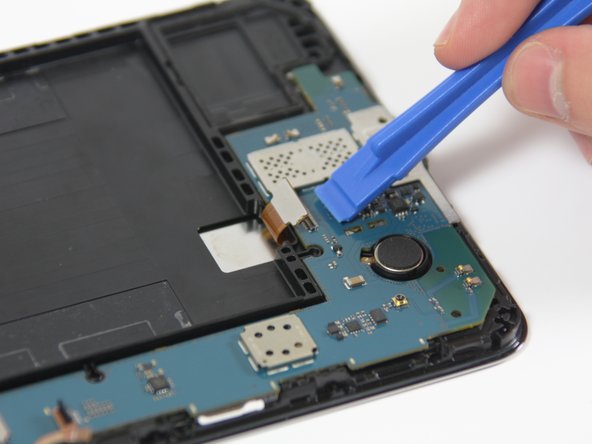
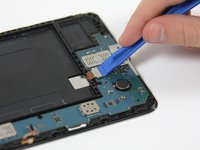
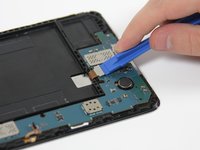
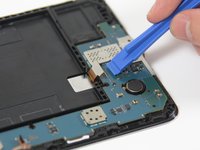
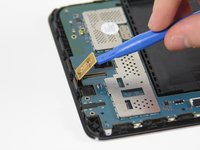
      • Use the plastic opening tool to unlock the battery wire from the motherboard by flipping-up the small retaining flap.

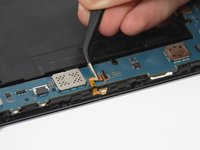
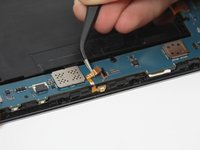
      • Use the tweezers to carefully remove the battery wire from the motherboard by pulling it away from the retainer flap.

      Ask FixBot

      Add Comment

    5. Samsung Galaxy Tab 4 Motherboard Replacement: step 5, image 1 of 3 Samsung Galaxy Tab 4 Motherboard Replacement: step 5, image 2 of 3 Samsung Galaxy Tab 4 Motherboard Replacement: step 5, image 3 of 3
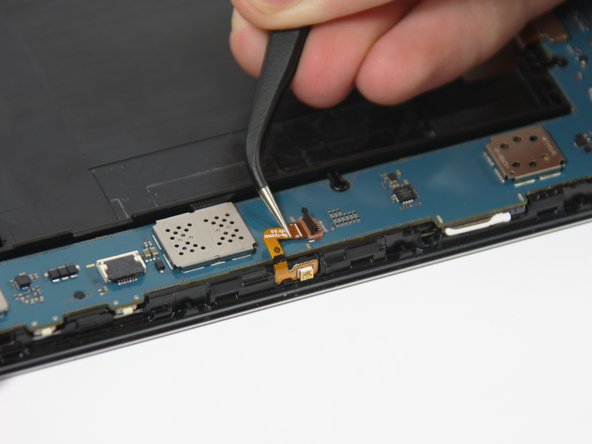
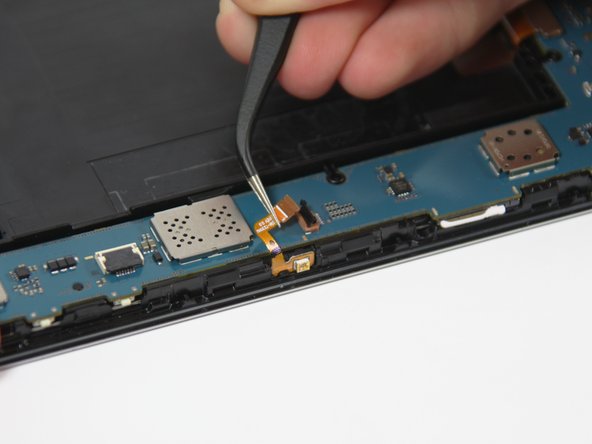
      • Use the plastic opening tool to unlock the wire on the narrow section of the motherboard by flipping-up the retaining flap.

      • Use the tweezers to carefully remove the wire from the motherboard by sliding it away from the retaining flap.

      Ask FixBot

      Add Comment

    6. Samsung Galaxy Tab 4 Motherboard Replacement: step 6, image 1 of 3 Samsung Galaxy Tab 4 Motherboard Replacement: step 6, image 2 of 3 Samsung Galaxy Tab 4 Motherboard Replacement: step 6, image 3 of 3
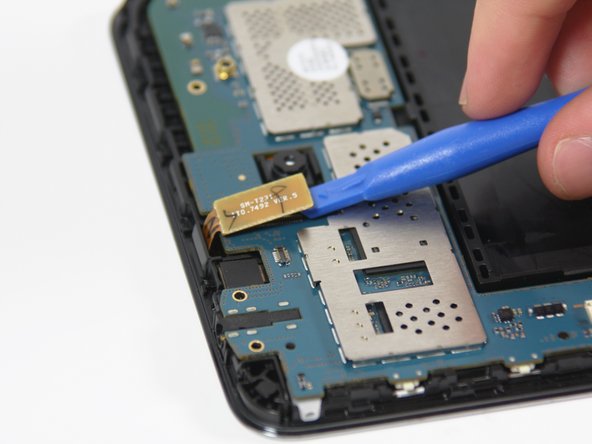
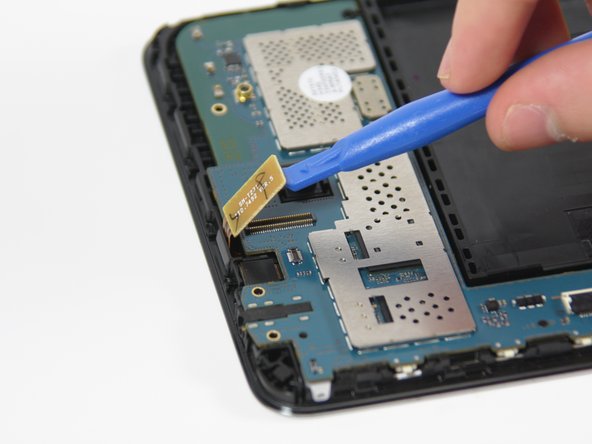
      • Disconnect the wire near the bottom of the motherboard by placing the plastic opening tool under the edge of the connector to flip it up.

      Ask FixBot

      Add Comment

    7. Samsung Galaxy Tab 4 Motherboard Replacement: step 7, image 1 of 3 Samsung Galaxy Tab 4 Motherboard Replacement: step 7, image 2 of 3 Samsung Galaxy Tab 4 Motherboard Replacement: step 7, image 3 of 3
      • Disconnect the wire near the top of the motherboard by placing the plastic opening tool under the edge of the connector to flip it up.

      Ask FixBot

      Add Comment

    8. Samsung Galaxy Tab 4 Motherboard Replacement: step 8, image 1 of 3 Samsung Galaxy Tab 4 Motherboard Replacement: step 8, image 2 of 3 Samsung Galaxy Tab 4 Motherboard Replacement: step 8, image 3 of 3
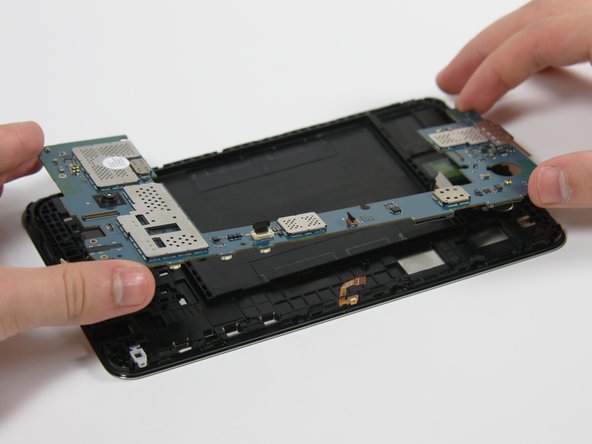
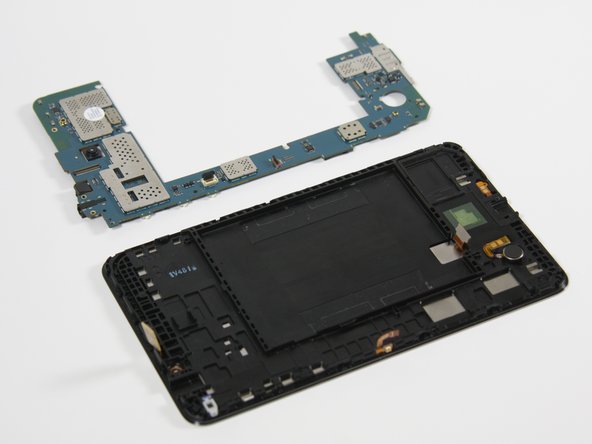
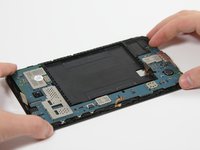
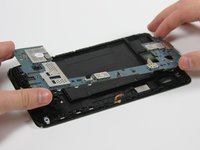
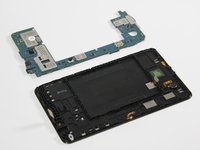
      • Gently remove the motherboard from the frame of the device by grabbing the top and bottom ends and pulling it toward you.

      • Several plastic tabs keep the motherboard in place, so you will have to apply some force.

      Ask FixBot

      Add Comment

Conclusion

To reassemble your device, follow these instructions in reverse order.

Cancel: I did not complete this guide.

3 other people completed this guide.

Peter Oliver

Member since: 10/03/16

227 Reputation

1 Guide authored

Team

Cal Poly, Team 18-3, Forte Fall 2016 Member of Cal Poly, Team 18-3, Forte Fall 2016

CPSU-FORTE-F16S18G3

4 Members

45 Guides authored

0 Guide Comments

Add Comment

View Statistics:

Past 24 Hours: 0

Past 7 Days: 10

Past 30 Days: 37

All Time: 2,261