Free Shipping on Domestic Orders $75+

Samsung Galaxy SIII Mini Display Assembly Replacement

What you need

Video Overview

    1. Samsung Galaxy SIII Mini Display Assembly Replacement, Display Assembly: step 1, image 1 of 2 Samsung Galaxy SIII Mini Display Assembly Replacement, Display Assembly: step 1, image 2 of 2
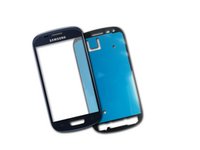
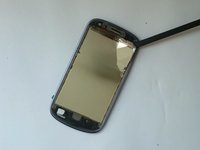
      • LCD Display + Touch screen (Display Assemblay) for Samsung Galaxy S III mini / i8190.

      • Switch off the phone, remove the battery and any SIM and memory card.

      Ask FixBot

      Add Comment

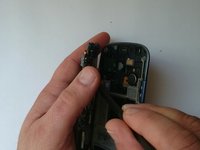
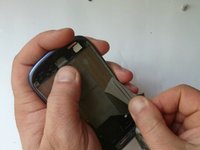
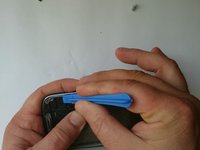
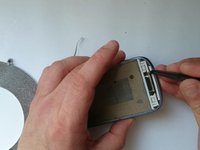
    2. Samsung Galaxy SIII Mini Display Assembly Replacement: step 2, image 1 of 3 Samsung Galaxy SIII Mini Display Assembly Replacement: step 2, image 2 of 3 Samsung Galaxy SIII Mini Display Assembly Replacement: step 2, image 3 of 3
      • Remove 10x Phillips screws.

      • With a plastic tool remove the Middle frame.

      Ask FixBot

      Add Comment

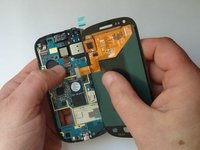
    3. Samsung Galaxy SIII Mini Display Assembly Replacement: step 3, image 1 of 3 Samsung Galaxy SIII Mini Display Assembly Replacement: step 3, image 2 of 3 Samsung Galaxy SIII Mini Display Assembly Replacement: step 3, image 3 of 3
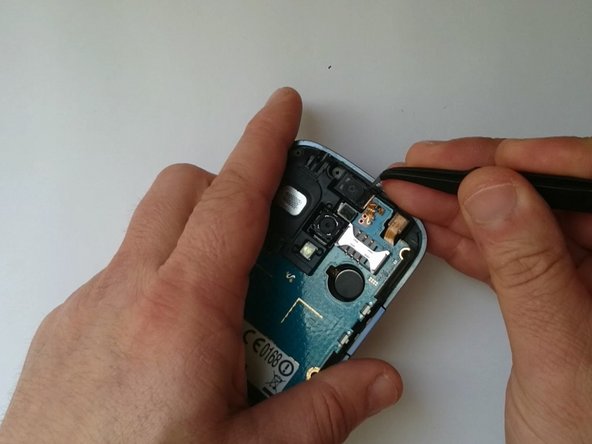
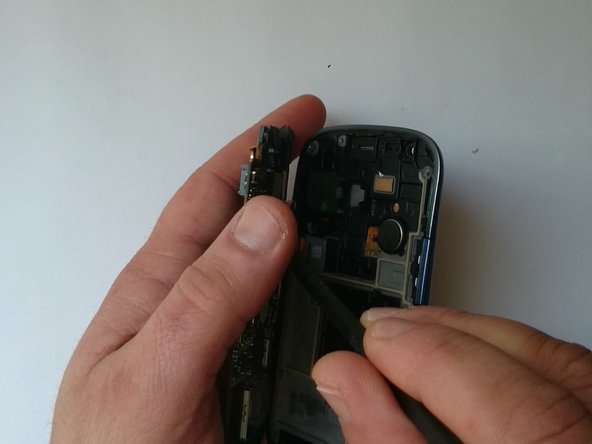
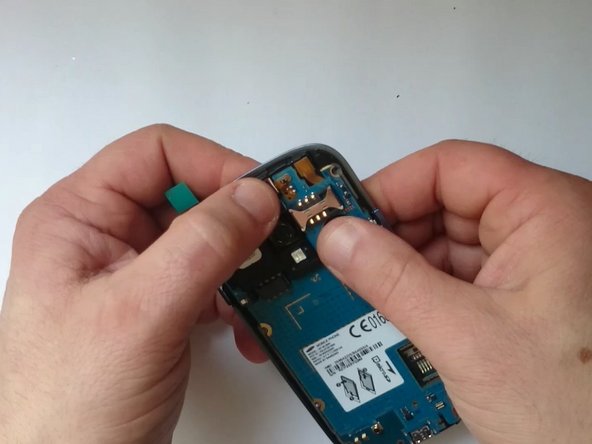
      • Disconnect:

      • Menu buttons flex cable

      • Micro SD Card reader flex cable

      • Lift up slightly the mother board from the right edge.

      • Unstick the Earpiece and Main camera from the display frame. Be careful, don't break flex cables.

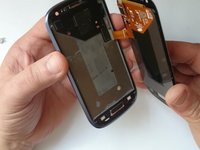
      • Now disconnect the LCD Display flex cable which is located on the underside of the board.

      Ask FixBot

      Add Comment

    4. Samsung Galaxy SIII Mini Display Assembly Replacement: step 4, image 1 of 1
      • Front camera

      • Main / Rear camera

      • Earpiece

      • Loudspeaker

      • Vibro motor

      • Micro SD Card reader

      Ask FixBot

      Add Comment

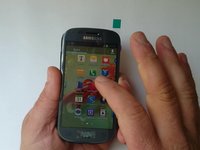
    5. Samsung Galaxy SIII Mini Display Assembly Replacement: step 5, image 1 of 3 Samsung Galaxy SIII Mini Display Assembly Replacement: step 5, image 2 of 3 Samsung Galaxy SIII Mini Display Assembly Replacement: step 5, image 3 of 3
      • Let's test the new spare part.

      • First connect the Display assembly, grab the phone comfortably and then put the battery.

      Ask FixBot

      Add Comment

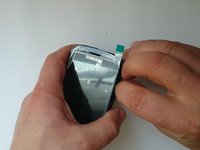
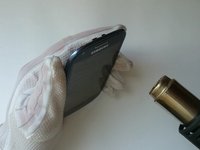
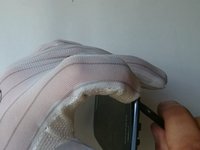
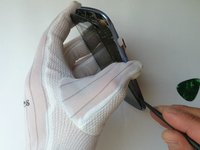
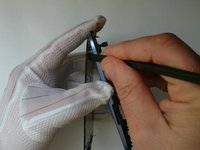
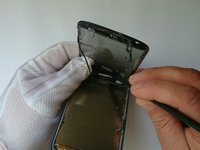
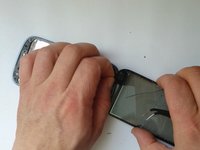
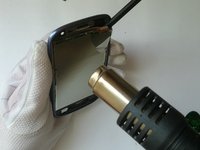
    6. Samsung Galaxy SIII Mini Display Assembly Replacement: step 6, image 1 of 3 Samsung Galaxy SIII Mini Display Assembly Replacement: step 6, image 2 of 3 Samsung Galaxy SIII Mini Display Assembly Replacement: step 6, image 3 of 3
      • Warm the touchscreen to make adhesive tape soft. You can use a hair dryer.

      • If the glass is cracked, put the tape in order not to scatter pieces.

      • Use the front camera hole to separate the glass at the corner.

      • Continue with separation with plastic tools, from up to down.

      Ask FixBot

      Add Comment

    7. Samsung Galaxy SIII Mini Display Assembly Replacement: step 7, image 1 of 3 Samsung Galaxy SIII Mini Display Assembly Replacement: step 7, image 2 of 3 Samsung Galaxy SIII Mini Display Assembly Replacement: step 7, image 3 of 3
      • Gently separate the menu buttons flex cable from the touchscreen.

      Ask FixBot

      Add Comment

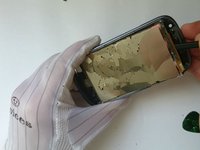
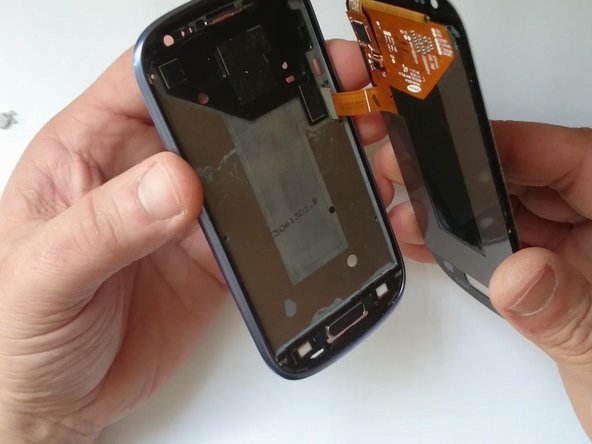
    8. Samsung Galaxy SIII Mini Display Assembly Replacement: step 8, image 1 of 3 Samsung Galaxy SIII Mini Display Assembly Replacement: step 8, image 2 of 3 Samsung Galaxy SIII Mini Display Assembly Replacement: step 8, image 3 of 3
      • If the display is left on the frame, use the same techniques to remove it.

      Ask FixBot

      Add Comment

    9. Samsung Galaxy SIII Mini Display Assembly Replacement: step 9, image 1 of 3 Samsung Galaxy SIII Mini Display Assembly Replacement: step 9, image 2 of 3 Samsung Galaxy SIII Mini Display Assembly Replacement: step 9, image 3 of 3
      • Clean the frame from the remnants of tape and install new.

      • Be careful with the menu buttons and the holes for the camera and the light sensor, don't cover them.

      Ask FixBot

      Add Comment

    10. Samsung Galaxy SIII Mini Display Assembly Replacement: step 10, image 1 of 3 Samsung Galaxy SIII Mini Display Assembly Replacement: step 10, image 2 of 3 Samsung Galaxy SIII Mini Display Assembly Replacement: step 10, image 3 of 3
      • Will be easier if you use adhesive, ready for the model.

      • Install the new display assembly and start with reassembling.

      Ask FixBot

      Add Comment

    11. Samsung Galaxy SIII Mini Display Assembly Replacement: step 11, image 1 of 1
      • That's all.

      • .

      • .

      • .

      • .

      • .

      • Did you do it successfully?

      Ask FixBot

      Add Comment

Conclusion

To reassemble your device, follow these instructions in reverse order.

Cancel: I did not complete this guide.

18 other people completed this guide.

ZFix

Member since: 12/09/13

197,534 Reputation

330 Guides authored

Team

Master Techs Member of Master Techs

Community

334 Members

8,248 Guides authored

2 Guide Comments

Followed the VDO exactly and managed to fix the screen. Getting the right glue for the screen delivered took the longest time.

Erick Ogam - Reply Share

Worked perfectly, used regular glue I had at home and it worked just fine. Thanks!!

Elisa Díaz Ipes - Reply Share
Add Comment

View Statistics:

Past 24 Hours: 1

Past 7 Days: 1

Past 30 Days: 37

All Time: 18,255