
Free Shipping on Domestic Orders $75+

Samsung Galaxy S5 Mini Daughterboard Replacement

What you need

Video Overview

  1. Samsung Galaxy S5 Mini Daughterboard Replacement, Daughterboard: step 1, image 1 of 1
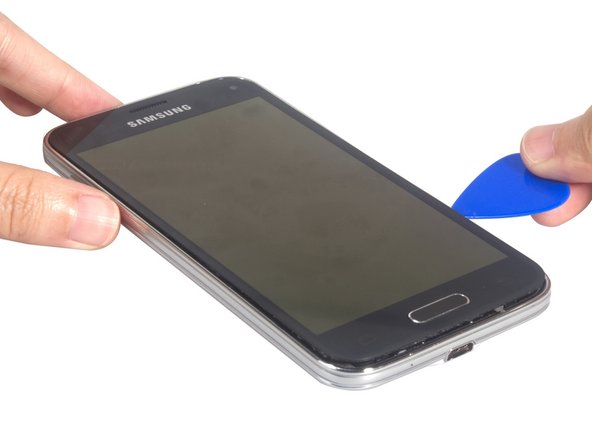
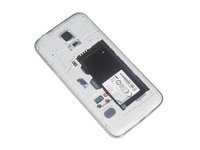
    • Remove the back cover.

    • Ther is an indent to insert your fingernail and unclip the back panel.

    Ask FixBot

    Add Comment

  2. Samsung Galaxy S5 Mini Daughterboard Replacement: step 2, image 1 of 1
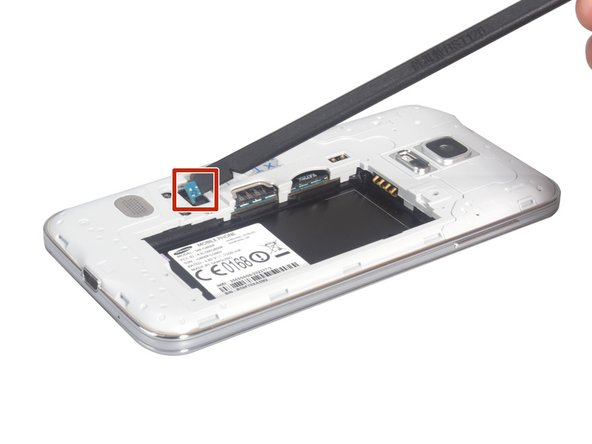
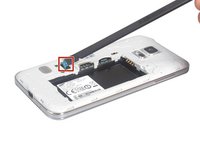
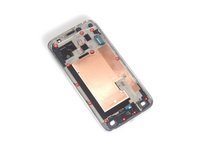
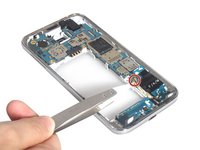
    • Remove the battery. If you have the SIM card and SD card in, remove them as well.

    • Whe re-assembling, make sure the battery contacts line up.

    Ask FixBot

    Add Comment

  3. Samsung Galaxy S5 Mini Daughterboard Replacement: step 3, image 1 of 2 Samsung Galaxy S5 Mini Daughterboard Replacement: step 3, image 2 of 2
    • Open this small cover and release the home button flex connector.

    Ask FixBot

    Add Comment

  4. Samsung Galaxy S5 Mini Daughterboard Replacement: step 4, image 1 of 3 Samsung Galaxy S5 Mini Daughterboard Replacement: step 4, image 2 of 3 Samsung Galaxy S5 Mini Daughterboard Replacement: step 4, image 3 of 3
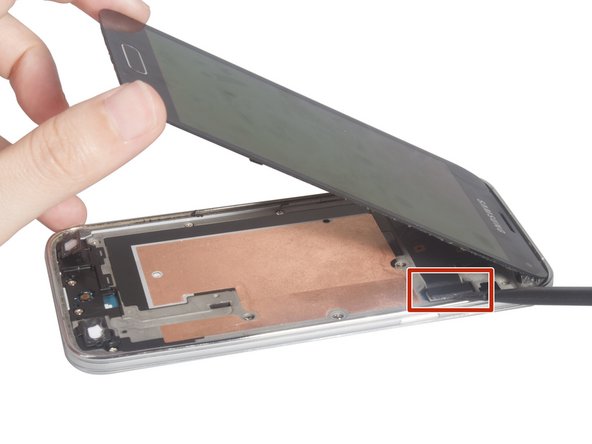
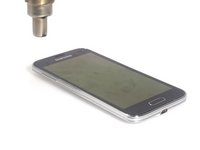
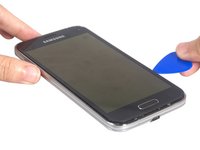
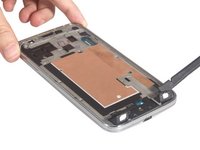
    • Heat up the screen and cut the adhesive around the screen. Pry it up and release the LCD screen connector.

    • The connector is located at the top right of the screen, so lift it up or to the left.

    Ask FixBot

    Add Comment

  5. Samsung Galaxy S5 Mini Daughterboard Replacement: step 5, image 1 of 2 Samsung Galaxy S5 Mini Daughterboard Replacement: step 5, image 2 of 2
    • Remove LCD screen.

    Ask FixBot

    Add Comment

  6. Samsung Galaxy S5 Mini Daughterboard Replacement: step 6, image 1 of 2 Samsung Galaxy S5 Mini Daughterboard Replacement: step 6, image 2 of 2
    • Remove all the screws.

    Ask FixBot

    Add Comment

  7. Samsung Galaxy S5 Mini Daughterboard Replacement: step 7, image 1 of 2 Samsung Galaxy S5 Mini Daughterboard Replacement: step 7, image 2 of 2
    • Remove mid-plate.

    Ask FixBot

    Add Comment

  8. Samsung Galaxy S5 Mini Daughterboard Replacement: step 8, image 1 of 3 Samsung Galaxy S5 Mini Daughterboard Replacement: step 8, image 2 of 3 Samsung Galaxy S5 Mini Daughterboard Replacement: step 8, image 3 of 3
    • Remove screw, release USB board flex connector and antenna cable connectors.

    Ask FixBot

    Add Comment

  9. Samsung Galaxy S5 Mini Daughterboard Replacement: step 9, image 1 of 2 Samsung Galaxy S5 Mini Daughterboard Replacement: step 9, image 2 of 2
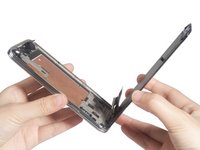
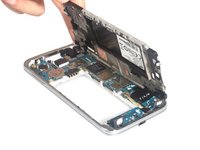
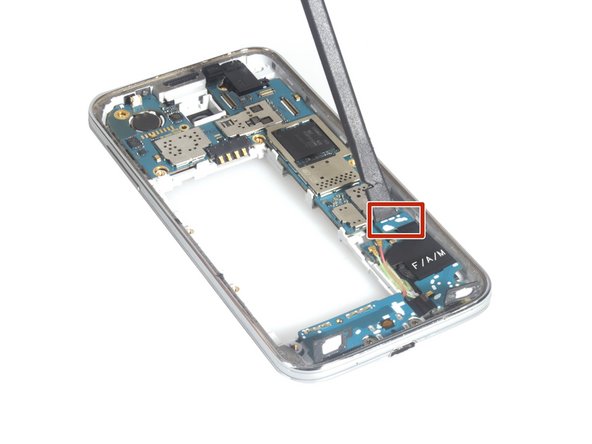
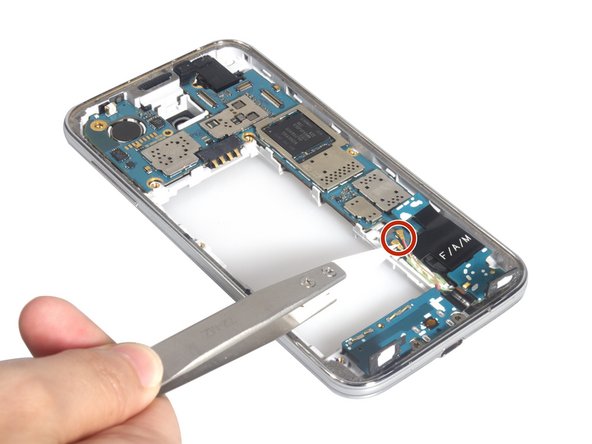
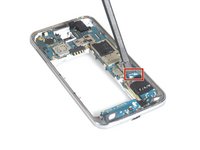
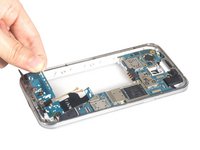
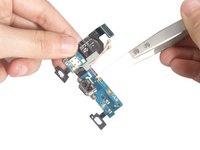
    • Remove the daughterboard and clean the signal cables from assembly. And you can replace the new USB charging board for Samsung Galaxy S5 Mini.

    Ask FixBot

    Add Comment

Conclusion

To reassemble your device, follow these instructions in reverse order.

Cancel: I did not complete this guide.

7 other people completed this guide.

Sophia

Member since: 03/25/14

43,911 Reputation

62 Guides authored

0 Guide Comments

Add Comment

View Statistics:

Past 24 Hours: 2

Past 7 Days: 13

Past 30 Days: 50

All Time: 6,405