Introduction
The rear camera is used more often than the front-facing camera (usually). If you like taking pictures with your cell phone so that you can send them to loved ones and make your life appear interesting on social media, the camera needs to be in working condition. The rear camera can only be accessed after lifting the motherboard. It is attached by a clip that must be unlatched by the fingers or a tool before pulling the camera out.
What you need
-
-
-
Insert your fingernail or a plastic tool into the opening near the headphone jack on top of the phone.
-
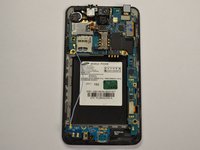
Gently pry apart the rear case from the midframe and remove.
 Ask FixBot
-
-
-
-
-
Insert your fingernail, or a plastic tool, into the crevice on the lower left side of the back side.
-
Gently pry the battery from the back of the phone.
-
-
-
-
-
-
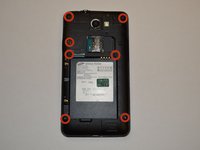
With the Phillips head screwdriver, remove all seven 4.0mm screws, highlighted in red, from the rear case.
-
Insert your finger or an opening tool underneath the midframe and gently pry apart from the phone.
-
-
-
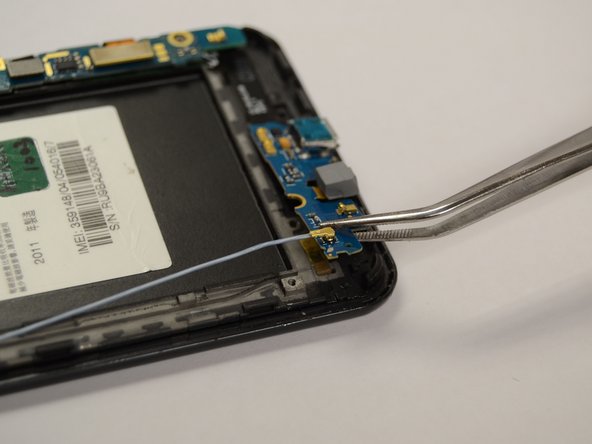
Insert an opening tool underneath the bottom panel near the bottom left side of the back of the phone.
-
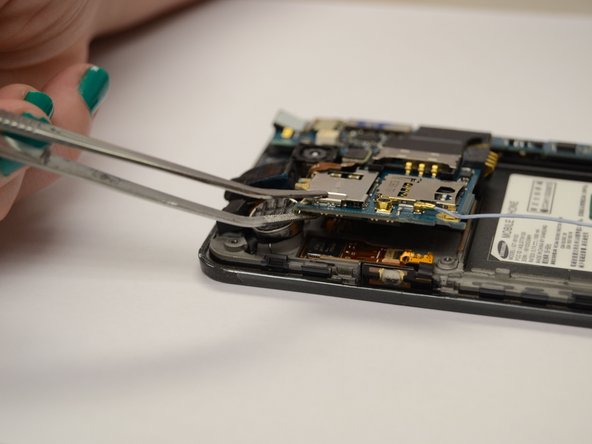
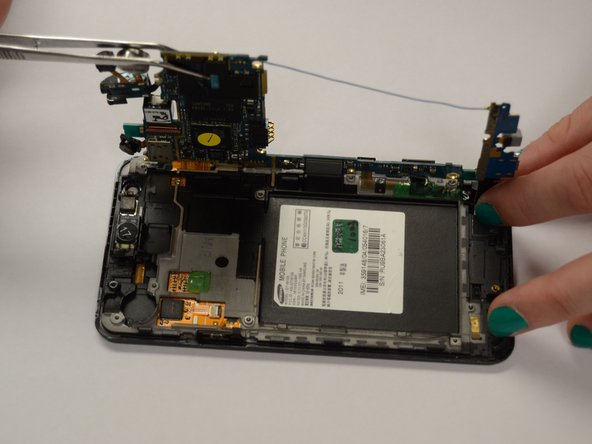
Gently pry the part of the motherboard that is pointed out in the picture to the left from underneath the part of the phone that it is latched under.
-
Lift the bottom panel off the back of the phone.
-
-
Tool used on this step:Tweezers$4.99
-
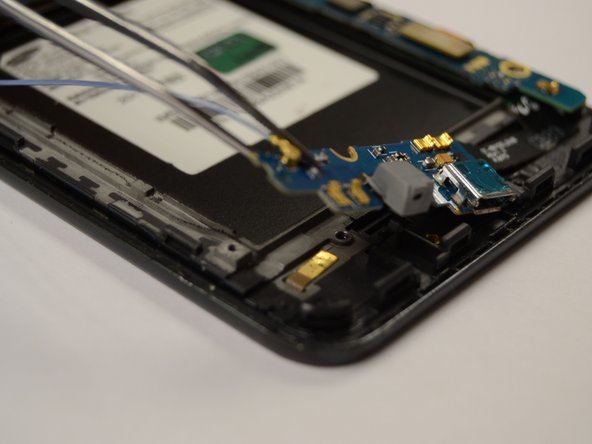
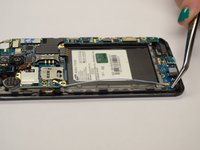
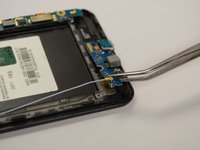
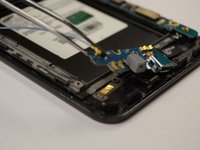
Use tweezers to grasp the vibrator firmly and pull it away from the top panel with enough force to break the glue bond.
-
Insert an opening tool underneath the top panel near the top left side of the back of the phone.
-
Gently lift the panel from the back of the phone.
-
-
-
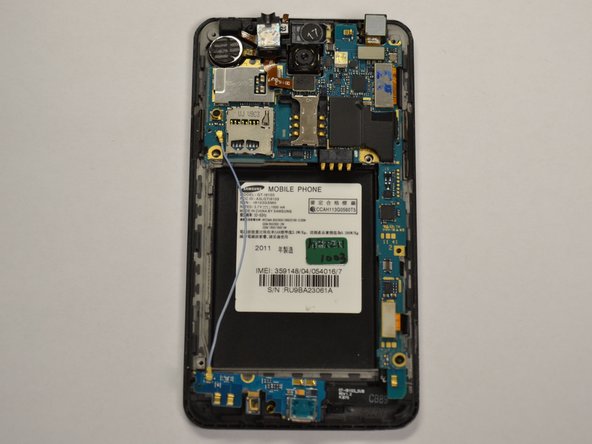
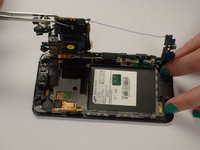
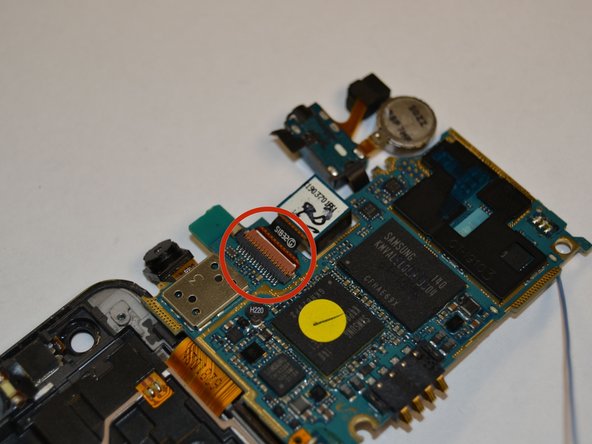
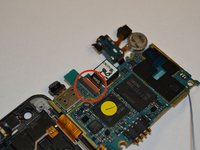
The rear facing camera is located near the top center on the underside of the motherboard.
-
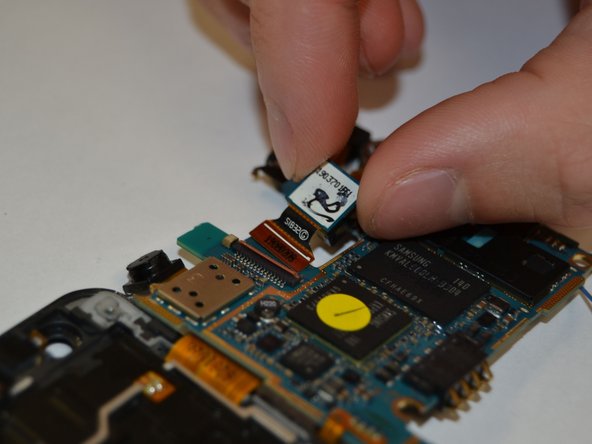
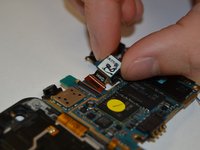
To remove the camera, flip the orange clip circled in red and pull the camera from the motherboard.
-
-






To reassemble your device, follow these instructions in reverse order.
Cancel: I did not complete this guide.
2 other people completed this guide.

Team

Clemson, Team 3-3, Benson Fall 2014 Member of Clemson, Team 3-3, Benson Fall 2014
CLEM-BENSON-F14S3G3
5 Members
96 Guides authored
