Free Shipping on Domestic Orders $75+

Samsung Galaxy Note 8.0 USB Port Replacement

What you need

  1. Samsung Galaxy Note 8.0 USB Port Replacement, Back Cover: step 1, image 1 of 1
    • Remove the Samsung S-Pen stylus.

    • Remove the micro SD storage card.

    Ask FixBot

    Add Comment

  2. Samsung Galaxy Note 8.0 USB Port Replacement: step 2, image 1 of 1
    • Using the plastic opening tool, start where the S-pen was located and carefully pry up the corner.

    Ask FixBot

    Add Comment

  3. Samsung Galaxy Note 8.0 USB Port Replacement: step 3, image 1 of 1
    • Work your way around the entire device by carefully prying and sliding the plastic opening tool.

    • There are clips approximately 2cm apart. As you are removing the back cover you should hear the clips being dislocated from the tablet.

    Ask FixBot

    Add Comment

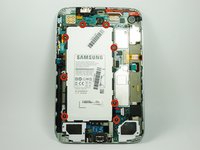
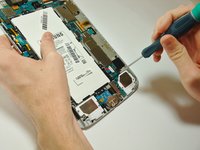
  4. Samsung Galaxy Note 8.0 USB Port Replacement, Battery: step 4, image 1 of 2 Samsung Galaxy Note 8.0 USB Port Replacement, Battery: step 4, image 2 of 2
    • Remove the 8 Phillips#00 3-mm screws holding the battery in place.

    Ask FixBot

    Add Comment

  5. Samsung Galaxy Note 8.0 USB Port Replacement: step 5, image 1 of 1
    • Lift the top left corner of the battery up by the black tab.

    Ask FixBot

    Add Comment

  6. Samsung Galaxy Note 8.0 USB Port Replacement: step 6, image 1 of 1
    • Gently grasp and lift up the white connector located at the bottom right corner of the battery. It is connected to the battery by two blue and two red wires.

    • Do not yank the connector by the wires. If it does not disconnect easily, slide a plastic opening tool between the white connector and the board to lift the connector away from the board.

    Ask FixBot

    Add Comment

  7. Samsung Galaxy Note 8.0 USB Port Replacement, Micro USB Port: step 7, image 1 of 1
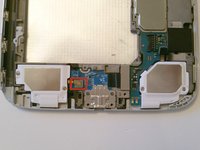
    • Remove the two 4.5-mm Phillips head screws from the micro USB Port using a Phillips #00 screwdriver.

    • Remove the silver 3-mm Phillips head screw from the silver metal strip using a Phillips #00 screwdriver. This strip covers the connection to the mother board and will be removed in a later step.

    Ask FixBot

    Add Comment

  8. Samsung Galaxy Note 8.0 USB Port Replacement: step 8, image 1 of 2 Samsung Galaxy Note 8.0 USB Port Replacement: step 8, image 2 of 2
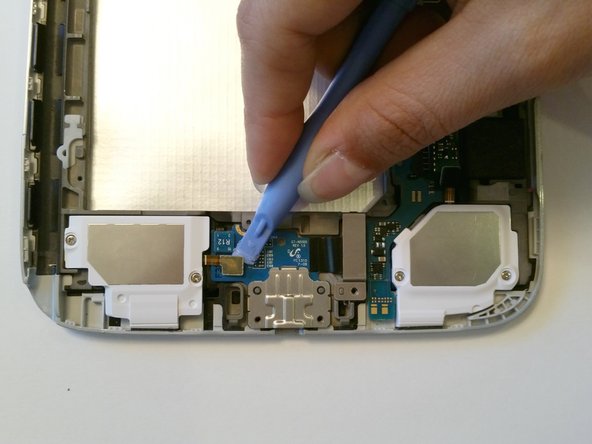
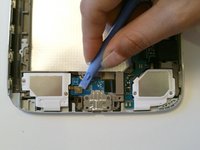
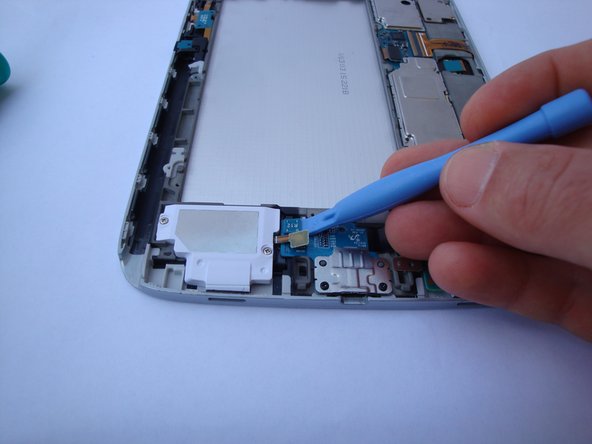
    • Gently lift up the gold connector on the left side of the board.

    Ask FixBot

    Add Comment

  9. Samsung Galaxy Note 8.0 USB Port Replacement: step 9, image 1 of 2 Samsung Galaxy Note 8.0 USB Port Replacement: step 9, image 2 of 2
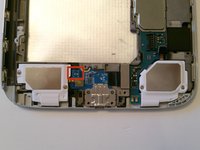
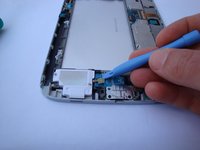
    • Gently lift up the teal connector on the left side of the board.

    Ask FixBot

    Add Comment

  10. Samsung Galaxy Note 8.0 USB Port Replacement: step 10, image 1 of 1
    • Gently pry off the silver plate.

    Ask FixBot

    Add Comment

  11. Samsung Galaxy Note 8.0 USB Port Replacement: step 11, image 1 of 1
    • Gently lift up the large black connector on the right side of the component. This is the connector that was underneath the silver plate removed in the previous step.

    Ask FixBot

    Add Comment

  12. Samsung Galaxy Note 8.0 USB Port Replacement: step 12, image 1 of 1
    • Remove micro USB Port from its housing.

    Ask FixBot

    Add Comment

Conclusion

To reassemble your device, follow these instructions in reverse order.

Cancel: I did not complete this guide.

55 other people completed this guide.

Joel

Member since: 09/23/14

1,878 Reputation

6 Guides authored

Team

USF Tampa, Team 12-2, Blackwell Fall 2014 Member of USF Tampa, Team 12-2, Blackwell Fall 2014

USFT-BLACKWELL-F14S12G2

4 Members

16 Guides authored

13 Guide Comments

Did it, in spite of unable to remove 2 batt screws due to stripping them. I wish there was a guide to prying open the case, it was very scary.

I see you have tools for removing striped 4.5 mm screws!

Jim Welch - Reply Share

I found this guide extremely useful, although i need a new port i didn't have the time to wait for delivery so i followed the guide hoping if i cleaned the part of any dust etc it might charge again temporarily and it did! It wasn't dusty but i did notice the flat plate inside the port wasn't straight so i wedged a flathead in to level it out. I think that was my problem.

Grateful i haven't had to spend unnecessary fees on repair.

Thank You!!!

Candice Aburrow - Reply Share

Thanks! The flat plate inside the connector was bent over to one side. I bent it back like you did and now it works fine. I was ready to trash it. Thank you, thank you.

ddolin1 - Reply Share

Hi! How do you guys know if it's the USB port that's broken, and not the battery? My Tab wont turn on... :(

rdablacksilhouette - Reply Share

the most difficult, is to open the plastic shell...

Cool tuto !

denisgaume - Reply Share

Add Comment

View Statistics:

Past 24 Hours: 1

Past 7 Days: 5

Past 30 Days: 63

All Time: 41,591