
Samsung Galaxy Mega 2 Rear Camera Replacement

Taylor Powell and 5 other contributors
Last updated on May 7, 2024
Views: 1.3K
View statistics:
- Past 24 Hours:
- 1
- Past 7 Days:
- 17
- Past 30 Days:
- 87
- All Time:
- 1,294
Comments: 0
No one has left comments on this guide. Will you be first?
Go to guide commentsCompleted: 1 2
1 person has marked this guide "completed." Will you be next?
2 people have marked this guide "completed." Including you — great job!
Favorites: 0 1
No one has favorited (and subscribed to) this guide. Will you be the first?
1 person has favorited (and subscribed to) this guide — and that's you!
Needs Better Images
Better photos will improve this guide. Help out by taking, editing, or uploading new ones!
Introduction
Go to step 1 ↓This repair guide will demonstrate how to replace the rear camera on the Galaxy Mega 2. The repair is somewhat difficult, but it does not take too much time. The screen must be removed in order to replace this part.
What you need
Tools
-
Spudger4.9
-


-
-
-
On the back of the phone, find the slot at the charging port located at the bottom of the phone.
-
Either insert the plastic opening tool or use your fingernail to pull up on the back cover.
-
Once the corner is released, slide your finger around the outside until the back cover releases.
 Ask FixBot
-
-
-
Locate the battery.
-
Insert fingernail or plastic opening tool into the slot on the bottom of the battery and gently lift up.
-
Remove the battery.
-
-
-
-
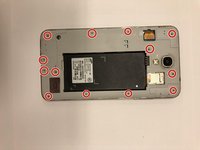
Use phillips head PH000 and remove all 13, 1.4 mm visible screws.
-
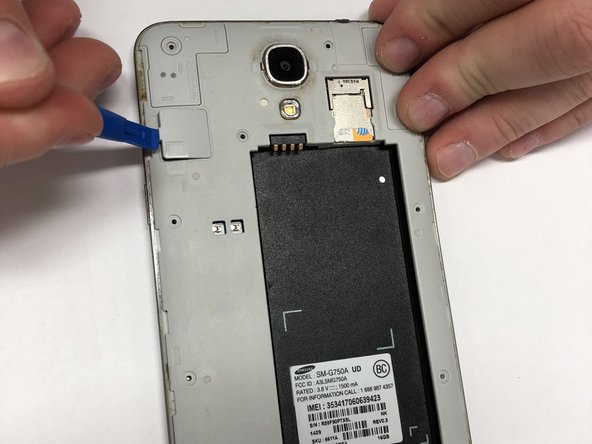
Using the pry tool, carefully pop the Digitizer cover off the device.
-
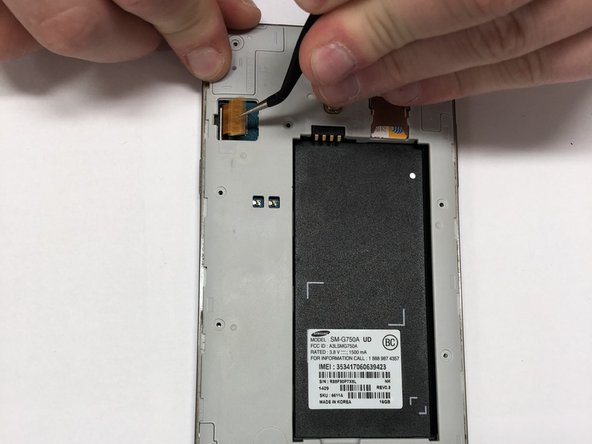
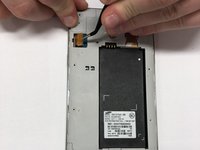
Use pry tool to disconnect the digitizer.
-
-
Tool used on this step:Tweezers$4.99
-
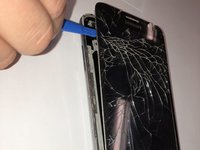
Insert the pry tool along the side of the device, then work your way around the borders of the screen, separating the screen from the rear assembling frame.
-
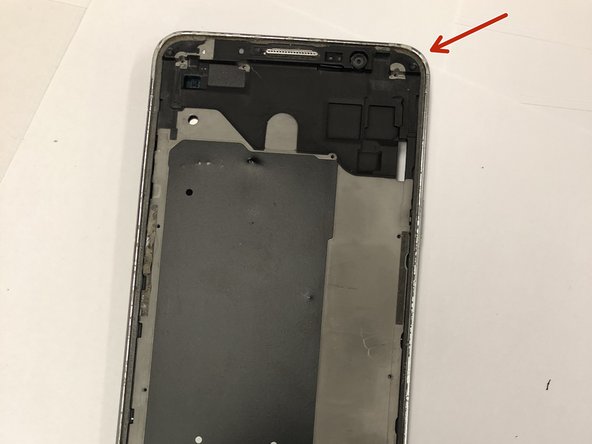
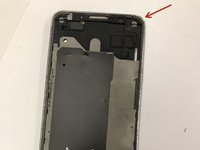
To remove the mid-frame from the motherboard, press down on the top right corner of the frame and the mid-frame should release from the motherboard.
-
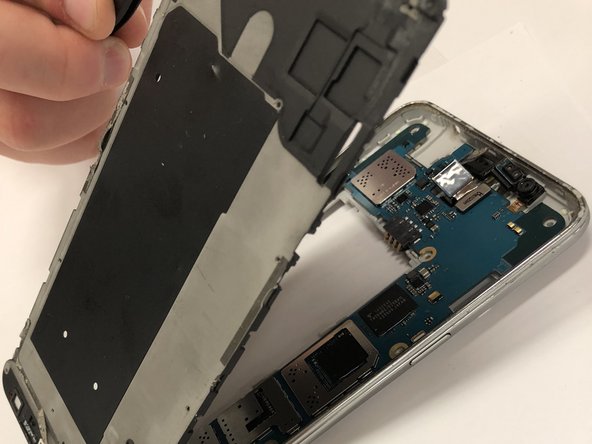
When it releases use tweezers to pick up on the mid-frame to completely separate it from the motherboard.
-
-
-
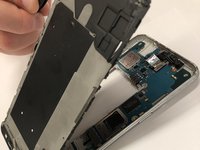
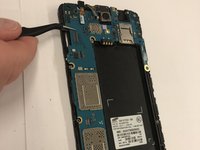
Once the rear assembly frame is removed you will see the motherboard and the connectors.
-
Locate the rear facing camera in the top middle of the phone.
-
Using tweezers lift up on the motherboard itself to disconnect it from the mid-frame.
-
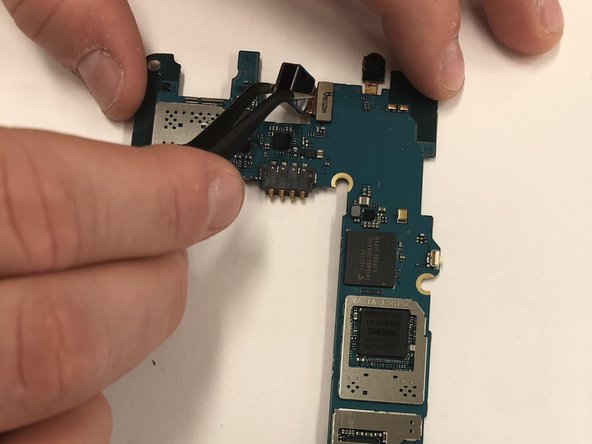
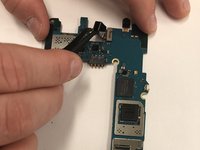
Flip the motherboard over.
-
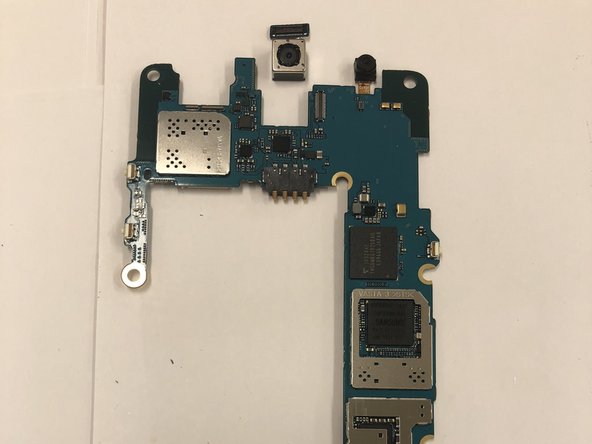
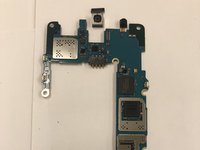
Use the tweezers to then disconnect the rear facing camera.
-
-




To reassemble your device, follow these instructions in reverse order.
Cancel: I did not complete this guide.
One other person completed this guide.

Team

Western Carolina University, Team S1-G6, Virtue Fall 2017 Member of Western Carolina University, Team S1-G6, Virtue Fall 2017
WCU-VIRTUE-F17S1G6
4 Members
60 Guides authored
