Introduction
This repair guide demonstrates how to replace the LCD/Digitizer on the Galaxy Mega 2. The repair involves removing the screen in order to get to the LCD. A few screws must be removed in order to take out the part.
What you need
-
-
-
On the back of the phone, find the slot at the charging port located at the bottom of the phone.
-
Either insert the plastic opening tool or use your fingernail to pull up on the back cover.
-
Once the corner is released, slide your finger around the outside until the back cover releases.
 Ask FixBot
-
-
-
Locate the battery
-
Insert fingernail or plastic opening tool into the slot on the bottom of the battery and gently lift up.
-
Remove the battery
-
-
-
-
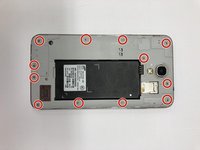
Use phillips head PH000 and remove all 13, 1.4 mm visible screws.
-
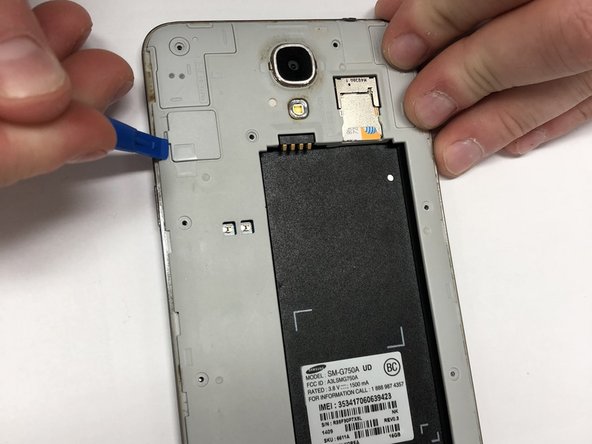
Using the pry tool, carefully pop the Digitizer cover off the device.
-
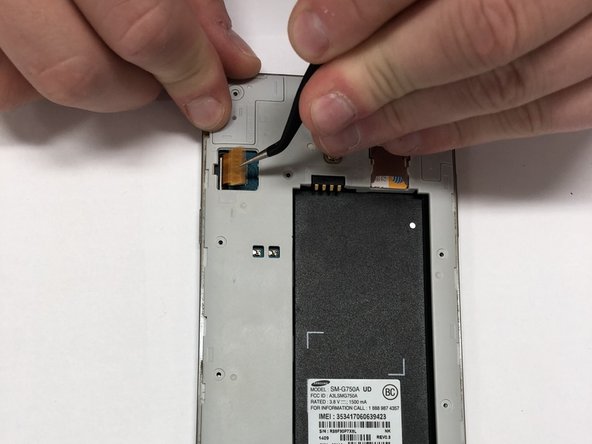
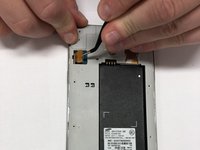
Use the pry tool to disconnect the digitizer
-
-
-
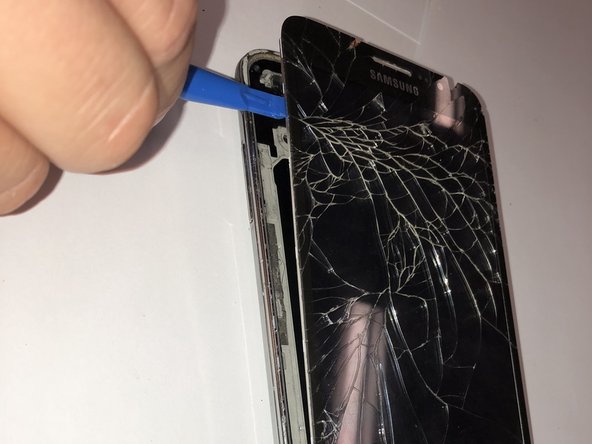
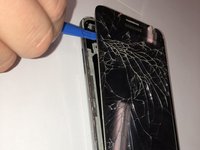
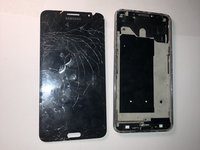
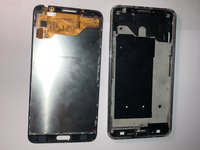
Insert the pry tool along the side of the device, then work your way around the borders of the screen, separating the screen from the rear assembly frame.
-
Use the heat gun to heat up the bottom to loosen the adhesive from the menu and back buttons.
-
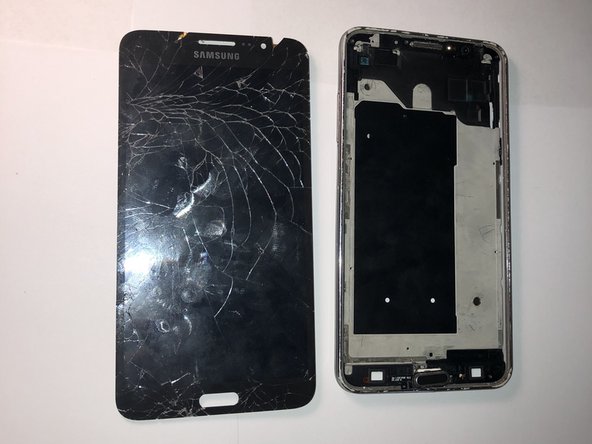
Once heated, gently pull the screen upward.
-
-
Tool used on this step:Tweezers$4.99
-
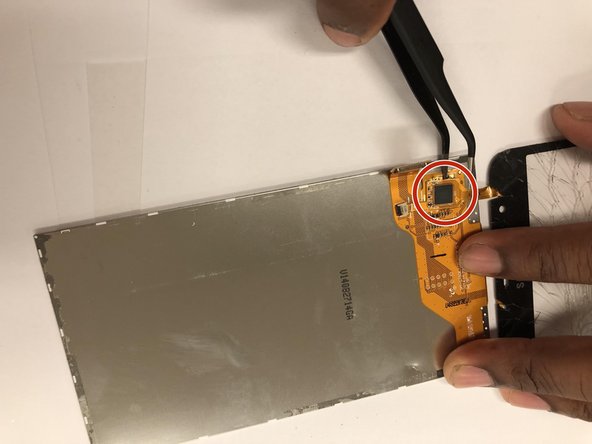
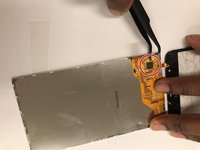
Flip the screen over.
-
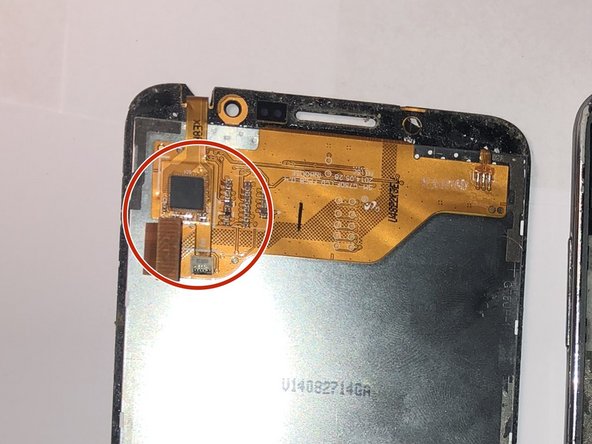
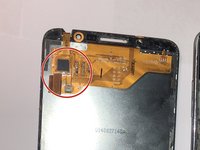
Locate the LCD/Digitizer.
-
Then disconnect the LCD/Digitizer using tweezers.
-
-





To reassemble your device, follow these instructions in reverse order.
Cancel: I did not complete this guide.
4 other people completed this guide.

Team

Western Carolina University, Team S1-G6, Virtue Fall 2017 Member of Western Carolina University, Team S1-G6, Virtue Fall 2017
WCU-VIRTUE-F17S1G6
4 Members
60 Guides authored
