Free Shipping on Domestic Orders $75+

Samsung Galaxy J7 V Rear Camera Replacement

What you need

    1. Samsung Galaxy J7 V Rear Camera Replacement, Screen: step 1, image 1 of 1
      • Be very careful during this step. The OLED (organic light-emitting diode) display is very fragile and can break easily.

      • Insert a Jimmy tool under one of the corners of the display and gently raise the display.

      Ask FixBot

      Add Comment

    2. Samsung Galaxy J7 V Rear Camera Replacement: step 2, image 1 of 1
      • Gently slide the Jimmy tool around the entire perimeter of the phone.

      Ask FixBot

      Add Comment

    3. Samsung Galaxy J7 V Rear Camera Replacement: step 3, image 1 of 1
      • Be extra careful with the display's ribbon cables. They are fragile.

      • Carefully lift the display to remove it.

      Ask FixBot

      Add Comment

    1. Samsung Galaxy J7 V Rear Camera Replacement, Home button: step 4, image 1 of 1
      • Locate the socket of the home button.

      • Fit the metal spudger in between the socket and the home button.

      Ask FixBot

      Add Comment

    2. Samsung Galaxy J7 V Rear Camera Replacement: step 5, image 1 of 1
      • Take the metal spudger and slide it underneath the home button.

      • Lift up until the home button is removed from its socket.

      Ask FixBot

      Add Comment

    1. Samsung Galaxy J7 V Rear Camera Replacement, Remove the backing: step 6, image 1 of 2 Samsung Galaxy J7 V Rear Camera Replacement, Remove the backing: step 6, image 2 of 2
      • Use the indent on the right side of the phone to lift up the backing

      • With the phone faced downwards, remove the backing of the case, lifting up from the right side

      Ask FixBot

      Add Comment

    2. Samsung Galaxy J7 V Rear Camera Replacement, Remove the battery: step 7, image 1 of 1
      • Carefully remove the battery by lifting the bottom side, and then fully remove the battery

      Ask FixBot

      Add Comment

    1. Samsung Galaxy J7 V Rear Camera Replacement, Motherboard: step 8, image 1 of 1
      • Remove fourteen screws from the midframe using a Phillips #00 screwdriver.

      Ask FixBot

      Add Comment

    2. Samsung Galaxy J7 V Rear Camera Replacement: step 9, image 1 of 1
      • Flip the phone to the back side where the battery was removed.

      • Apply pressure with your hands to pop the midframe off.

      Ask FixBot

      Add Comment

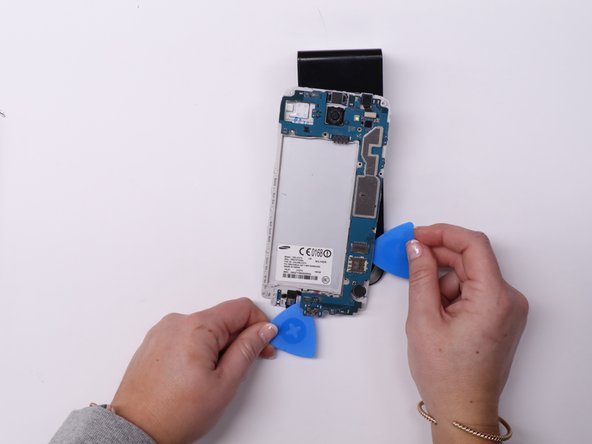
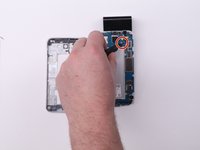
    3. Samsung Galaxy J7 V Rear Camera Replacement: step 10, image 1 of 2 Samsung Galaxy J7 V Rear Camera Replacement: step 10, image 2 of 2
      • Flip the phone back over.

      • Remove the single black screw from the motherboard using a Phillips #00 screwdriver.

      • Place a few iFixit opening picks beneath the motherboard.

      • Spread the opening picks evenly around the motherboard to ensure it does not bend as you remove it.

      • Lift the motherboard using the iFixit opening picks.

      Ask FixBot

      Add Comment

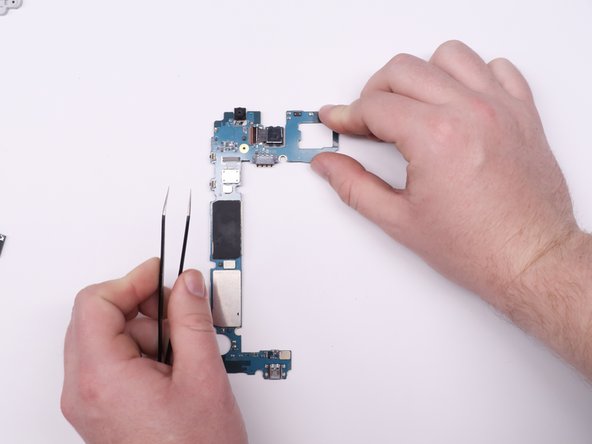
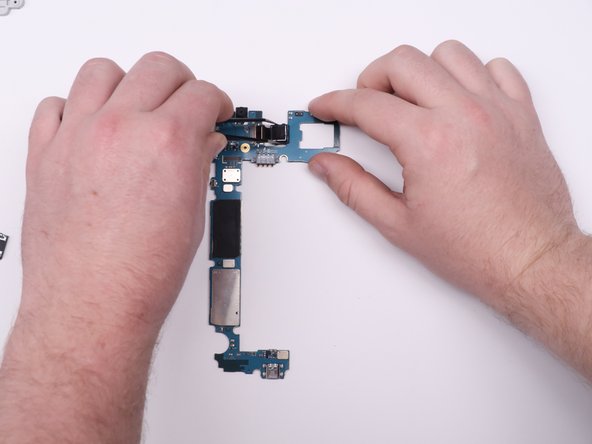
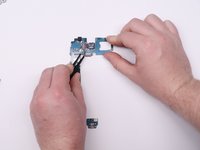
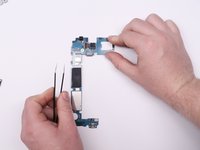
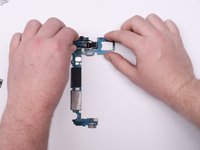
    1. Samsung Galaxy J7 V Rear Camera Replacement, Rear Camera: step 11, image 1 of 3 Samsung Galaxy J7 V Rear Camera Replacement, Rear Camera: step 11, image 2 of 3 Samsung Galaxy J7 V Rear Camera Replacement, Rear Camera: step 11, image 3 of 3
      Tool used on this step:
      Tweezers
      $4.99
      Buy
      • Use the tweezers to detach the tab securing the rear camera.

      • Use your fingers to pull the camera away from the motherboard.

      Ask FixBot

      Add Comment

Conclusion

To reassemble your device, follow these instructions in reverse order.

Cancel: I did not complete this guide.

2 other people completed this guide.

1 Guide Comment

goood

شكرا كتير لقد استفت من الموقع جدا واتمنى ان اواصل معرفه واطلاع على كل جديد

ageedaa11 - Reply Share

Add Comment

View Statistics:

Past 24 Hours: 0

Past 7 Days: 4

Past 30 Days: 27

All Time: 1,021