Introduction
If you need to replace the motherboard of your Samsung Galaxy J3, follow this guide. One of the most important components in an electronic device is the motherboard. Likewise, the smartphone’s motherboard is also important for the device to operate and run effectively. If there is even a small issue in the motherboard of the smartphone, the smartphone would have problems functioning and performing even the simplest tasks. Damages to a motherboard can be identified easily by recognizing the symptoms as stated below:
1) An error code appears
2) The system doesn’t apply anything
3) Memory modules fail
4) The phone does not turn on
What you need
-
-
-
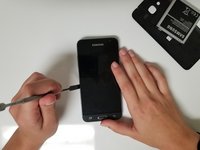
Unplug the device from the charging dock if it is connected. Power off the device. Then using your fingernails, pop off the back cover of the device.
 Ask FixBot
-
-
-
-
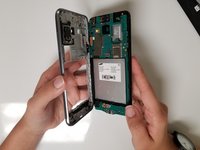
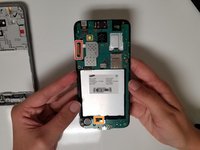
Use a spudger or your fingernails to disconnect the screen connector.
-
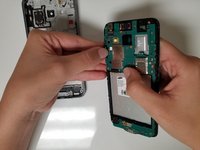
Use a spudger or your fingernails to disconnect the connector cable.
-
-




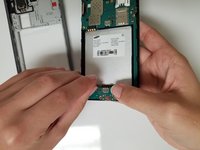

To reassemble your device, follow these instructions in reverse order.
Cancel: I did not complete this guide.
7 other people completed this guide.

Team

University of North Texas, Team S7-G2, Thomas Fall 2017 Member of University of North Texas, Team S7-G2, Thomas Fall 2017
UNT-THOMAS-F17S7G2
4 Members
48 Guides authored
