Free Shipping on Domestic Orders $75+

Samsung Galaxy Core Screen Replacement

What you need

    1. Samsung Galaxy Core Screen Replacement, Screen: step 1, image 1 of 3 Samsung Galaxy Core Screen Replacement, Screen: step 1, image 2 of 3 Samsung Galaxy Core Screen Replacement, Screen: step 1, image 3 of 3
      • Flip the phone over and use your fingernail or an opening tool to remove the back cover.

      Ask FixBot

      Add Comment

    2. Samsung Galaxy Core Screen Replacement: step 2, image 1 of 2 Samsung Galaxy Core Screen Replacement: step 2, image 2 of 2
      • Remove the battery.

      • If your phone has a SIM card or MicroSD card, remove them.

      Ask FixBot

      Add Comment

    3. Samsung Galaxy Core Screen Replacement: step 3, image 1 of 1
      • Remove the 9 Phillips #00 screws from the mid-frame.

      Ask FixBot

      Add Comment

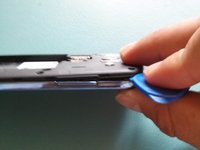
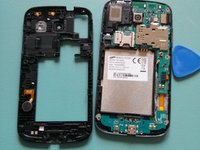
    4. Samsung Galaxy Core Screen Replacement: step 4, image 1 of 2 Samsung Galaxy Core Screen Replacement: step 4, image 2 of 2
      • Use an opening pick to pry off the mid frame.

      Ask FixBot

      Add Comment

    5. Samsung Galaxy Core Screen Replacement: step 5, image 1 of 2 Samsung Galaxy Core Screen Replacement: step 5, image 2 of 2
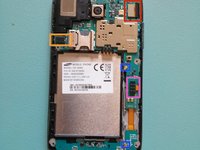
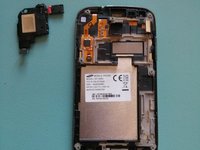
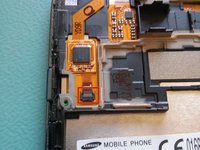
      • Disconnect the following ribbon cables from the motherboard:

      • The digitizer and LCD assembly.

      • Headphone Jack and Earpiece.

      • Daughter board flex cable.

      • Antenna connector.

      Ask FixBot

      Add Comment

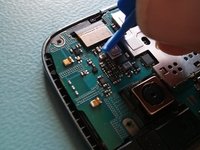
    6. Samsung Galaxy Core Screen Replacement: step 6, image 1 of 3 Samsung Galaxy Core Screen Replacement: step 6, image 2 of 3 Samsung Galaxy Core Screen Replacement: step 6, image 3 of 3
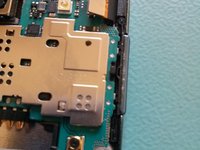
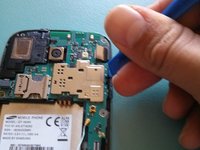
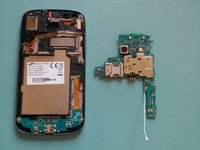
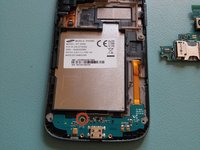
      • Use a plastic opening tool to remove the motherboard.

      Ask FixBot

      Add Comment

    7. Samsung Galaxy Core Screen Replacement: step 7, image 1 of 3 Samsung Galaxy Core Screen Replacement: step 7, image 2 of 3 Samsung Galaxy Core Screen Replacement: step 7, image 3 of 3
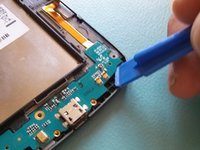
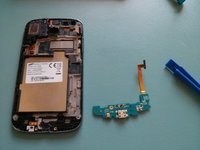
      • Remove the single Phillips screw that secures the daughterboard.

      • Remove the daughterboard.

      • The flex cable is glued, so exercise extreme caution, as excessive force can damage the cable.

      Ask FixBot

      Add Comment

    8. Samsung Galaxy Core Screen Replacement: step 8, image 1 of 3 Samsung Galaxy Core Screen Replacement: step 8, image 2 of 3 Samsung Galaxy Core Screen Replacement: step 8, image 3 of 3
      • Use an opening pick to remove the audio jack.

      Ask FixBot

      Add Comment

    9. Samsung Galaxy Core Screen Replacement: step 9, image 1 of 2 Samsung Galaxy Core Screen Replacement: step 9, image 2 of 2
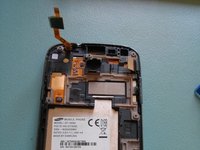
      • Disconnect the digitizer's ribbon cable.

      Ask FixBot

      Add Comment

    10. Samsung Galaxy Core Screen Replacement: step 10, image 1 of 1
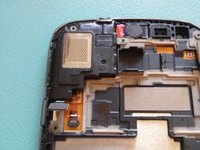
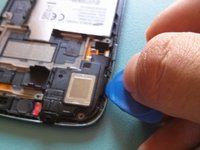
      • Push the earpiece mesh outwards to release it.

      Ask FixBot

      Add Comment

    11. Samsung Galaxy Core Screen Replacement: step 11, image 1 of 1
      • Use a heat gun or an iOpener to heat the digitizer and soften the glue securing it.

      • Use an opening pick to break up the glue around the edges of the digitizer.

      • You may apply more heat if needed.

      • Remove the digitizer and any broken glass.

      Ask FixBot

      Add Comment

Conclusion

To reassemble your device, follow these instructions in reverse order.

Cancel: I did not complete this guide.

90 other people completed this guide.

ivan coene

Member since: 03/12/14

3,006 Reputation

2 Guides authored

11 Guide Comments

yes, but where can I buy the screen replacement?

Roxannie - Reply Share

I bought it on Ebay...

ivan coene - Reply Share

Comment root galaxy core prime g361f android 5.1.1

soulaemen - Reply Share

Follow the instructions in reverse order? Do you need glue for the new screen? What kind of glue? How is it applied?

Thomas McGuigan - Reply Share

Nor do they show how the new digitizer plugs in...

chris smith - Reply Share

Add Comment

View Statistics:

Past 24 Hours: 0

Past 7 Days: 7

Past 30 Days: 46

All Time: 117,936