Free Shipping on Domestic Orders $75+

Samsung Galaxy Core Prime Screen Replacement

What you need

    1. Samsung Galaxy Core Prime Screen Replacement, Battery: step 1, image 1 of 1
      • Turn the smartphone off by using the power button on the right-hand side.

      Ask FixBot

      Add Comment

    2. Samsung Galaxy Core Prime Screen Replacement: step 2, image 1 of 1
      • Turn the smartphone over so that the rear camera is face up.

      Ask FixBot

      Add Comment

    3. Samsung Galaxy Core Prime Screen Replacement: step 3, image 1 of 1
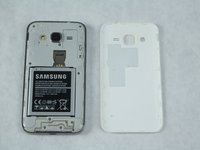
      • Use your fingernail or a flat tool to lift the back cover.

      Ask FixBot

      Add Comment

    4. Samsung Galaxy Core Prime Screen Replacement: step 4, image 1 of 2 Samsung Galaxy Core Prime Screen Replacement: step 4, image 2 of 2
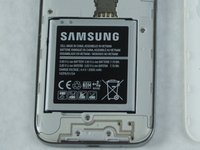
      • Locate the battery near the bottom of the phone. The battery is square, flat, and is labeled 'SAMSUNG'.

      Ask FixBot

      Add Comment

    5. Samsung Galaxy Core Prime Screen Replacement: step 5, image 1 of 1
      • Use your fingernail or a flat tool to lift the battery out.

      Ask FixBot

      Add Comment

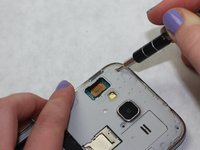
    1. Samsung Galaxy Core Prime Screen Replacement, Screen: step 6, image 1 of 2 Samsung Galaxy Core Prime Screen Replacement, Screen: step 6, image 2 of 2
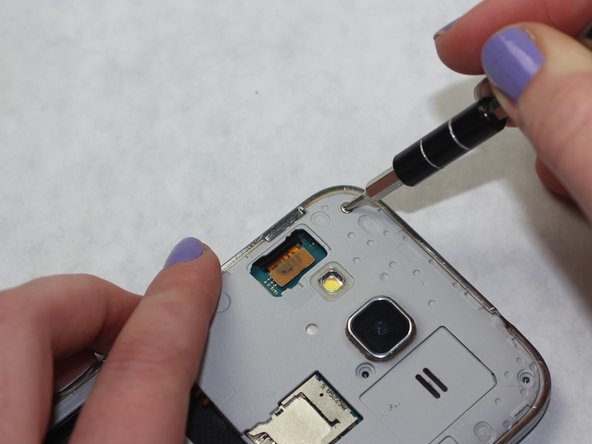
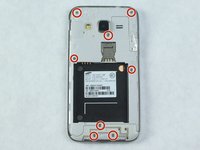
      • Use the Phillips #00 screwdriver to remove the eight 4 mm screws from the midframe.

      Ask FixBot

      Add Comment

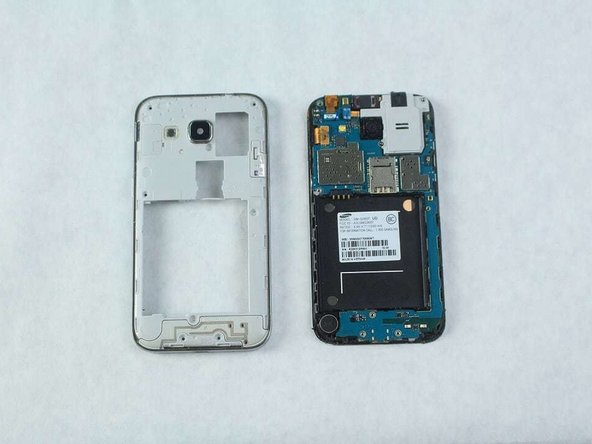
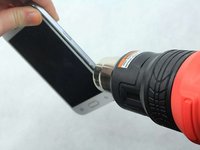
    2. Samsung Galaxy Core Prime Screen Replacement: step 7, image 1 of 1
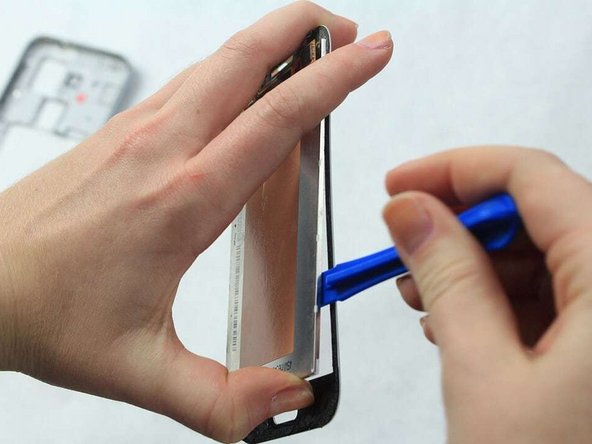
      • Use a heat gun or hair dryer to loosen the adhesive between the midframe and the rest of the device.

      • Take care when using these heat tools.

      Ask FixBot

      Add Comment

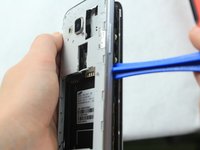
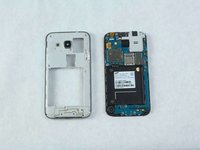
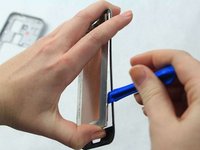
    3. Samsung Galaxy Core Prime Screen Replacement: step 8, image 1 of 2 Samsung Galaxy Core Prime Screen Replacement: step 8, image 2 of 2
      Tool used on this step:
      iFixit Opening Tool
      $1.99
      Buy
      Ask FixBot

      Add Comment

    4. Samsung Galaxy Core Prime Screen Replacement: step 9, image 1 of 2 Samsung Galaxy Core Prime Screen Replacement: step 9, image 2 of 2
      Tool used on this step:
      Tweezers
      $4.99
      Buy
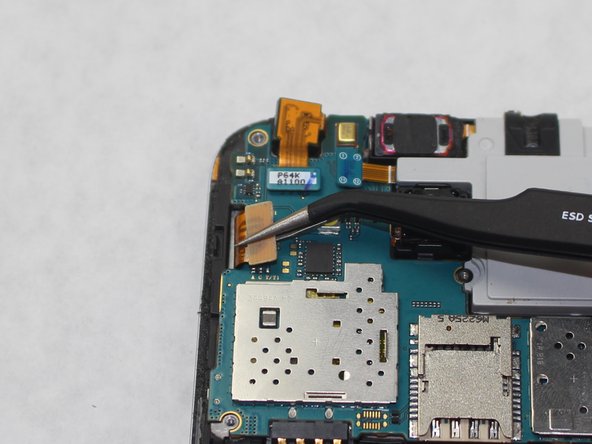
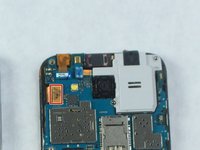
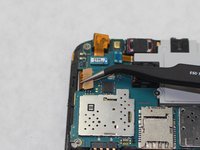
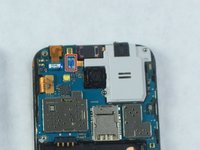
      • Use tweezers to disconnect the power ribbon from the motherboard.

      Ask FixBot

      Add Comment

    5. Samsung Galaxy Core Prime Screen Replacement: step 10, image 1 of 2 Samsung Galaxy Core Prime Screen Replacement: step 10, image 2 of 2
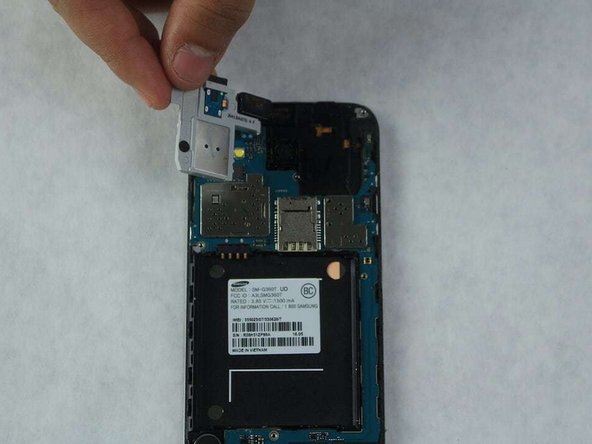
      • Use tweezers or your hand to remove the audiojack.

      Ask FixBot

      Add Comment

    6. Samsung Galaxy Core Prime Screen Replacement: step 11, image 1 of 1
      Tool used on this step:
      iFixit Opening Tool
      $1.99
      Buy
      Ask FixBot

      Add Comment

    7. Samsung Galaxy Core Prime Screen Replacement: step 12, image 1 of 1
      Tool used on this step:
      iFixit Opening Tool
      $1.99
      Buy
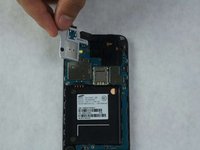
      • Lift the plastic panel that separates the digitizer and the motherboard with an iFixit Opening Tool

      Ask FixBot

      Add Comment

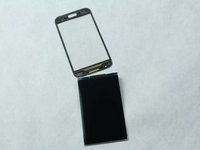
    8. Samsung Galaxy Core Prime Screen Replacement: step 13, image 1 of 3 Samsung Galaxy Core Prime Screen Replacement: step 13, image 2 of 3 Samsung Galaxy Core Prime Screen Replacement: step 13, image 3 of 3
      Tool used on this step:
      iFixit Opening Tool
      $1.99
      Buy
      Ask FixBot

      Add Comment

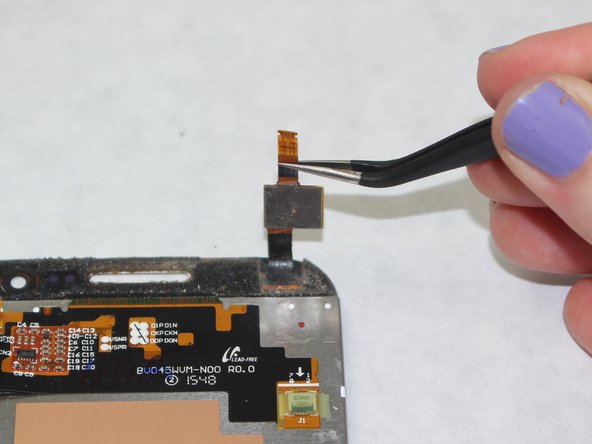
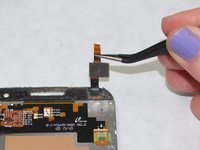
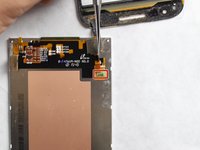
    9. Samsung Galaxy Core Prime Screen Replacement: step 14, image 1 of 2 Samsung Galaxy Core Prime Screen Replacement: step 14, image 2 of 2
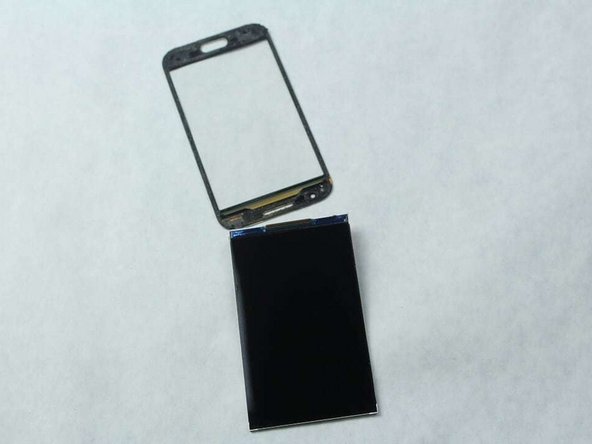
      • Use tweezers to disconnect the digitizer.

      Ask FixBot

      Add Comment

Conclusion

To reassemble your device, follow these instructions in reverse order.

Cancel: I did not complete this guide.

7 other people completed this guide.

Cody Coombs

Member since: 10/02/18

257 Reputation

1 Guide authored

1 Guide Comment

What if the phone does not come back on after assembly

nfl.ny.la.313 - Reply Share
Add Comment

View Statistics:

Past 24 Hours: 3

Past 7 Days: 10

Past 30 Days: 45

All Time: 3,358