Free Shipping on Domestic Orders $75+

Samsung Galaxy Core Plus Motherboard Replacement

What you need

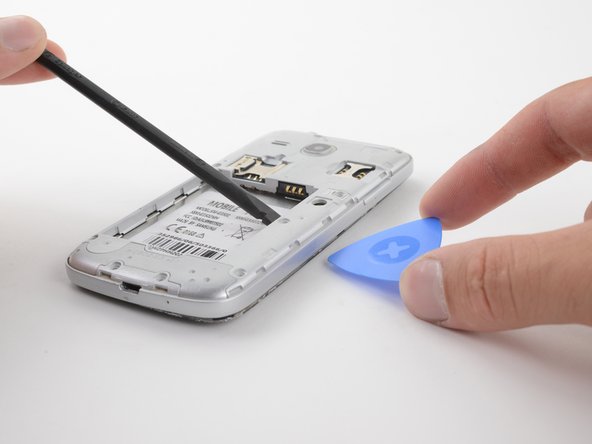
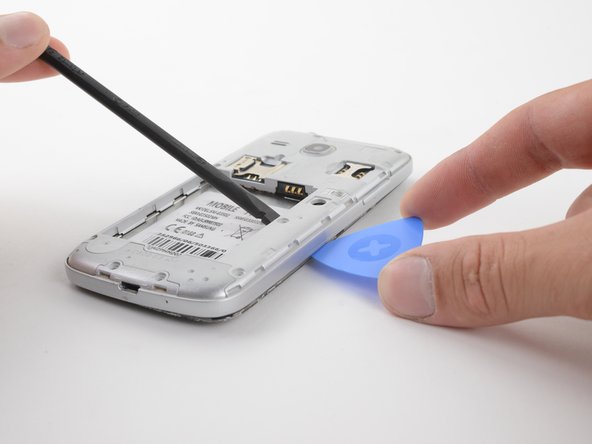
  1. Samsung Galaxy Core Plus Motherboard Replacement, Back Cover: step 1, image 1 of 2 Samsung Galaxy Core Plus Motherboard Replacement, Back Cover: step 1, image 2 of 2
    • Insert the flat side of a spudger into the gap next to the power button.

    • The back cover is held by plastic clips. Pry the cover away from the phone until the clips release.

    Ask FixBot

    Add Comment

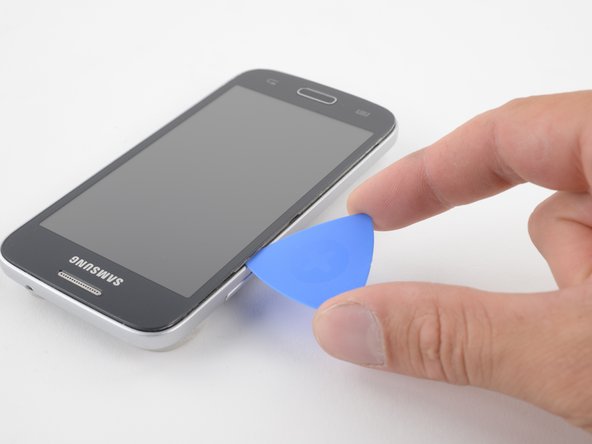
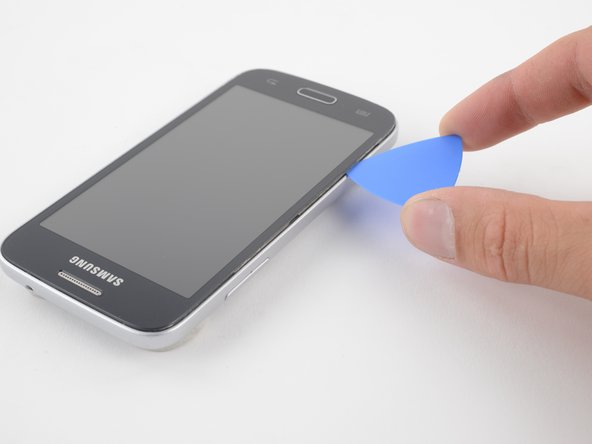
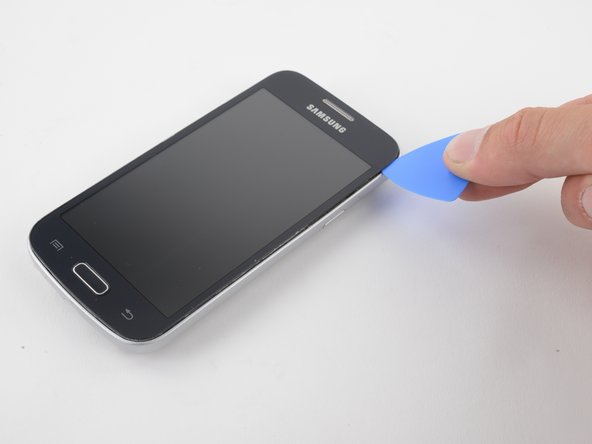
  2. Samsung Galaxy Core Plus Motherboard Replacement: step 2, image 1 of 3 Samsung Galaxy Core Plus Motherboard Replacement: step 2, image 2 of 3 Samsung Galaxy Core Plus Motherboard Replacement: step 2, image 3 of 3
    • Insert an opening pick between the phone and the back cover.

    • Slide the opening pick along the perimeter of the cover.

    • Continue to release the clips by prying away from the phone.

    Ask FixBot

    Add Comment

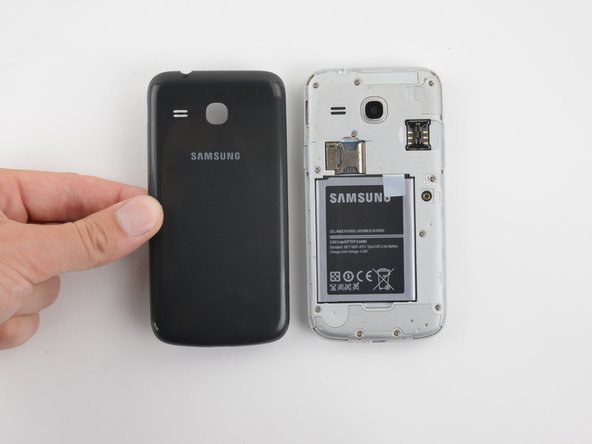
  3. Samsung Galaxy Core Plus Motherboard Replacement: step 3, image 1 of 2 Samsung Galaxy Core Plus Motherboard Replacement: step 3, image 2 of 2
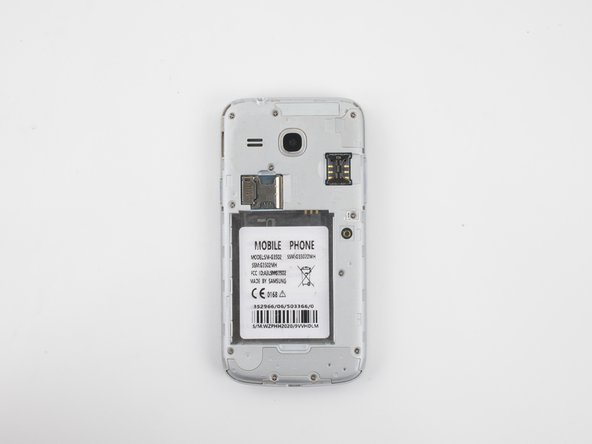
    • Once all of the clips have been released, remove the back cover by hand.

    Ask FixBot

    Add Comment

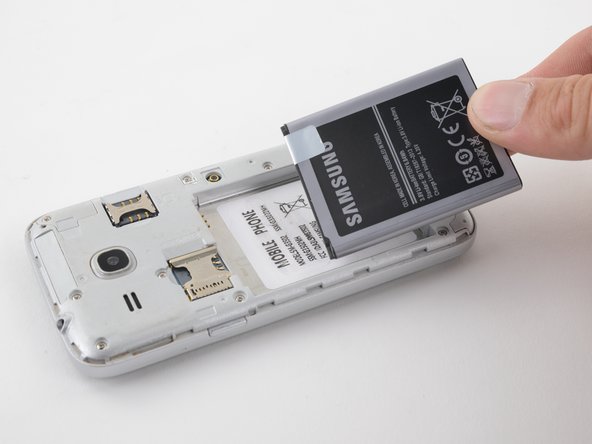
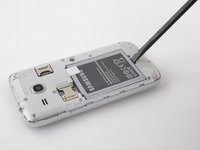
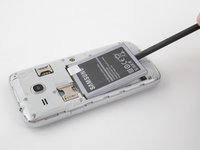
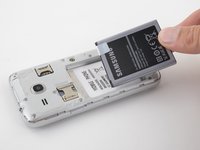
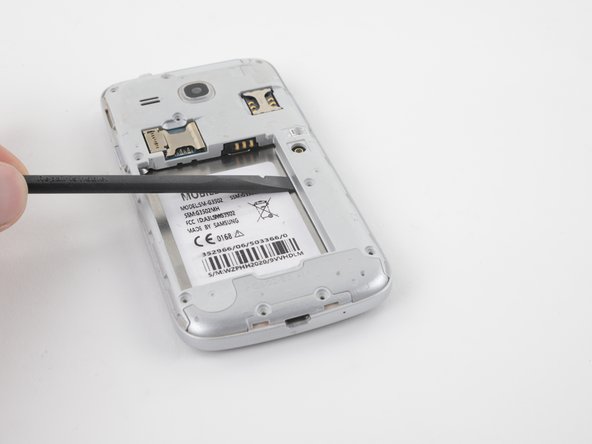
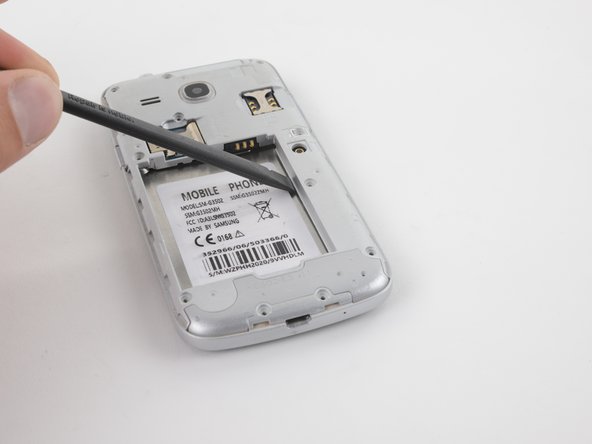
  4. Samsung Galaxy Core Plus Motherboard Replacement, Battery: step 4, image 1 of 3 Samsung Galaxy Core Plus Motherboard Replacement, Battery: step 4, image 2 of 3 Samsung Galaxy Core Plus Motherboard Replacement, Battery: step 4, image 3 of 3
    • Insert the flat end of a spudger into the gap at the bottom of the battery.

    • Pry the battery up and away from the phone.

    • Grab the battery and lift it out of the phone.

    Ask FixBot

    Add Comment

  5. Samsung Galaxy Core Plus Motherboard Replacement, Remove screws from the midframe: step 5, image 1 of 2 Samsung Galaxy Core Plus Motherboard Replacement, Remove screws from the midframe: step 5, image 2 of 2
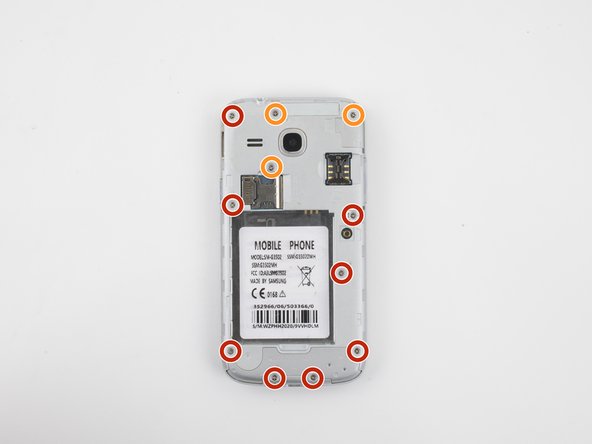
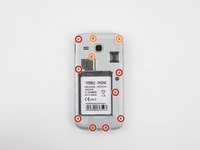
    • Use a Phillips #00 screwdriver to remove eleven T3 screws from the midframe.

    • There are eight 4mm screws on the left and bottom of the midframe.

    • There are three 3.9mm screws in the upper right of the midframe.

    Ask FixBot

    Add Comment

  6. Samsung Galaxy Core Plus Motherboard Replacement, Heat the front of the phone: step 6, image 1 of 1
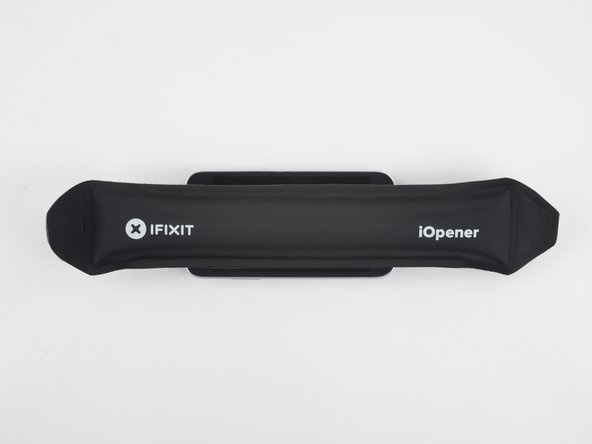
    • Heat an iOpener and apply it to the front of the device for two minutes. This will loosen the adhesive around the perimeter of the screen.

    • A hair dryer, heat gun, or hot plate may also be used. Be careful when applying heat—the display is susceptible to damage.

    Ask FixBot

    Add Comment

  7. Samsung Galaxy Core Plus Motherboard Replacement, Loosen the midframe from the screen: step 7, image 1 of 2 Samsung Galaxy Core Plus Motherboard Replacement, Loosen the midframe from the screen: step 7, image 2 of 2
    • Insert a spudger under the midframe and pry upward.

    • You may pry along any side of the battery recess. The right side and top side will be the easiest.

    • Do not pry near any connectors or black plastic parts. These will not separate with the midframe.

    Ask FixBot

    Add Comment

  8. Samsung Galaxy Core Plus Motherboard Replacement: step 8, image 1 of 2 Samsung Galaxy Core Plus Motherboard Replacement: step 8, image 2 of 2
    • While prying the midframe away from the screen, insert an opening pick between the glass screen and midframe.

    Ask FixBot

    Add Comment

  9. Samsung Galaxy Core Plus Motherboard Replacement: step 9, image 1 of 3 Samsung Galaxy Core Plus Motherboard Replacement: step 9, image 2 of 3 Samsung Galaxy Core Plus Motherboard Replacement: step 9, image 3 of 3
    • Slide the opening pick around the perimeter of the glass screen. This will cut the adhesive between the glass and the midframe.

    • Use multiple opening picks if the screen re-adheres as you slide the pick.

    Ask FixBot

    Add Comment

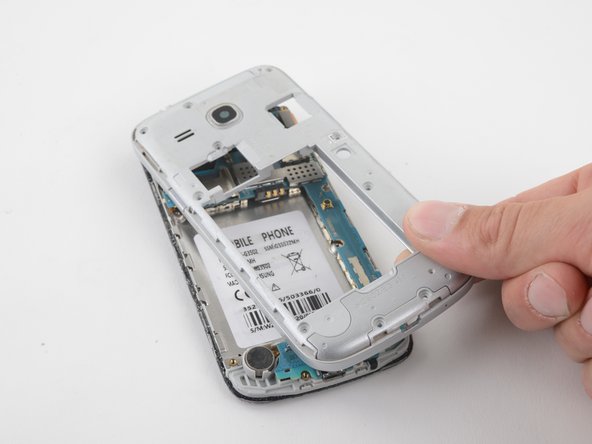
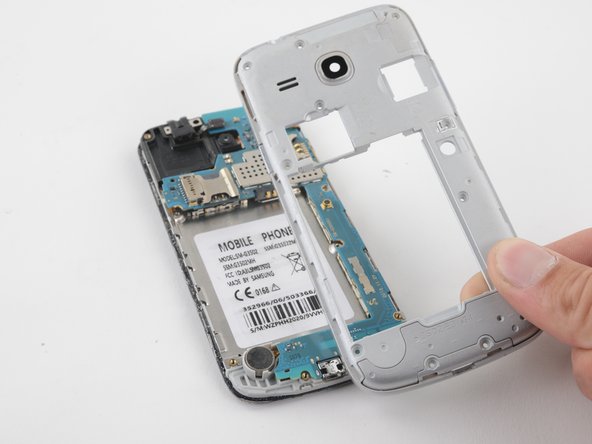
  10. Samsung Galaxy Core Plus Motherboard Replacement, Remove the midframe: step 10, image 1 of 2 Samsung Galaxy Core Plus Motherboard Replacement, Remove the midframe: step 10, image 2 of 2
    • Once the adhesive between the midframe and screen has been cut, the midframe will be free.

    • Grab and pull the midframe away from the phone.

    Ask FixBot

    Add Comment

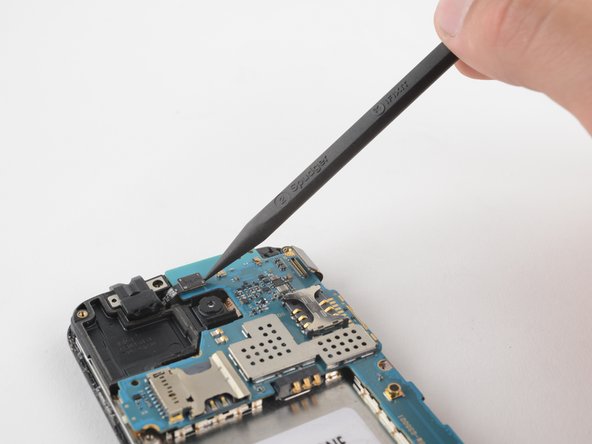
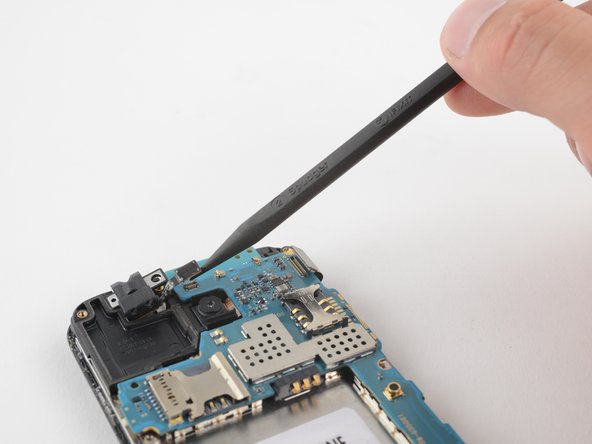
  11. Samsung Galaxy Core Plus Motherboard Replacement, Disconnect the headphone jack: step 11, image 1 of 2 Samsung Galaxy Core Plus Motherboard Replacement, Disconnect the headphone jack: step 11, image 2 of 2
    • Use a spudger to release the press-fit connector from the motherboard.

    • The press-fit connector is the only thing holding the headphone jack in place. Be careful not to lose this piece when it comes off.

    Ask FixBot

    Add Comment

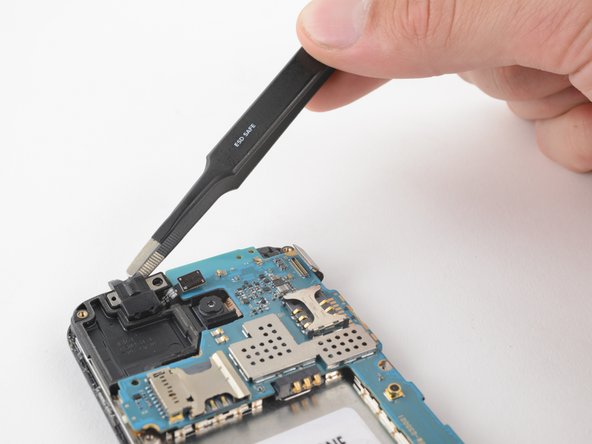
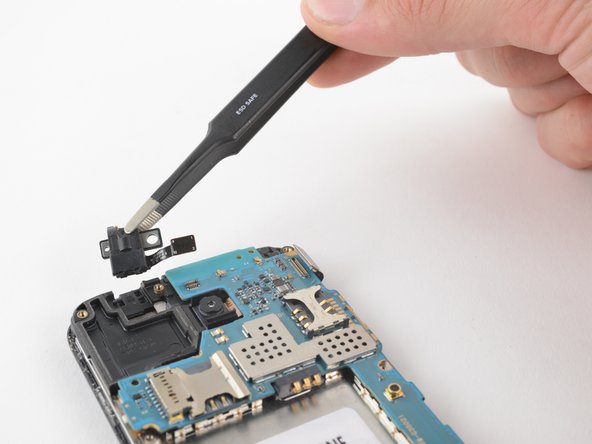
  12. Samsung Galaxy Core Plus Motherboard Replacement, Remove the headphone jack: step 12, image 1 of 2 Samsung Galaxy Core Plus Motherboard Replacement, Remove the headphone jack: step 12, image 2 of 2
    • Using a pair of blunt-nose tweezers or your fingers, remove the headphone jack.

    Ask FixBot

    Add Comment

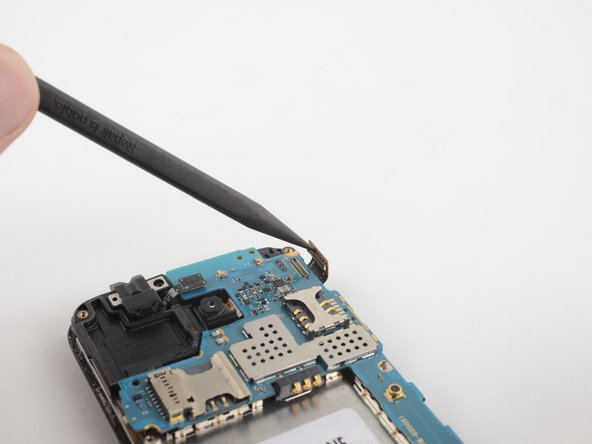
  13. Samsung Galaxy Core Plus Motherboard Replacement, Disconnect the display connector: step 13, image 1 of 2 Samsung Galaxy Core Plus Motherboard Replacement, Disconnect the display connector: step 13, image 2 of 2
    • Use a spudger to flick open the press-fit connector located in the upper right of the phone.

    Ask FixBot

    Add Comment

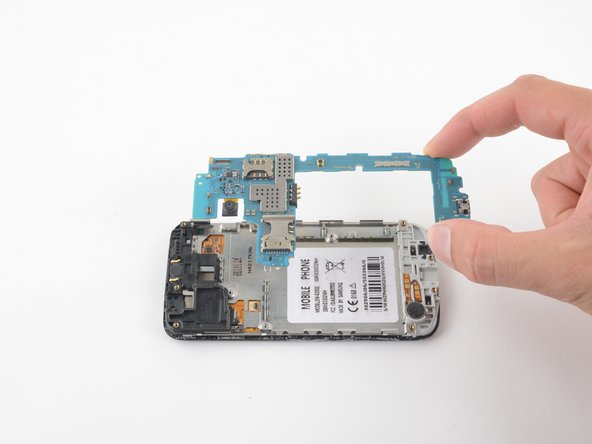
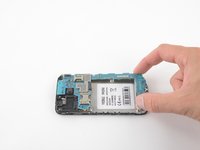
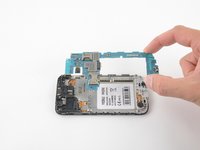
  14. Samsung Galaxy Core Plus Motherboard Replacement, Remove the motherboard: step 14, image 1 of 2 Samsung Galaxy Core Plus Motherboard Replacement, Remove the motherboard: step 14, image 2 of 2
    • Simply grab and lift the motherboard from the phone. There are no screws or cables holding it in place.

    Ask FixBot

    Add Comment

Conclusion

To reassemble your device, follow these instructions in reverse order.

Cancel: I did not complete this guide.

One other person completed this guide.

Clay Eickemeyer

Member since: 08/24/22

388 Reputation

2 Guides authored

0 Guide Comments

Add Comment

View Statistics:

Past 24 Hours: 0

Past 7 Days: 0

Past 30 Days: 24

All Time: 389