Free Shipping on Domestic Orders $75+

Samsung Galaxy Book Pro 360 15" Fans Replacement

What you need

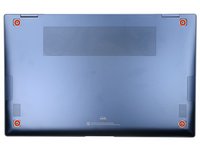
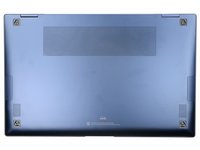
  1. Samsung Galaxy Book Pro 360 15" Fans Replacement, Access the rubber feet: step 1, image 1 of 2 Samsung Galaxy Book Pro 360 15" Fans Replacement, Access the rubber feet: step 1, image 2 of 2
    • Before you begin, shut down your laptop and unplug it.

    • Close the screen and lay your laptop down with the rear case facing up to access the four rubber feet.

    Ask FixBot

    Add Comment

  2. Samsung Galaxy Book Pro 360 15" Fans Replacement, Remove the rubber feet: step 2, image 1 of 3 Samsung Galaxy Book Pro 360 15" Fans Replacement, Remove the rubber feet: step 2, image 2 of 3 Samsung Galaxy Book Pro 360 15" Fans Replacement, Remove the rubber feet: step 2, image 3 of 3
    Tool used on this step:
    Tweezers
    $4.99
    Buy
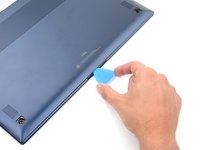
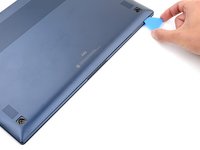
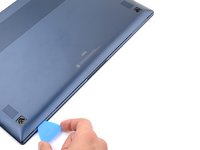
    • Insert an opening pick between the rear case and the rubber foot.

    • Pry up with the pick and dislodge the foot from the rear case.

    • Use tweezers or your fingers to remove the rubber foot.

    • Repeat this process on the remaining rubber feet.

    • There are two types of rubber feet for this laptop. During reassembly, make sure the top feet say "M4" and the bottom feet say "M1".

    • To reinstall a rubber foot, align it over the recess and push down until it's secured.

    Ask FixBot

    Add Comment

  3. Samsung Galaxy Book Pro 360 15" Fans Replacement, Unfasten the rear case: step 3, image 1 of 2 Samsung Galaxy Book Pro 360 15" Fans Replacement, Unfasten the rear case: step 3, image 2 of 2
    Tool used on this step:
    Magnetic Project Mat
    $19.95
    Buy
    • Use a Phillips screwdriver to remove the four 4.5 mm screws securing the rear case.

    • Throughout this repair, keep track of each screw and make sure it goes back exactly where it came from.

    Ask FixBot

    Add Comment

  4. Samsung Galaxy Book Pro 360 15" Fans Replacement, Insert an opening pick: step 4, image 1 of 3 Samsung Galaxy Book Pro 360 15" Fans Replacement, Insert an opening pick: step 4, image 2 of 3 Samsung Galaxy Book Pro 360 15" Fans Replacement, Insert an opening pick: step 4, image 3 of 3
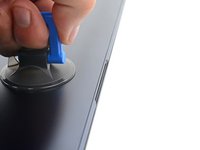
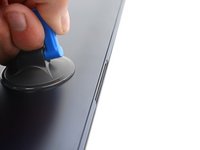
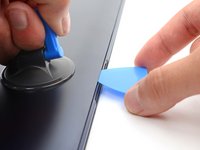
    • Apply a suction handle to the middle of the rear case's bottom edge, as close to the edge as possible.

    • Pull up on the handle with a strong, steady force to create a small gap between the rear case and the frame.

    • This may take significant force and multiple tries.

    • Insert an opening pick into the gap you created.

    Ask FixBot

    Add Comment

  5. Samsung Galaxy Book Pro 360 15" Fans Replacement, Release the clips: step 5, image 1 of 3 Samsung Galaxy Book Pro 360 15" Fans Replacement, Release the clips: step 5, image 2 of 3 Samsung Galaxy Book Pro 360 15" Fans Replacement, Release the clips: step 5, image 3 of 3
    • Slide the opening pick along the bottom edge to release the clips securing the rear case.

    • Continue sliding the pick along the perimeter of the laptop until all the clips securing the rear case have been released.

    Ask FixBot

    Add Comment

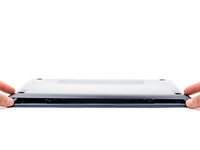
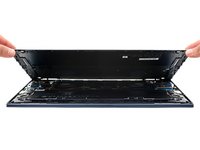
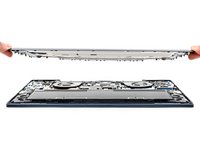
  6. Samsung Galaxy Book Pro 360 15" Fans Replacement, Remove the rear case: step 6, image 1 of 3 Samsung Galaxy Book Pro 360 15" Fans Replacement, Remove the rear case: step 6, image 2 of 3 Samsung Galaxy Book Pro 360 15" Fans Replacement, Remove the rear case: step 6, image 3 of 3
    • Lift the rear case up and away from the laptop and remove it.

    • During reassembly, this is a good point to power on your laptop and test all functions before sealing it up. Be sure to power your laptop back down before you continue working.

    Ask FixBot

    Add Comment

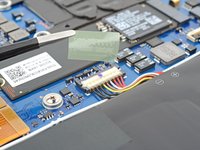
  7. Samsung Galaxy Book Pro 360 15" Fans Replacement, Remove the battery connector's tape: step 7, image 1 of 2 Samsung Galaxy Book Pro 360 15" Fans Replacement, Remove the battery connector's tape: step 7, image 2 of 2
    Tool used on this step:
    Tweezers
    $4.99
    Buy
    • Use tweezers or your fingers to peel up and remove the tape covering the battery connector.

    • Set the tape aside. You'll reuse it during reassembly.

    Ask FixBot

    Add Comment

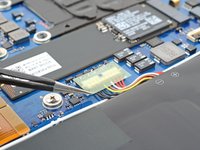
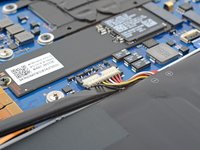
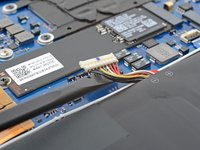
  8. Samsung Galaxy Book Pro 360 15" Fans Replacement, Disconnect the battery: step 8, image 1 of 2 Samsung Galaxy Book Pro 360 15" Fans Replacement, Disconnect the battery: step 8, image 2 of 2
    • Insert the flat end of a spudger under the battery cables, as close to the connector as possible.

    • Gently pry up and disconnect the battery connector from its socket.

    Ask FixBot

    Add Comment

  9. Samsung Galaxy Book Pro 360 15" Fans Replacement, Disconnect the left fan's ZIF connector: step 9, image 1 of 3 Samsung Galaxy Book Pro 360 15" Fans Replacement, Disconnect the left fan's ZIF connector: step 9, image 2 of 3 Samsung Galaxy Book Pro 360 15" Fans Replacement, Disconnect the left fan's ZIF connector: step 9, image 3 of 3
    • Use the pointed end up a spudger to pry up the locking flap on the left fan cable's ZIF connector.

    Ask FixBot

    Add Comment

  10. Samsung Galaxy Book Pro 360 15" Fans Replacement, Disconnect the fan cable: step 10, image 1 of 2 Samsung Galaxy Book Pro 360 15" Fans Replacement, Disconnect the fan cable: step 10, image 2 of 2
    Tool used on this step:
    Tweezers
    $4.99
    Buy
    • Grip the left fan cable's pull tab with tweezers and gently pull the cable out of its socket.

    • Repeat the disconnection procedure on the right fan cable.

    Ask FixBot

    Add Comment

  11. Samsung Galaxy Book Pro 360 15" Fans Replacement, Unfasten the fans: step 11, image 1 of 2 Samsung Galaxy Book Pro 360 15" Fans Replacement, Unfasten the fans: step 11, image 2 of 2
    • Use a Phillips screwdriver to remove the six 3.5 mm screws securing the fans.

    Ask FixBot

    Add Comment

  12. Samsung Galaxy Book Pro 360 15" Fans Replacement, Remove the fans: step 12, image 1 of 3 Samsung Galaxy Book Pro 360 15" Fans Replacement, Remove the fans: step 12, image 2 of 3 Samsung Galaxy Book Pro 360 15" Fans Replacement, Remove the fans: step 12, image 3 of 3
    • Lift both fans straight up and remove them.

    Ask FixBot

    Add Comment

Conclusion

To reassemble your device, follow the instructions in reverse order and perform the opposite actions, e.g., "reattach" instead of "removing." Skip steps that use heating and prying, and pay close attention to the 📌 bullets as you work through the steps.

Take your e-waste to an R2 or e-Stewards certified recycler.

Repair didn’t go as planned? Check out our Answers community for troubleshooting help.

Cancel: I did not complete this guide.

Spencer Day

Member since: 09/14/22

195,262 Reputation

1,243 Guides authored

Team

iFixit Member of iFixit

Staff

122 Members

26,617 Guides authored

0 Guide Comments

Add Comment

View Statistics:

Past 24 Hours: 3

Past 7 Days: 17

Past 30 Days: 87

All Time: 2,401