Free Shipping on Domestic Orders $75+

Samsung Galaxy A51 Screen with Frame Replacement

What you need

Video Overview

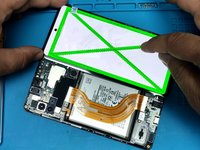
    1. Samsung Galaxy A51 Screen with Frame Replacement, Samsung Galaxy A51 Screen with Frame: step 1, image 1 of 2 Samsung Galaxy A51 Screen with Frame Replacement, Samsung Galaxy A51 Screen with Frame: step 1, image 2 of 2
      • Samsung Galaxy A51 - the new spare part.

      Ask FixBot

      Add Comment

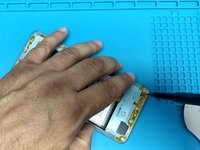
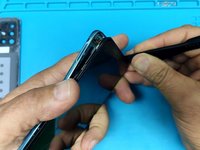
    2. Samsung Galaxy A51 Screen with Frame Replacement, Back Cover: step 2, image 1 of 3 Samsung Galaxy A51 Screen with Frame Replacement, Back Cover: step 2, image 2 of 3 Samsung Galaxy A51 Screen with Frame Replacement, Back Cover: step 2, image 3 of 3
      • Warm up the device to soften the adhesive.

      • Use suction cup and plastic tools (playing cards) to separate the back cover.

      Ask FixBot

      Add Comment

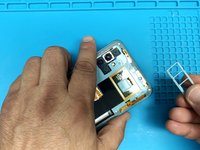
    3. Samsung Galaxy A51 Screen with Frame Replacement, SIM Tray and screws: step 3, image 1 of 3 Samsung Galaxy A51 Screen with Frame Replacement, SIM Tray and screws: step 3, image 2 of 3 Samsung Galaxy A51 Screen with Frame Replacement, SIM Tray and screws: step 3, image 3 of 3
      • Remove the SIM Tray.

      • Remove 13x Phillips screws.

      Ask FixBot

      Add Comment

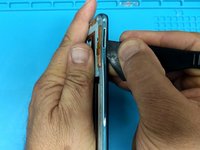
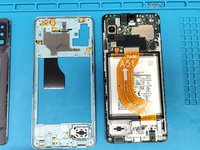
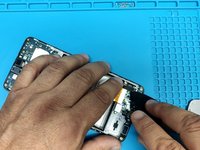
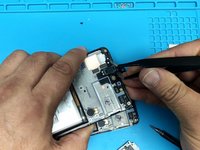
    4. Samsung Galaxy A51 Screen with Frame Replacement, Middle Frame removal: step 4, image 1 of 3 Samsung Galaxy A51 Screen with Frame Replacement, Middle Frame removal: step 4, image 2 of 3 Samsung Galaxy A51 Screen with Frame Replacement, Middle Frame removal: step 4, image 3 of 3
      • Only use plastic tools to separate the metal frame.

      Ask FixBot

      Add Comment

    5. Samsung Galaxy A51 Screen with Frame Replacement, Test the new spare part: step 5, image 1 of 3 Samsung Galaxy A51 Screen with Frame Replacement, Test the new spare part: step 5, image 2 of 3 Samsung Galaxy A51 Screen with Frame Replacement, Test the new spare part: step 5, image 3 of 3
      • Test the new spare part.

      Ask FixBot

      Add Comment

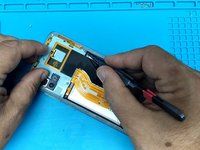
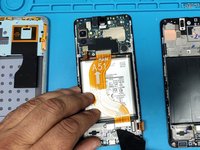
    6. Samsung Galaxy A51 Screen with Frame Replacement: step 6, image 1 of 3 Samsung Galaxy A51 Screen with Frame Replacement: step 6, image 2 of 3 Samsung Galaxy A51 Screen with Frame Replacement: step 6, image 3 of 3
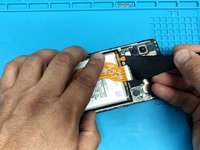
      • Disconnect and remove the main flex cable.

      • To remove the fingerprint sensor - remove two Philips screws and disconnect the flex cable.
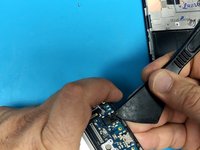
      • Disconnect coaxial antenna cable.

      Ask FixBot

      Add Comment

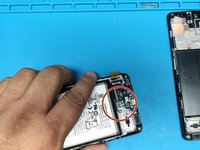
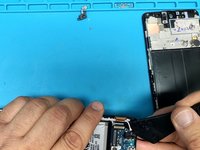
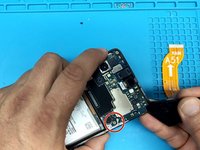
    7. Samsung Galaxy A51 Screen with Frame Replacement: step 7, image 1 of 3 Samsung Galaxy A51 Screen with Frame Replacement: step 7, image 2 of 3 Samsung Galaxy A51 Screen with Frame Replacement: step 7, image 3 of 3
      • Remove the Sub -board? Charging board.

      • The motherboard is secured by one small black screw, remove it to separate the board.

      • Don't forget to transfer the receiver.

      Ask FixBot

      Add Comment

Conclusion

To reassemble your device, follow these instructions in reverse order.

Cancel: I did not complete this guide.

19 other people completed this guide.

ZFix

Member since: 12/09/13

197,561 Reputation

330 Guides authored

Team

Master Techs Member of Master Techs

Community

334 Members

8,250 Guides authored

1 Guide Comment

Hallo, i made repleacment, display went well ( touch and functions, but after turning on the display was like in shadow and side lines were on white kind a yellow fade, what it could be? is it by bad replacement, display or something else?

Vojtěch Kolář - Reply Share
Add Comment

View Statistics:

Past 24 Hours: 6

Past 7 Days: 32

Past 30 Days: 199

All Time: 16,820