Introduction
Use this guide to replace a cracked or broken screen on your Samsung Galaxy A51.
Note: The function of the fingerprint sensor might be lost after this screen replacement. Security patches installed after September 2020 don’t support this repair.
If the frame is deformed, it's important to replace it to make sure the new screen will mount correctly and won’t suffer damage from uneven pressure.
Before disassembling your phone, discharge the battery below 25%. The battery can catch fire and/or explode if accidentally punctured, but the chances of that happening are much lower if discharged.
This guide instructs you to replace the screen while leaving the original frame and motherboard in place. However, some replacement screens for this phone come pre-installed in a new frame (a.k.a. chassis), which requires a very different procedure. Make sure you have the correct part before starting this guide.
You’ll need replacement adhesive to reattach components when reassembling the device.
What you need
-
-
-
Insert a SIM card eject tool, a SIM eject bit or a straightened paper clip into the hole on the SIM tray located at the left side of the phone.
-
Press firmly to eject the tray.
-
Remove the SIM card tray.
 Ask FixBot
-
-
-
-
-
Prepare an iOpener and apply it to the back cover to soften the adhesive.
-
-
-
Insert the tip of an opening pick between the frame and the back cover at the bottom of the phone near the USB-C port.
-
If you can't get between the back cover and midframe with your opening pick, you can use a suction handle or strong tape to pull up the back cover to create a gap.
-
Slide the opening pick to the bottom right corner and leave it there.
-
-
-
Insert a second opening pick and slide it from the bottom right corner to the bottom left corner to cut the adhesive.
-
Leave the opening picks in place to prevent the adhesive from resealing.
-
-
-
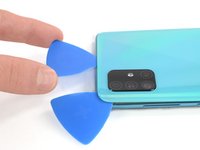
Insert a third opening pick under the bottom left corner of the back cover.
-
Slide the opening pick along the left edge of the phone.
-
Leave the opening pick in the top left corner to prevent the adhesive from resealing.
-
-
-
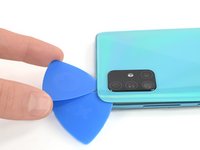
Insert a fourth opening pick under the top left corner of the back cover near the camera.
-
Slide the tip of the opening pick along the top edge of the phone to the right corner to cut the adhesive.
-
Leave the opening pick in the top right corner to prevent the adhesive from resealing.
-
-
-
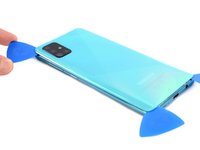
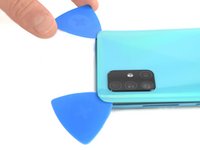
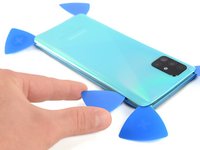
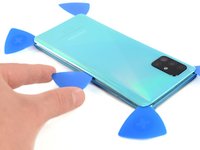
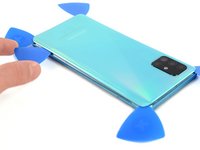
With opening picks in all four corners, insert a fifth and final opening pick under the top right corner of the back cover.
-
Slide the tip of the opening pick along the right edge of the phone to the bottom right corner to cut the remaining adhesive.
-
-
-
-
-
-
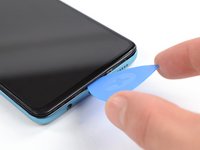
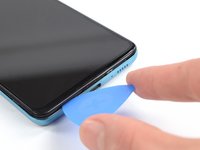
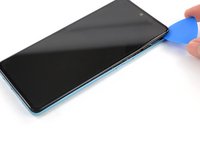
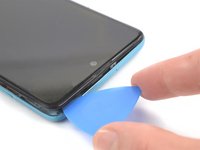
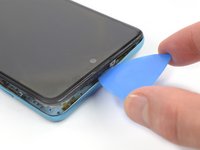
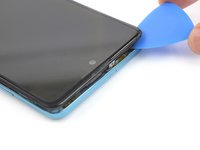
Insert an opening pick between the midframe and front panel assembly on the bottom of the phone near the charge port.
-
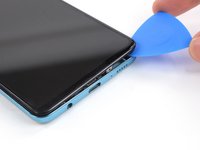
Slide the opening pick to the left bottom corner to release the plastic clips.
-
Slide the opening pick to the bottom right corner to release the rest of the bottom plastic clips.
-
-
-
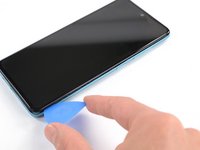
Continue sliding the opening pick on the right side of your phone until all plastic clips on the right side are released.
-
-
-
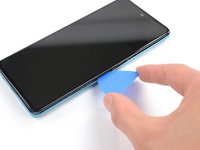
Slide the opening pick from the top left corner to the bottom left corner to release the left side's plastic clips.
-
-
-
-
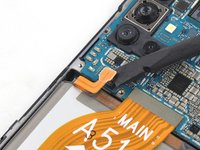
Use the flat end of a spudger to disconnect the battery by prying the connector straight up from its socket.
-
-
-
-
-
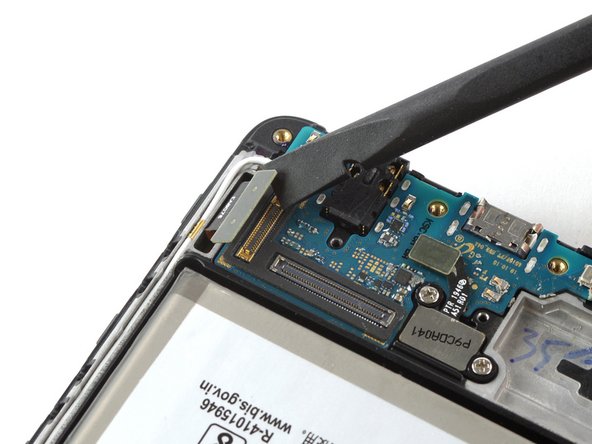
Use the flat end of a spudger to pry up and disconnect the display flex cable on the bottom of the phone.
-
-
-
Prepare an iOpener and apply it to the display for at least two minutes to loosen the adhesive beneath.
-
-
-
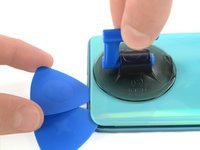
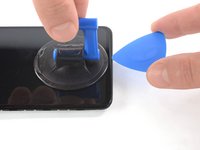
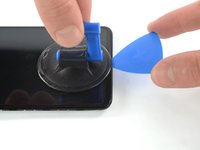
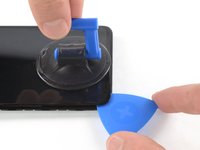
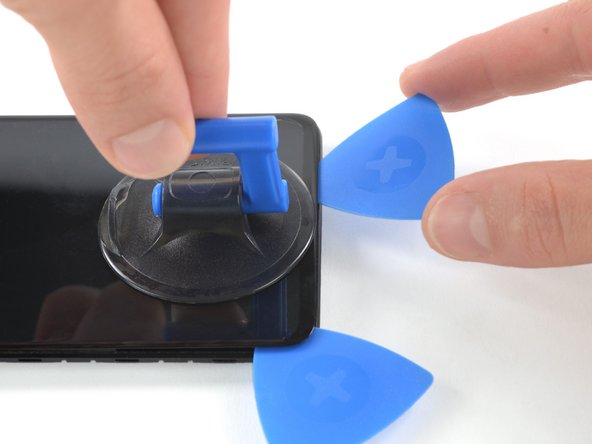
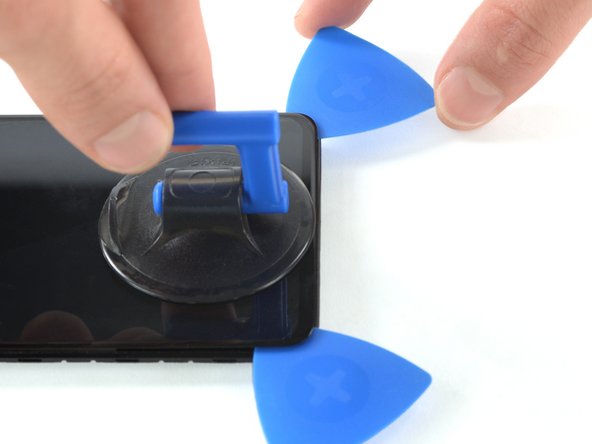
Once the screen is warm to the touch, apply a suction cup to the upper edge of the phone.
-
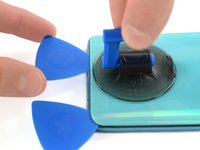
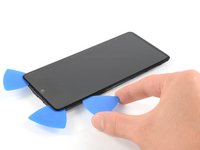
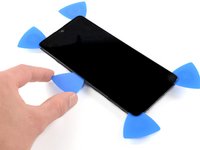
Insert an opening pick in the gap and start to cut the adhesive by sliding it to the top right corner.
-
-
-
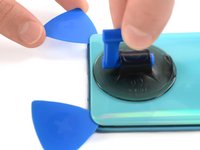
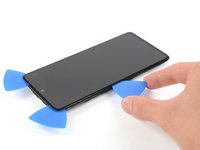
Insert a second opening pick and slide it to the top left corner.
-
Leave the opening picks in place to prevent the adhesive from resealing.
-
-
-
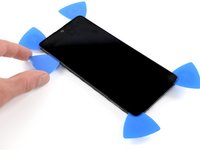
Insert a third opening pick and slide it along the left edge to cut the adhesive.
-
Leave the opening pick in the bottom left corner to prevent the adhesive from resealing.
-
-
-
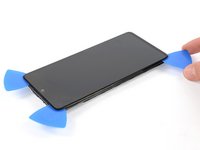
Insert a fourth opening pick and slide it from the bottom left corner to the bottom right corner.
-
Leave the opening pick in its place to prevent the adhesive from resealing.
-
-
-
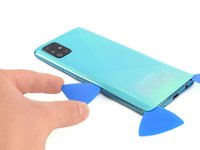
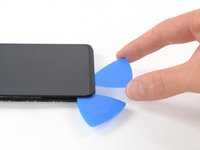
Insert a fifth opening pick and slide it along the left edge of the phone to cut the remaining adhesive.
-
-
-
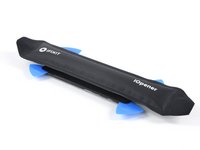
Reapply a heated iOpener to the screen to loosen the adhesive underneath.
-
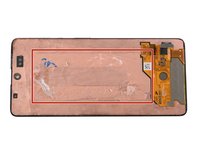
As you wait, take note of the rectangular-shaped adhesive placed underneath the screen.
-
-
Tool used on this step:Plastic Cards$2.99
-
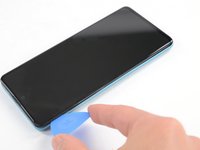
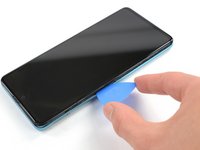
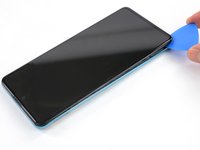
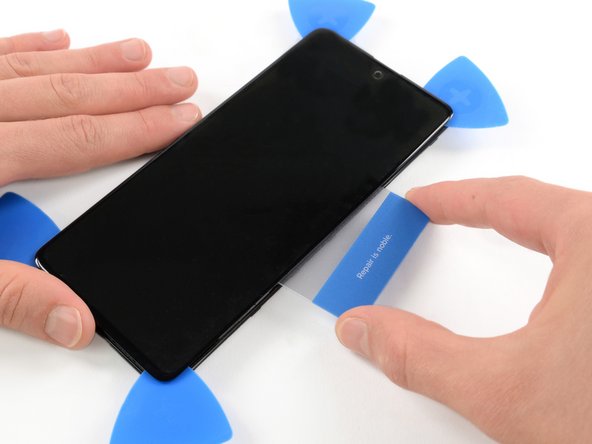
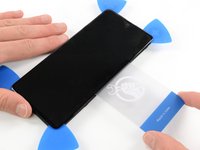
Insert a plastic card on the left edge into the gap between display and the phone assembly.
-
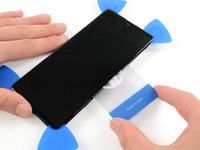
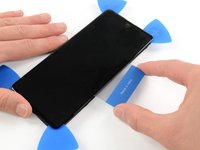
Press the plastic card in and slide it back and forth until you cut through the entire adhesive.
-
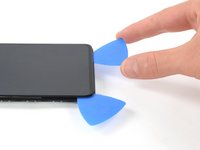
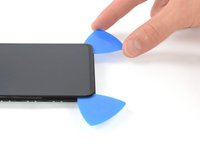
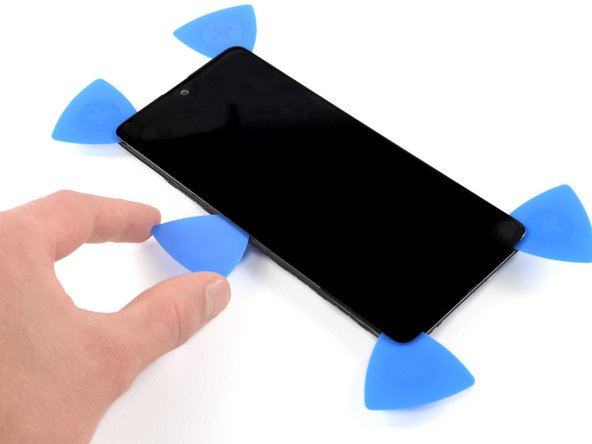
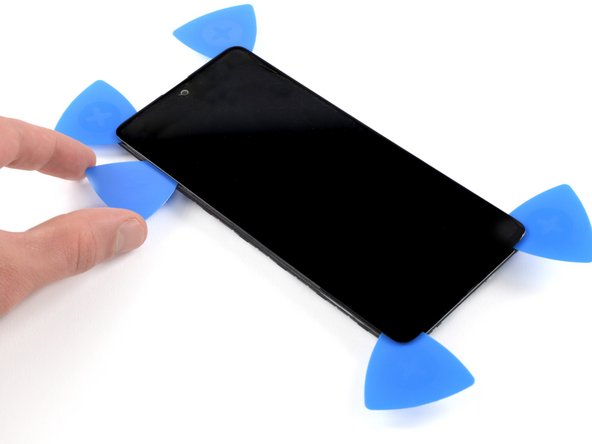
Once you are sure you cut through the adhesive, remove the four opening picks from the corners.
-
-



















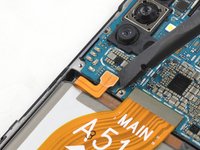

















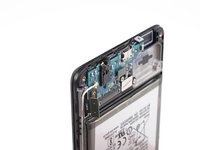
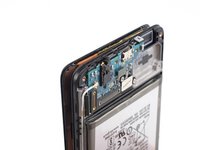
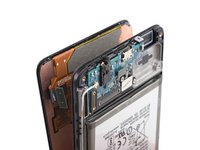


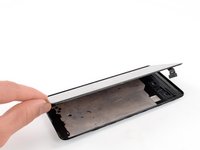
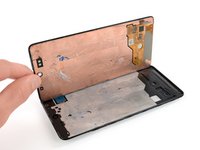
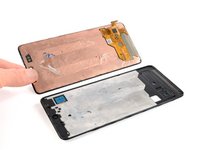
If possible, turn on your device and test your repair before installing new adhesive and resealing.
Compare your new replacement part to the original part—you may need to transfer remaining components or remove adhesive backings from the new part before installing.
To reassemble your device, follow these instructions in reverse order. Apply new adhesive where necessary after cleaning the relevant areas with isopropyl alcohol (>90%).
The best way to secure the new screen is to apply a sheet of custom-cut double-sided tape to the back of the screen.
Take your e-waste to an R2 or e-Stewards certified recycler.
Repair didn’t go as planned? Try some basic troubleshooting, or ask our Answers community for help.
Cancel: I did not complete this guide.
83 other people completed this guide.


14 Guide Comments
Fingerprint scanner is disabled when original screen is replaced
You need to buy the right replacement screen like the one that supports fingerprint like amoled
Attention, Fingerprint makes some trouble after replaceing the display
I see that users have posted about the Fingerprint Scanner causing issues. “…disabled when original screen is replaced” or “… some trouble after replacing…” Are these issues that since have been resolved? Scanner can be re-enabled or disabled and re-enabled to bypass the “issues”?
