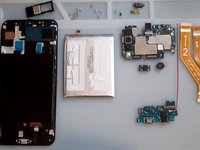
Free Shipping on Domestic Orders $75+

Samsung Galaxy A50 Display Assembly with Frame Replacement

What you need

Video Overview

    1. Samsung Galaxy A50 Display Assembly with Frame Replacement, LCD Display Assembly replacement: step 1, image 1 of 3 Samsung Galaxy A50 Display Assembly with Frame Replacement, LCD Display Assembly replacement: step 1, image 2 of 3 Samsung Galaxy A50 Display Assembly with Frame Replacement, LCD Display Assembly replacement: step 1, image 3 of 3
      • Display Touch Screen Digitizer Assembly with Frame for Samsung Galaxy A50

      Ask FixBot

      Add Comment

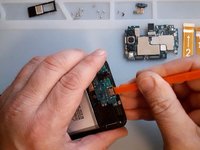
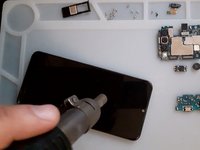
    2. Samsung Galaxy A50 Display Assembly with Frame Replacement, Battery cover removal: step 2, image 1 of 3 Samsung Galaxy A50 Display Assembly with Frame Replacement, Battery cover removal: step 2, image 2 of 3 Samsung Galaxy A50 Display Assembly with Frame Replacement, Battery cover removal: step 2, image 3 of 3
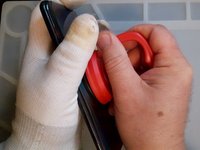
      • Heat up the back cover to loosen the adhesive.

      • To separate the back cover use a Suction Cup and plastic tools.

      Ask FixBot

      Add Comment

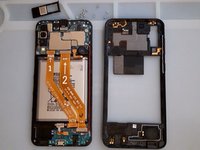
    3. Samsung Galaxy A50 Display Assembly with Frame Replacement, Middle frame removal: step 3, image 1 of 3 Samsung Galaxy A50 Display Assembly with Frame Replacement, Middle frame removal: step 3, image 2 of 3 Samsung Galaxy A50 Display Assembly with Frame Replacement, Middle frame removal: step 3, image 3 of 3
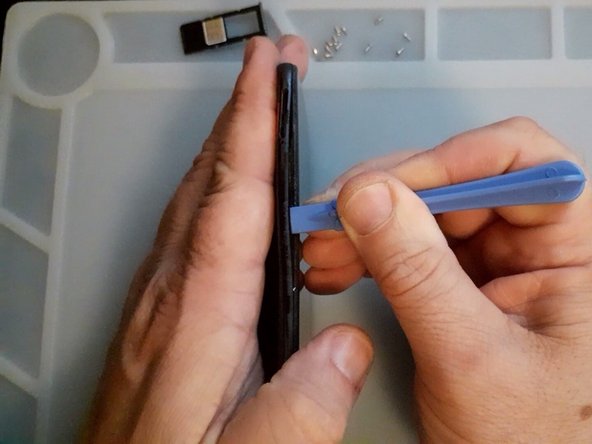
      • Remove the SIM tray.

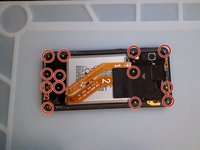
      • Remove the Philips Screws.

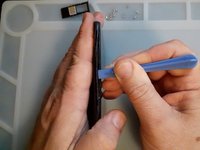
      • Again use plastic tools to separate the middle frame.

      Ask FixBot

      Add Comment

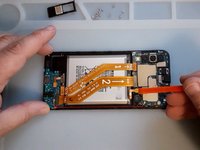
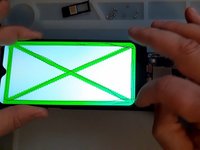
    4. Samsung Galaxy A50 Display Assembly with Frame Replacement, Test the new spare part: step 4, image 1 of 3 Samsung Galaxy A50 Display Assembly with Frame Replacement, Test the new spare part: step 4, image 2 of 3 Samsung Galaxy A50 Display Assembly with Frame Replacement, Test the new spare part: step 4, image 3 of 3
      • First disconnect the Battery.

      • Test the new spare part before the installation.

      Ask FixBot

      Add Comment

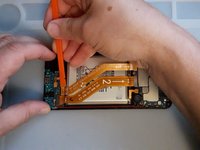
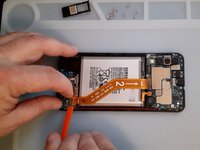
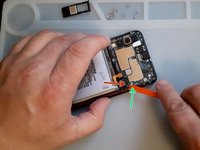
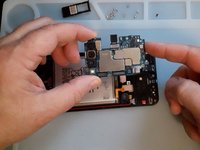
    5. Samsung Galaxy A50 Display Assembly with Frame Replacement, Logic board removal: step 5, image 1 of 3 Samsung Galaxy A50 Display Assembly with Frame Replacement, Logic board removal: step 5, image 2 of 3 Samsung Galaxy A50 Display Assembly with Frame Replacement, Logic board removal: step 5, image 3 of 3
      • Disconnect and remove the Main Flex Cable.

      • Remove the black Philips screw, it's shorter then the middle frame screws.

      • Disconnect the coaxial antenna cable.

      • Now you can remove the logic board.

      Ask FixBot

      Add Comment

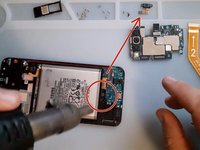
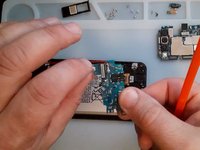
    6. Samsung Galaxy A50 Display Assembly with Frame Replacement, Sub board removal: step 6, image 1 of 3 Samsung Galaxy A50 Display Assembly with Frame Replacement, Sub board removal: step 6, image 2 of 3 Samsung Galaxy A50 Display Assembly with Frame Replacement, Sub board removal: step 6, image 3 of 3
      • First remove the Fingerprint sensor.

      • The screws for the Fingerprint are shorter.

      • It's better to use hot air before to disassemble the sub-board.

      • Reminder - only plastic tools :)
      Ask FixBot

      Add Comment

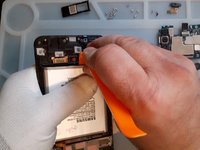
    7. Samsung Galaxy A50 Display Assembly with Frame Replacement, Battery removal: step 7, image 1 of 3 Samsung Galaxy A50 Display Assembly with Frame Replacement, Battery removal: step 7, image 2 of 3 Samsung Galaxy A50 Display Assembly with Frame Replacement, Battery removal: step 7, image 3 of 3
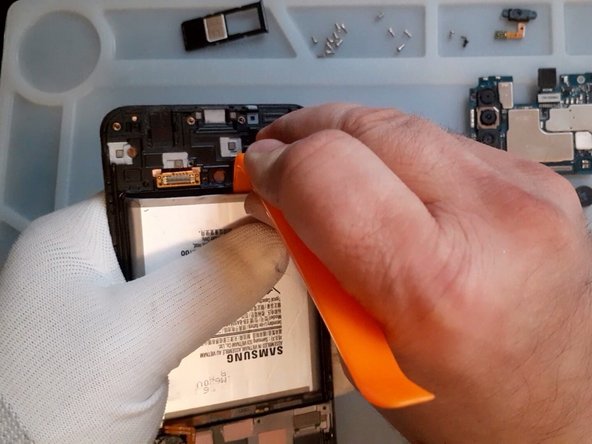
      • Again, hot air, plastic tools and very slowly remove the battery.

      Ask FixBot

      Add Comment

    8. Samsung Galaxy A50 Display Assembly with Frame Replacement: step 8, image 1 of 1
      • All's Well That Ends Well

      Ask FixBot

      Add Comment

Conclusion

To reassemble your device, follow these instructions in reverse order.

Cancel: I did not complete this guide.

12 other people completed this guide.

ZFix

Member since: 12/09/13

197,561 Reputation

330 Guides authored

Team

Master Techs Member of Master Techs

Community

334 Members

8,250 Guides authored

2 Guide Comments

The frame I bought doesn't have the place for earspeaker surrounded by little "walls", so it's very loose and doesn't have contact with the board. Anyone experienced this?

knezi - Reply Share

You can just use small amount of jelly glue to attach it to the frame it'll work fine as long its stay in a right place the logic board will help it keep it in place

Zent - Reply Share

Add Comment

View Statistics:

Past 24 Hours: 15

Past 7 Days: 43

Past 30 Days: 201

All Time: 20,255